How to Display Your Gundam Models: Creative and Stylish Ideas
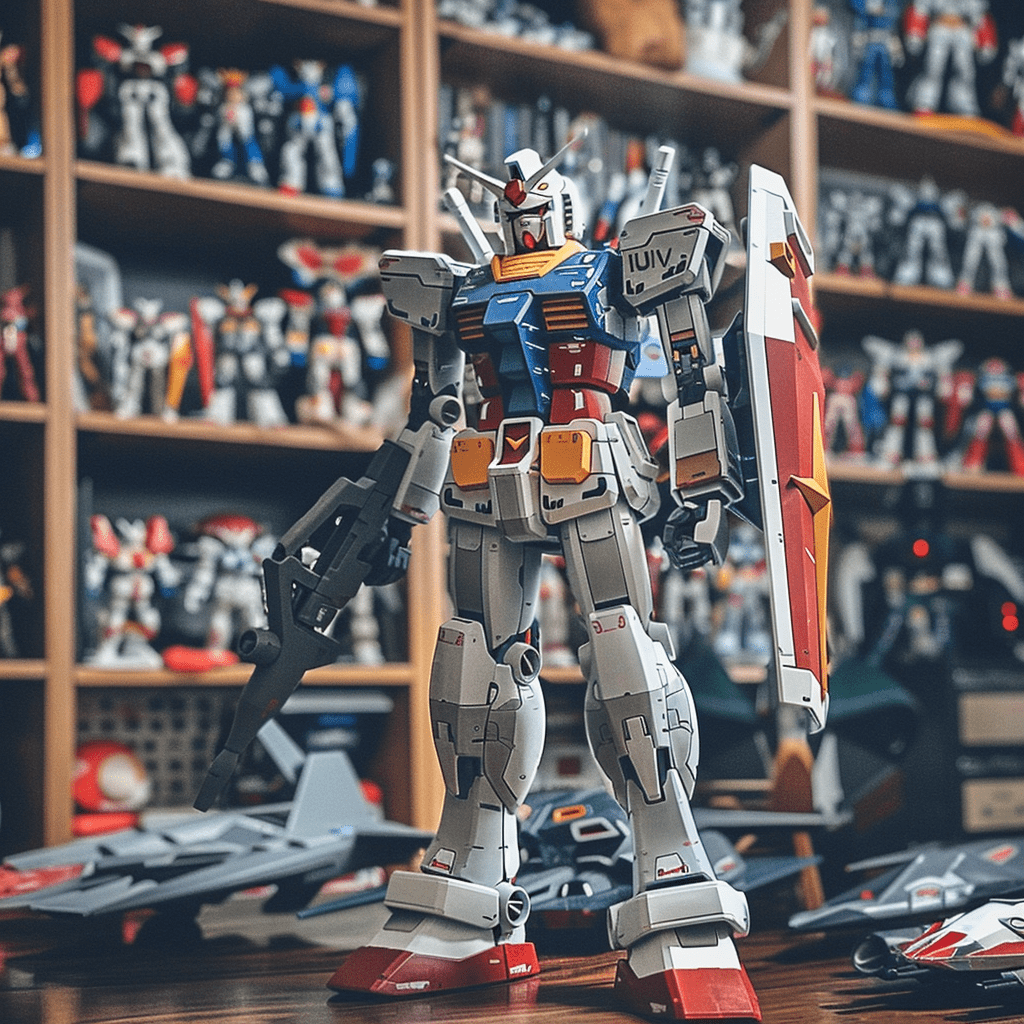
Displaying your Gundam models can be as rewarding as building them. Whether you are a long-time Gunpla enthusiast or new to this hobby, finding the right way to showcase your collection is crucial. Using custom shelves, display cabinets, and dioramas can make your Gundam models stand out and add an impressive touch to any room.
For those with limited space, creating themed dioramas or using dedicated display cabinets can be an excellent solution. Carefully arranged displays can highlight the craftsmanship and detail of each model. Additionally, incorporating lighting can enhance the visual impact, making your collection a focal point for any room.
Consider rotating your displays regularly to keep things fresh and interesting. This not only showcases different parts of your collection over time but also allows you to highlight new models as they are completed. By experimenting with different setups, you can find the perfect way to highlight your unique Gundam models.
Understanding Gundam Models
Gundam models, also known as Gunpla, come in various types, grades, and scales. Knowing these differences helps you select the right model for your skill level and display preferences.
Types of Gunpla Kits
Gunpla, produced by Bandai, are plastic model kits that replicate Mobile Suit Gundam robots. High Grade (HG), Master Grade (MG), and Perfect Grade (PG) are common types.
- SD (Super Deformed): These are small, non-scale kits with exaggerated features. Great for beginners.
- HG (High Grade): 1/144 scale, good detail, and suitable for all skill levels.
- MG (Master Grade): 1/100 scale, more complex with intricate parts.
- PG (Perfect Grade): 1/60 scale, very detailed and aimed at experienced builders.
Recognizing Different Grades
Different grades indicate complexity and detail level.
- SD (Super Deformed): Simplified versions with a unique cartoonish style.
- HG (High Grade): Balances detail and ease of assembly.
- RG (Real Grade): Matches HG size but with MG complexity.
- MG (Master Grade): Detailed internals and larger scale.
- PG (Perfect Grade): Highly detailed with extensive parts count.
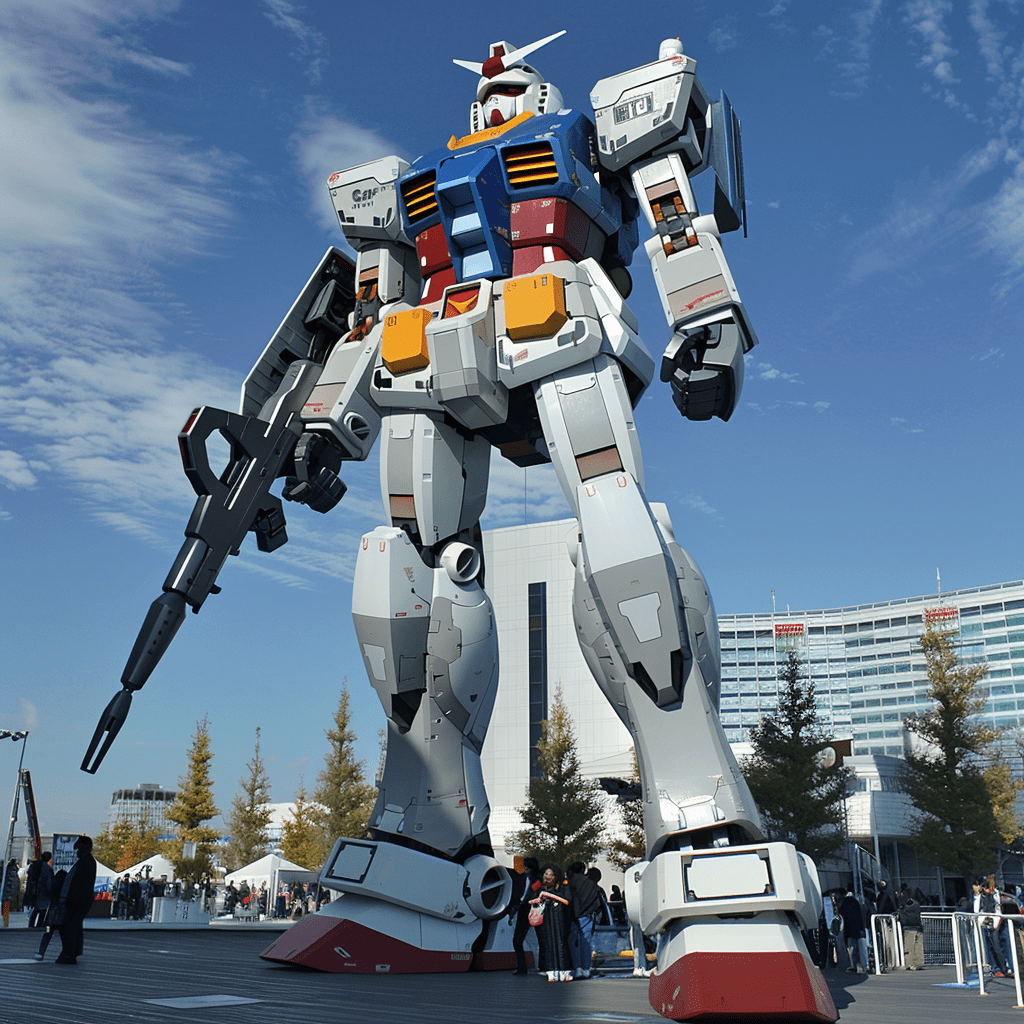
The Importance of Scale
Scale determines the model’s size compared to the real-life design.
- 1/144 Scale: Common for HG kits, about 5 inches tall.
- 1/100 Scale: Used in MG kits, approximately 7-8 inches tall.
- 1/60 Scale: Found in PG kits, usually around 12-15 inches tall.
A consistent scale can make displays uniform. Smaller scales (1/144) are easier to handle for beginners, while larger scales (1/60) offer finer details for advanced builders.
Understanding these aspects ensures you pick the right Gunpla kits that suit your experience and display goals.
Preparing Your Workspace
Setting up a proper workspace is key to building and displaying your Gundam models effectively. This section will cover essential tools and tips for organizing your space to ensure a smooth and enjoyable building experience.
Essential Tools for Model Building
Having the right tools is crucial for building Gundam models. Hobby knives are necessary for removing parts from sprues and cleaning up small details. Gundam markers are useful for adding fine details and panel lines.
Other important tools include small pliers for cutting parts, files or sanding sticks for smoothing edges, and tweezers for handling tiny parts. It's also good to have a cutting mat to protect your work surface and reduce blade wear.
A steady hand and patience are essential. Take your time with each step to avoid mistakes. Using clamps or stands can also help hold parts in place while glue dries, ensuring a better build.
Organizing Your Building Area
A clean and organized workspace makes it easier to find tools and parts quickly. Use storage bins or drawer organizers to keep tools and accessories sorted. Label everything clearly so you can grab what you need without fuss.
Ensure your workspace has good lighting. LED desk lamps with adjustable arms provide focused light, making it easier to see small details.
Keep a trash bin nearby for easy disposal of scraps and packaging.
Finally, maintain a comfortable chair and enough workspace to spread out your tools and parts. An organized and well-lit area ensures a more enjoyable building process, reducing stress and frustration.
Building Techniques
Building a Gundam model involves several key steps. These include the initial assembly, effective use of panel lining, application of decals and stickers, and advanced techniques like airbrushing and weathering to enhance the final look.
From Opening the Box to the First Assembly
When starting a new Gundam build, it's essential to have the right tools. Basic tools include sprue cutters, hobby knife, and tweezers. Begin by carefully removing the parts from the sprues using the sprue cutters.
Clean any excess plastic using the hobby knife. Follow the manual to assemble the parts. It's crucial to do a dry fit of pieces before applying any adhesive. This ensures proper alignment and fitment.
Assembly typically starts with the torso, followed by limbs and the head. Snap-fit pieces without forcing them to avoid damage.
Effective Use of Panel Lining
Panel lining adds depth and detail to your Gundam model. Use a fine-tipped panel line marker or a fine brush with enamel wash. Carefully outline the molded lines and let the ink flow into the grooves.
After applying, gently wipe away any excess with a cotton swab lightly dampened with thinner. This technique makes the details stand out and gives the model a more realistic appearance.
Be patient and work in sections to avoid smudging.
Applying Decals and Stickers
Adding decals and stickers brings the model to life. There are three main types: stickers, waterslide decals, and dry transfer decals.
Stickers are the easiest to apply but can look less realistic. Waterslide decals require soaking in water before application and give a more painted-on look. Dry transfer decals are rubbed onto the surface using a burnishing tool.
Use tweezers for precise placement and smooth out air bubbles with a soft cloth or cotton swab.
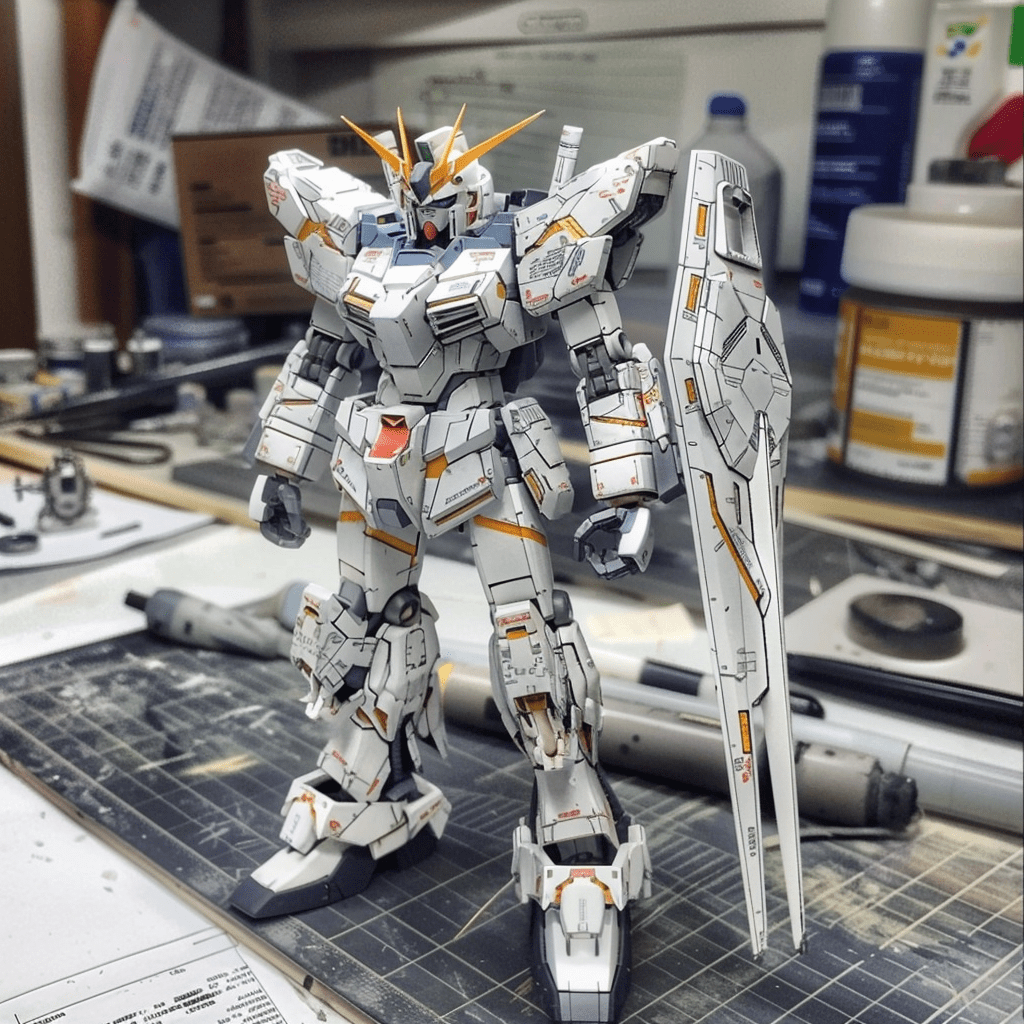
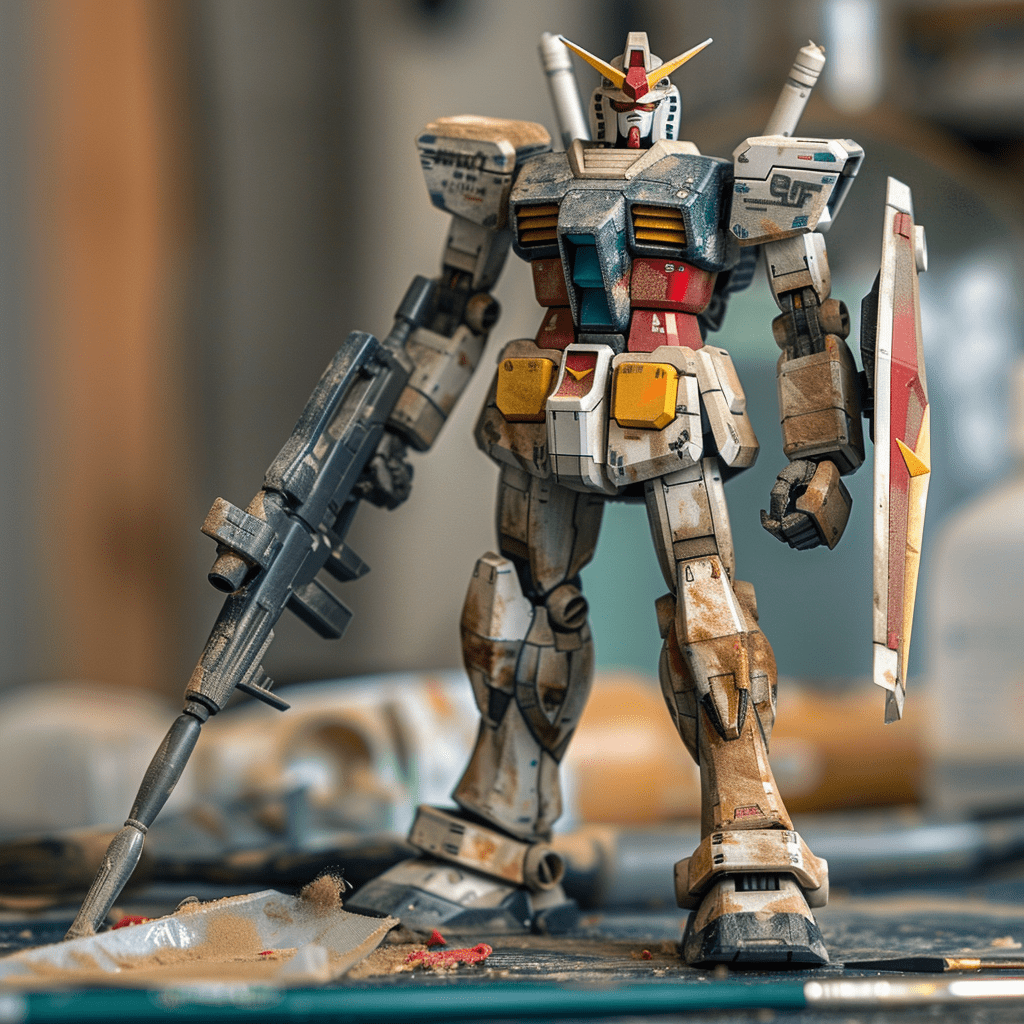
Advanced: Airbrushing and Weathering
Airbrushing offers a smooth and even paint finish. Set up a well-ventilated area and use a compressor with an airbrush. Thin the paint according to the manufacturer's instructions. Apply multiple light coats rather than one heavy coat.
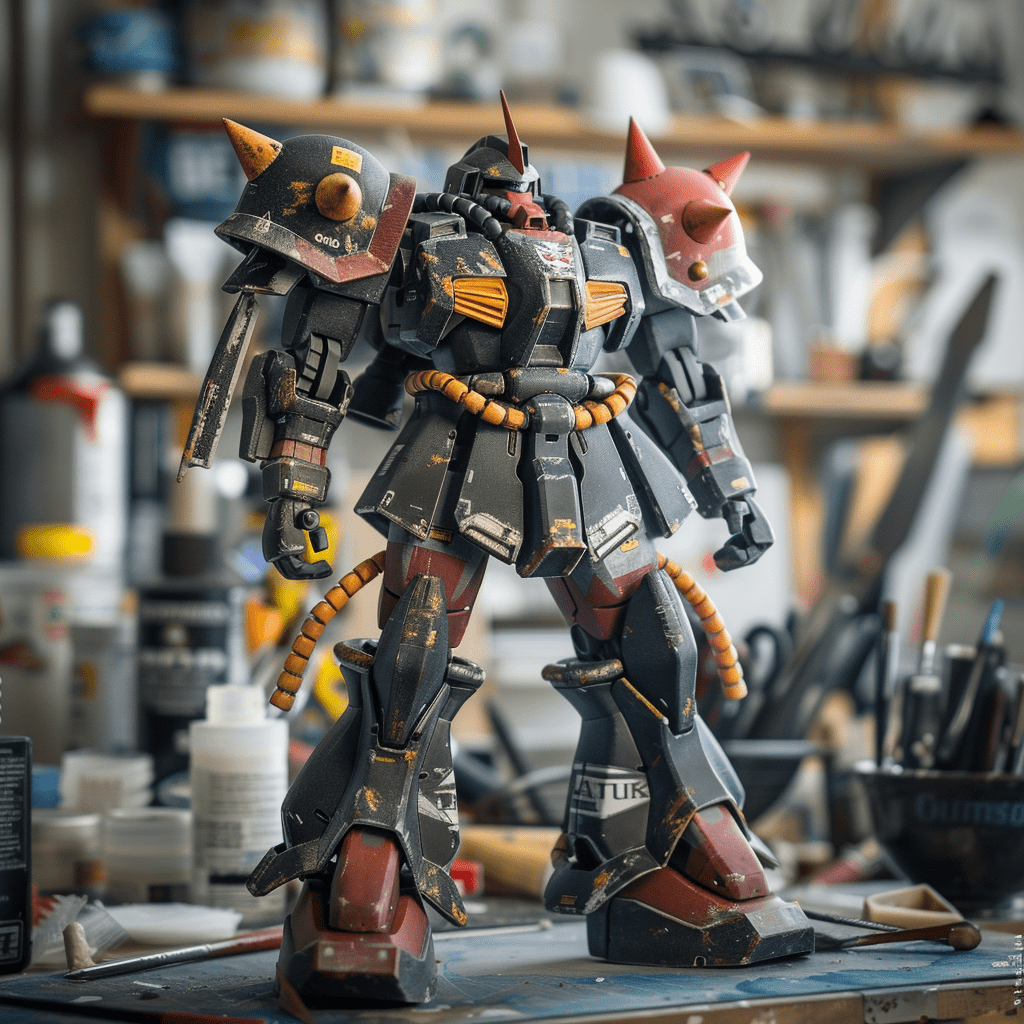
Weathering adds a worn, battle-scarred look. Techniques include dry brushing and using weathering powders or washes. Dry brushing involves loading a small amount of paint on a brush, wiping off excess, and brushing lightly over edges.
Rust and dirt effects can be achieved with weathering powders applied with a soft brush.
These advanced techniques give the Gundam a more authentic and detailed appearance.
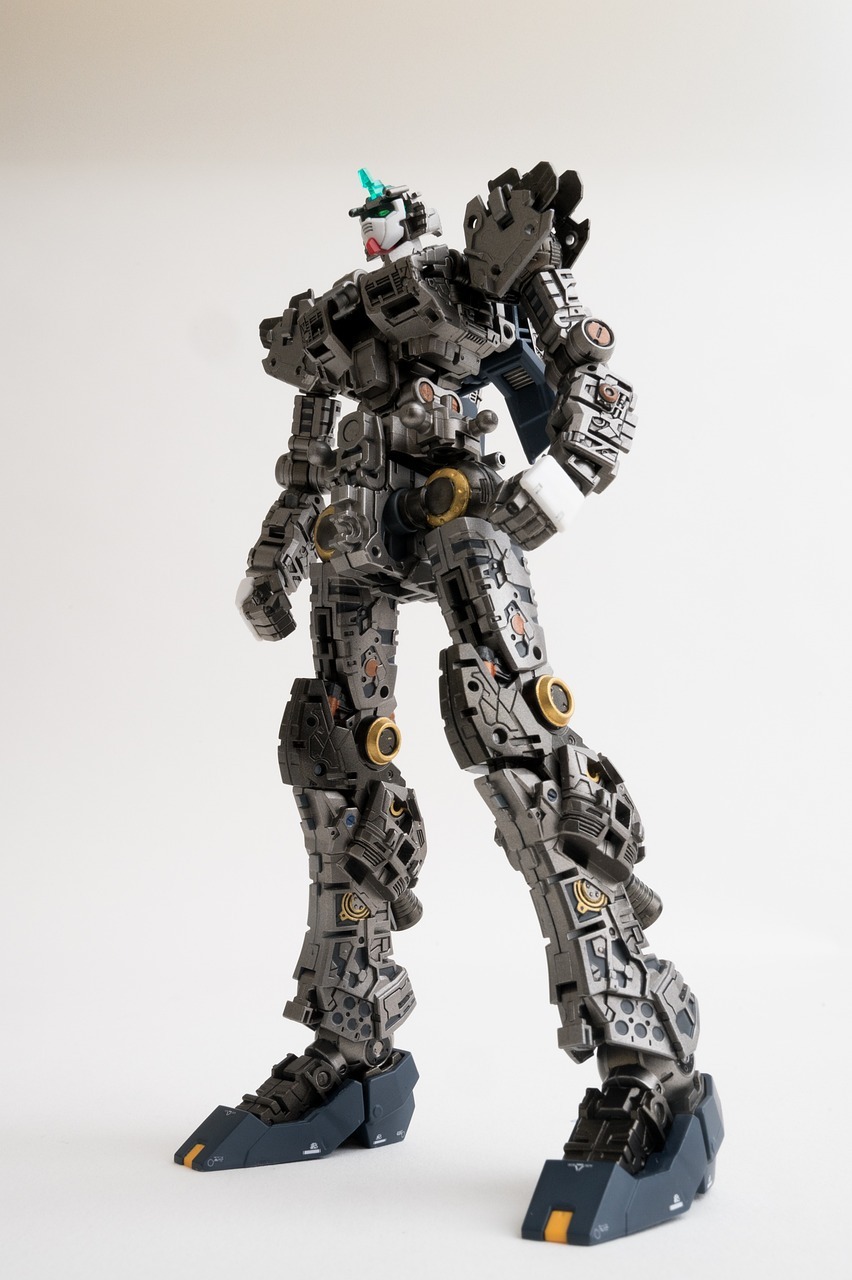
Posing Your Gundam
Posing your Gundam models can enhance their display by making them look more lifelike and dynamic. Mastering articulation, creating engaging poses, and using supports like action bases can elevate your collection's presentation.
Basics of Articulation and Poseability
Understanding the articulation of your Gundam model is key to creating realistic poses. Articulation refers to the joints in the model that allow movement. Common articulation points include shoulders, elbows, wrists, hips, knees, and ankles.
Poseability depends on the quality and range of these joints. For example, double-jointed elbows and knees can provide greater flexibility and natural-looking bends.
Builders should carefully adjust each joint to achieve the desired stance without forcing parts, which can damage the model. Proper use of articulation ensures the figure maintains balance and stability in various poses, such as standing or aiming a weapon.
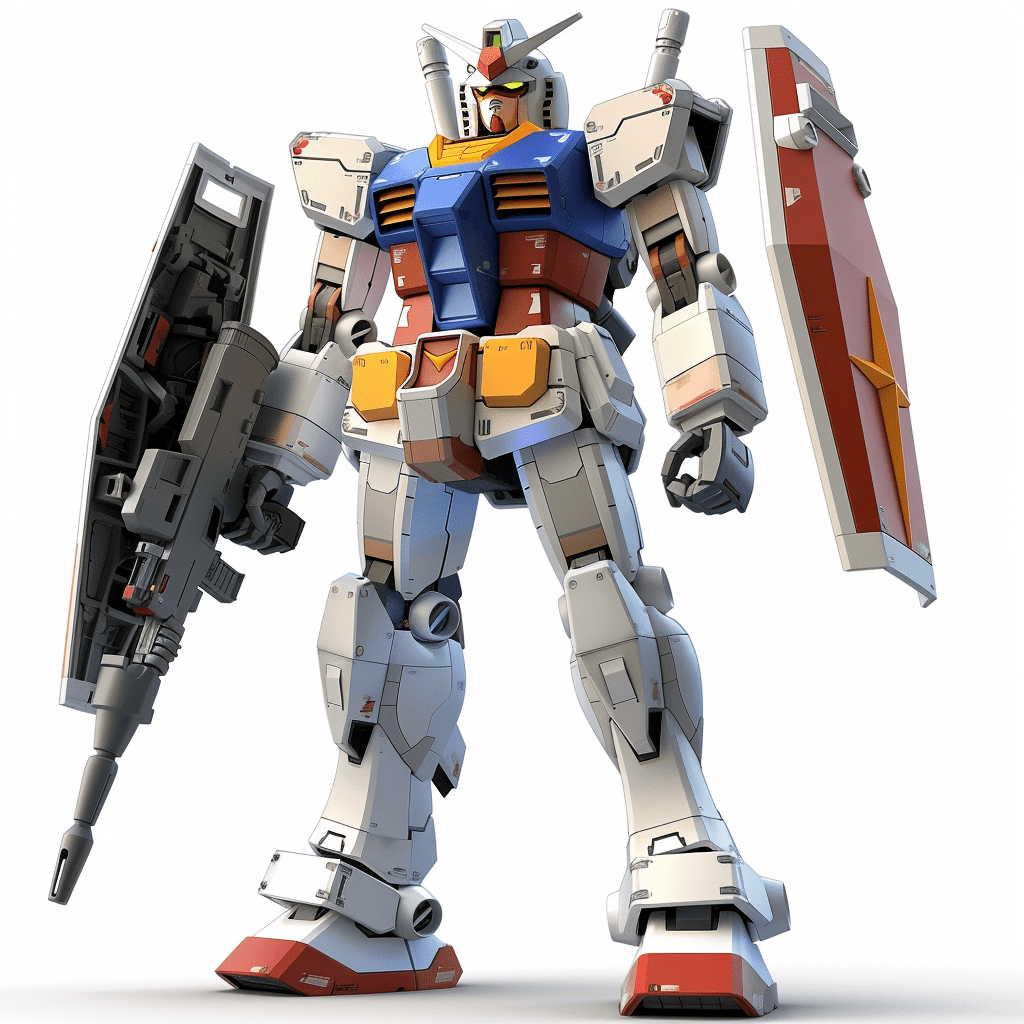
Creating Dynamic Poses
Dynamic poses bring your Gundam to life by capturing movement or action. Consider the natural stance and weight distribution of a human body when posing your model.
An S-curve with the torso slightly twisted and hips shifted can give the impression of motion. Bending the arms and legs at different angles conveys movement, while keeping the feet apart improves stability.
For more action-oriented poses, like jumping or fighting, ensure the limbs are positioned to reflect tension and potential energy. For instance, a Gundam aiming a rifle should have one foot forward, knees bent slightly, and the opposite arm in a supportive position.
Utilizing Action Bases
Action bases are plastic stands that support your Gundam model in a variety of poses. These are particularly useful for flying or jumping stances, allowing the model to appear suspended in mid-air.
There are different types of action bases, such as Action Base 1 and Action Base 2, which offer varying support and flexibility. Choosing the right action base can help replicate scenes from the Gundam series, showing your model in a dynamic flight or mid-battle pose.
To use an action base, attach the model to the base's arm using the provided connectors. Adjust the arm's position and angles to achieve the desired elevation and tilt, ensuring stability. This tool can greatly expand the range of display options for your Gundam kits.
Displaying Your Masterpiece

Setting up your Gundam models can be a creative and enjoyable process. From finding the perfect display location to enhancing the scene with lighting and dioramas, there are many ways to showcase your collection effectively.
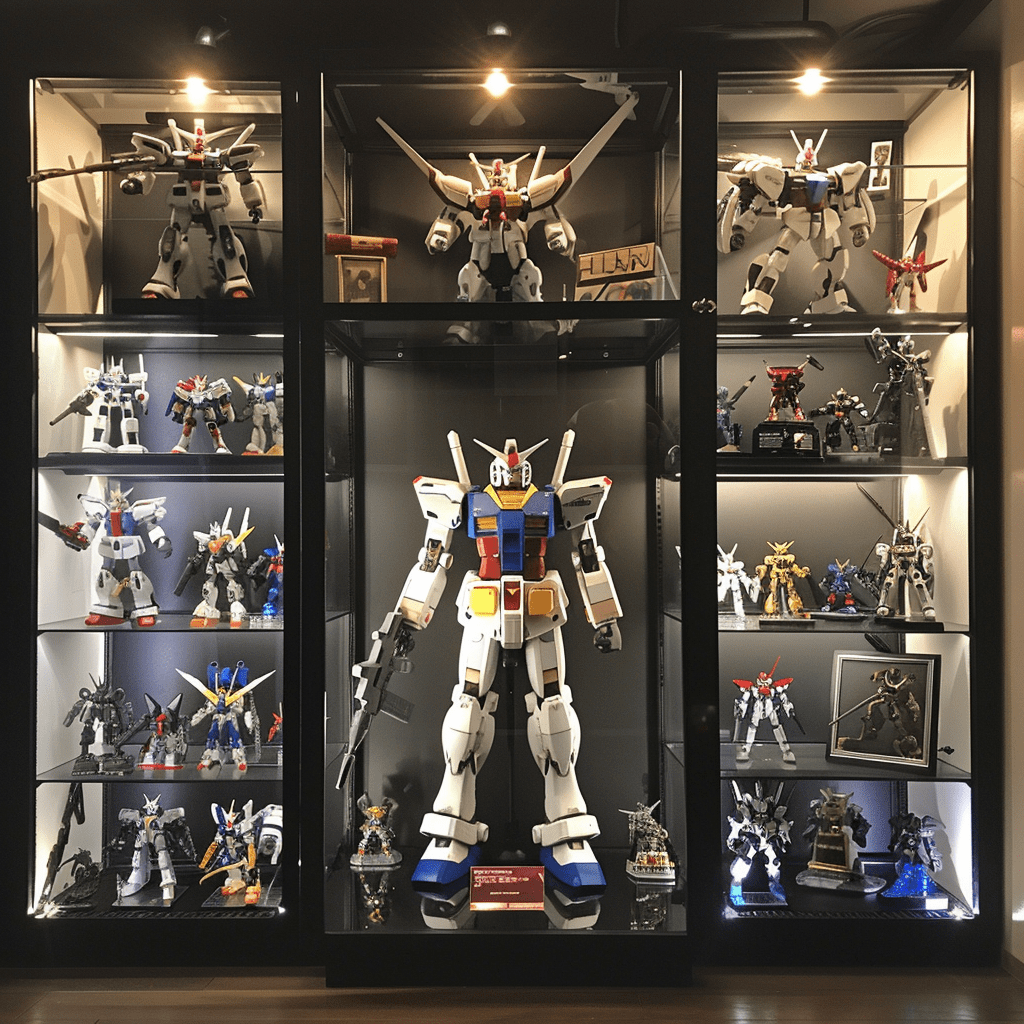
Choosing the Right Location
Choosing where to place your models is crucial. A good spot allows for both visibility and protection. Shelves, especially those with glass doors, keep dust away and provide an elegant look.
Desk setups can also be cool. By arranging models on desks or bookshelves, you make them part of your everyday environment. Another idea is to use wall-mounted units, which save space and create a standout display.
Lighting and Backdrops
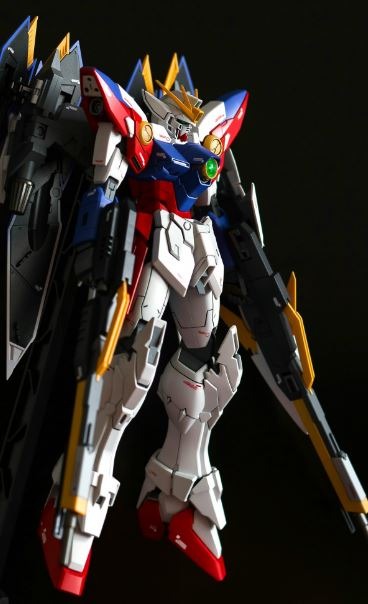
Good lighting makes your models pop. LED strip lights are a great option. They’re energy-efficient and come in various colors, letting you highlight different features of your Gundam models.
Backdrops can add depth to your display. Using simple colored paper or printed scenes can make backgrounds more interesting. Black or dark backgrounds often bring out the details and colors of your models, while themed backdrops add story elements.
Making Use of Dioramas
Dioramas bring your display to life. They give context and make your Gundam look like it's in action. You can either buy ready-made dioramas or create your own with simple materials.
Including elements like buildings, terrain, and accessories can enhance the scene. Action bases are also helpful for poses; they keep models stable and allow for dynamic displays. With dioramas, your Gundam models become part of a larger story, making the display more engaging.
Maintenance and Upkeep
Taking care of your Gundam models is essential to keep them looking their best. This involves regular cleaning, periodic checkups for any needed repairs, and applying a protective top coat.
Cleaning Your Gundam Models
Dust and dirt can easily accumulate on Gundam models, dulling their appearance. Use a soft brush or a can of compressed air to remove dust from small crevices. For more stubborn dirt, a slightly damp cloth can be helpful.
Avoid using harsh chemicals. Instead, mild soap mixed with water works well for cleaning without damaging the plastic. Make sure to thoroughly dry your models after cleaning to prevent moisture damage.
A small paintbrush is perfect for delicate areas.
Regular Checkups and Repairs
Over time, joints and connections on your Gundam models may loosen. Regularly inspect these parts to ensure they are not wearing out. Tighten joints as needed, and consider using small amounts of plastic cement on loose parts.
Look for any broken or missing components. Replacement parts can sometimes be found online or from other kits. Maintaining a small toolkit with tweezers, hobby knives, and sandpaper is useful for minor repairs.
Repainting damaged areas keeps your models in top condition.
Applying Top Coat for Protection
A top coat serves two purposes: it enhances the model’s look and protects the paintwork. There are two main types: gloss and matte. Gloss gives a shiny finish, while matte offers a subdued, non-reflective look.
Before application, ensure the model is clean. Use spray cans outdoors or in a well-ventilated area to avoid inhaling fumes. Hold the can about 6-12 inches away from the model and apply a light, even coat.
Applying multiple thin layers creates a better finish than one heavy layer. Allow each coat to dry thoroughly before handling the model. This prevents smudging and helps the top coat provide a durable protective layer.
Regular maintenance and care will keep your Gundam models in excellent condition for years.
Expanding Your Collection
Growing your Gundam model collection can be an exciting and rewarding hobby. This involves staying updated with new releases and managing how you store both the models and their box art.
Keeping Track of New Releases
Staying informed about new Gundam releases helps collectors get the latest models, like the popular Exia series. Following trusted websites and forums, such as Gunpla Network and Reddit's Gunpla community, can provide timely updates.
Subscribing to newsletters and joining online groups can alert collectors to special features or limited editions. Keeping a wishlist or spreadsheet with release dates and model details ensures you never miss out on a desired piece.
Storing Models and Box Art
Proper storage is crucial for preserving your Gundam models and their box art. Using labeled storage containers keeps parts organized and prevents damage. Some collectors dedicate specific shelves to highlight their prized pieces.
Box art can be stored flat in large folders or protective sleeves. This not only keeps the art safe but makes it easy to admire. Incorporating labeled bins or drawers for spare parts and accessories helps maintain an orderly collection.