The Importance Of Picking The Right Tools for Building Model Airplanes
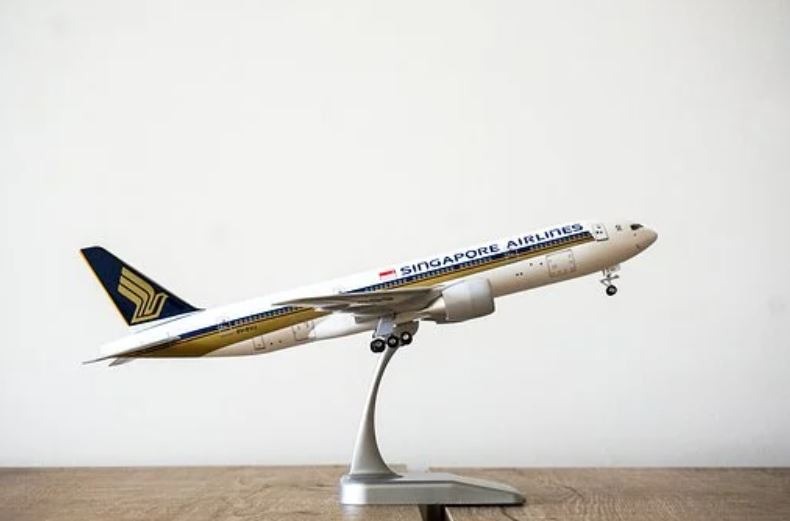
A model airplane is a small drone and can be a replica of an imaginary or existing aircraft. They are divided into two basic groups such as non-flying and flying. The model aircraft that do not fly are referred to as static, shelf, or display models. Aircraft manufacturers and researchers manufacture models of wind tunnels to test the aerodynamic properties. It is done for the basic research and development of the new design. Sometimes, a model aircraft is not manufactured as a whole, but in parts.
The static models range from mass-produced white metal or plastic toys that are precise and detailed models. They are produced for the exhibition in the museums. To your surprise, they are not prepared in an hour but thousands of hours of work. Also, some model aircraft are injection-molded polystyrene or resin. Apart from these details, you also deserve to know the most trusted Aviator game you can play online.
The Importance Of Picking The Right Tools for Building Model Airplanes
For building a model airplane for your school project or decoration at home, you must be having the right tools. The right tools make sure that your project matches your expectations. If you are not having the right tools for building a model airplane, then it would not look like what it should be.
Building Board

Instead of using a workbench, you can use a board constructed with a cork top surface. It is known as Wright Building Board. You can use a piece of 2-inch foam insulation board or a ceiling tile. These surfaces make it easier for you to insert modeling pins into the parts to hold them in place. You have to make sure that you keep the building surface straight and leveled.
For this purpose, you can have a building board made of particle board under the 1/2-inch cork top with aluminum corners. It can be around 45 to 50 inches long and 20 inches wide. To make straighter models is helpful and important rather than using a workbench.
If still, you want to use the workbench, then you can use insulating foam boards and spray them with a little 3M spray glue that keeps them upright or straight. But they can be used for a shorter period because they wear out and need replacement after some time.
Also, make sure that you don’t do the cutting stuff on the building board. For this purpose, you can have an 8- to a 10-inch-wide workbench with a wooden surface. It will help you to keep the building board clean and it will last longer.
Plans Protection
The blueprints need to be flattened and laid on the building board. You can cut the blueprints into sections. It will help you to use only the required blueprint for your work. For this purpose, you can glue it in the place. The next target is to protect the plans from the glue. So, you can use a Clear Plans Protector. The plans protector reduces the sanding of parts. The adhesive softens the surface and no paper will stick to the parts that need to be removed from a smooth coating job later.
A common problem to all model buildings is the shed blowout, dents, cuts, dings, etc. They are caused by placing wooden parts and structures on hard objects such as nuts, pins, screws, etc. The waste of job secessions as soon as you finish them. When you are done for a day, you can stop and clean your workplace by putting tools away.
Use Of Glue
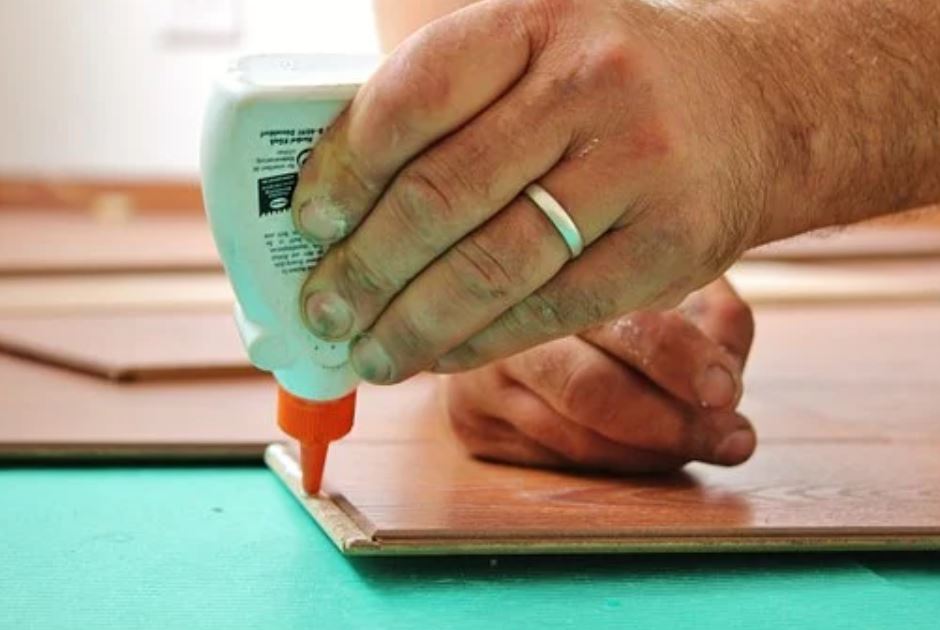
Use only a minimum amount of glue. Make sure that you use only a thin line of glue around the sides of the wings and fuselage. If you are having trouble controlling the amount of glue, you can use a pin to apply it. If you leave it unchecked during the application, the excess glue will form lumps on the exterior surface. Then you will have to use sandpaper for finishing.
Use of Tape
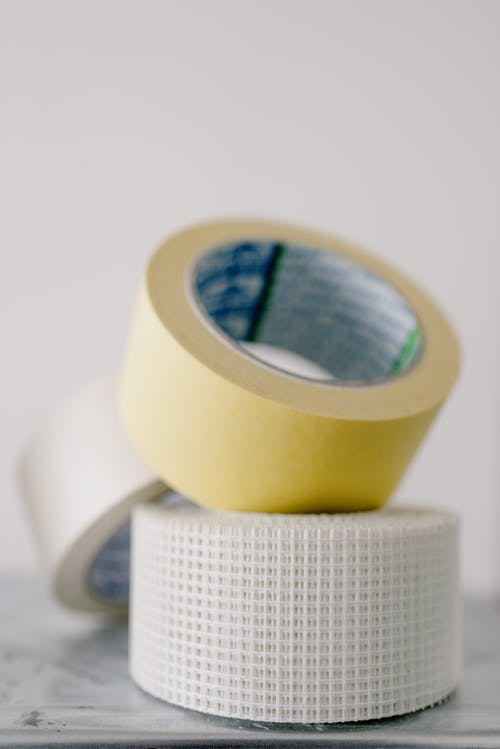
Alignment is of the utmost importance while assembling the model aircraft. All your efforts will be in vain if the result is a crooked plane. The wings and tails should be perfectly aligned with the fuselage. It would be best to use masking tape that will secure the large pieces and before applying glue, you can check the alignment without breaking or damaging the part.
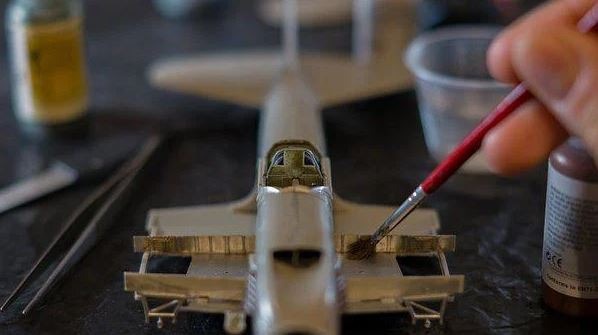
Use Of Paint
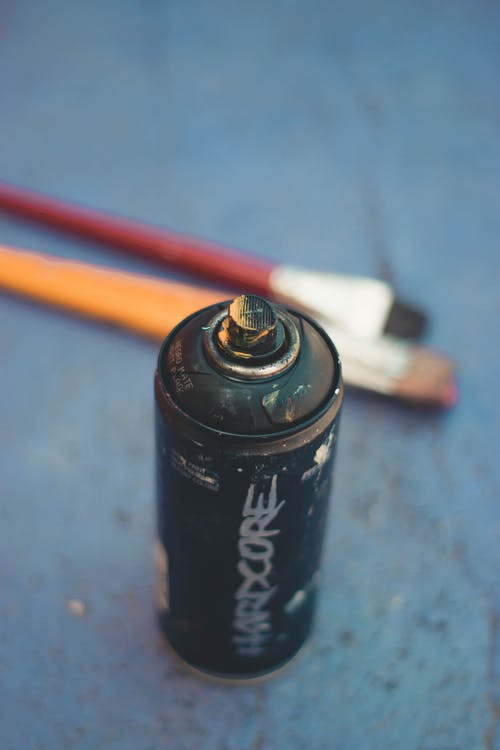
If you paint your model aircraft with a brush, then make sure that you have at least three sizes of the brushes such as medium and fine width. Try to avoid overlapping the brush strokes. If still, it requires a repaint, you can paint it while it is wet. For the second coat, wait for the first coat to dry before you apply the next coat.
After you have painted your model aircraft, clean the brushes with a thinner and stack them upright in a mug or old box. It will help you to keep the bristles in good condition.
When you want to paint the model aircraft with a spray can, the flow might slow down after a while. It is because the box gets cold. The remedy for this problem is to place the box in lukewarm water for about ten minutes before you start painting it again.
Use an airbrush might be pricey but it will allow you to control the air pressure and paint volume. Hence, it gives you a fine line the way you want them to be.
Once you are done painting the model aircraft, you can apply a coat of clear gloss varnish. It gives the model aircraft a shiny appearance. After the glossy layer is dry, you can apply the decals. They will help to make the glossy surface look better.
Use of Scraper
A scraper like dentists can be used to etch the panel lines. Sometimes you mess up the panel lines where you have to re-etch them. Also, you might dig a panel line on the wing. For this purpose, you can use a ruler or tape to keep it from slipping. It is because without using a straight edge, you cannot etch a panel.
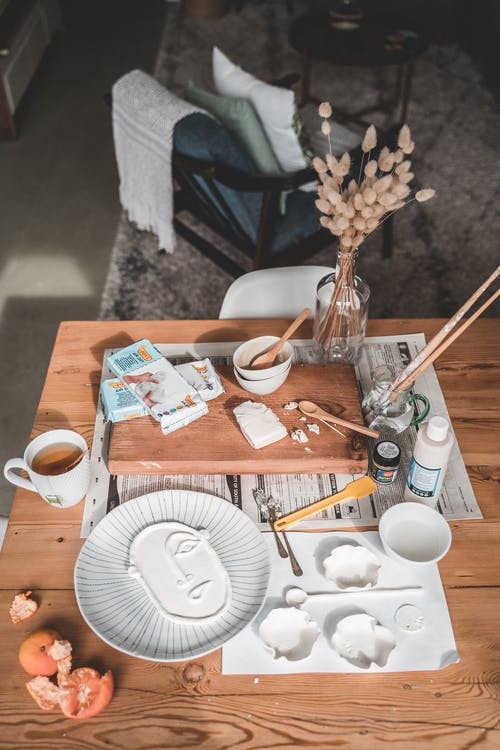
Other Household Tools

Instead of buying expensive tools from the market, your household and daily usage items can act as tools for building a model aircraft.
- To hold the parts when they are drying, you can use clothespins or rubber bands.
- To mix glue or epoxy paint, or for a portable cutting mat, you can use old CDs or DVDs.
- To place paint stirrers or to mix the paint or filler, the large lids of jars or bottle tops can be used for collecting small parts.
- To hold the model aircraft while airbrushing, a Blu Tak can be molded into a smallholder or stand.
- While building a model aircraft, you can use zippered plastic bags to keep the small items together.
- Cleaning the small amounts of fluid in uncomfortable or hard-to-reach places can become easy if you use cotton swabs or cotton buds.
- To mix and apply small amounts of glue or epoxy, you can use toothpicks. Also, it will keep the amount of glue precise, otherwise, you will have to sand the surface for flat and smooth finishing.
Handy Tools – Building The Model Aircraft Right
While building a model aircraft, your inner artist will be more excited than you are. If you are not choosing the right tools to build it, then you will ruin the model aircraft. Just like a carpenter would not work without nails and a hammer, you cannot complete your model aircraft with the right tools.
There are various types of glues and paints that you can use to build a model aircraft. Even if you buy the best quality adhesives and paints but you don’t know how to use them right, then you will not be able to make a perfect model aircraft.