The Best Tools for Gunpla Building: Essential Tools and Accessories for Gundam Modeling

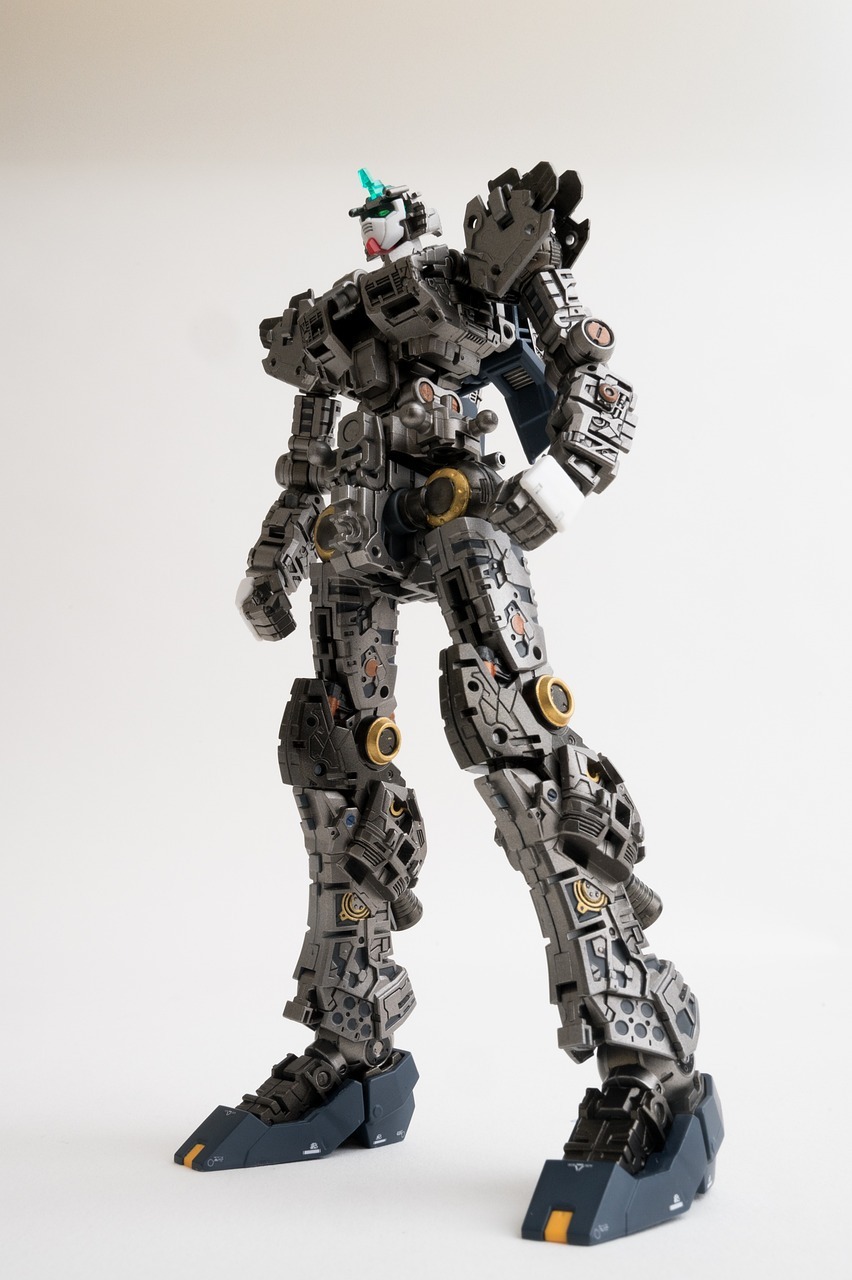
Gundam modeling, known as "Gunpla," is not just a hobby; it's an art form that combines precision, creativity, and a deep appreciation for intricate mechanical designs. Whether you are a novice or a seasoned modeler, having the right tools can transform your Gunpla building experience. In this blog post, we'll explore the essential tools and accessories that every Gundam modeler should have in their toolkit.
1. Nippers or Side Cutters
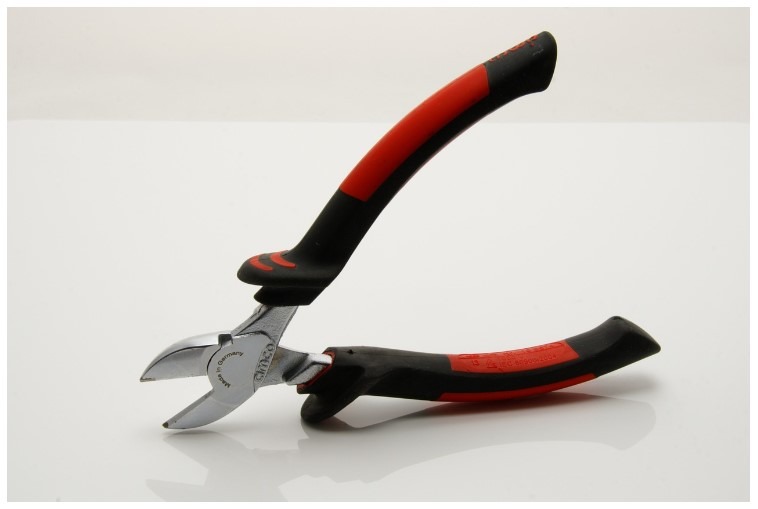
The most fundamental tool in your Gunpla arsenal is a pair of nippers or side cutters. These are used to cut parts out of the runners (plastic frames that hold the parts). Quality nippers, like Tamiya's Sharp Pointed Side Cutters, offer a clean cut, reducing stress on the plastic and minimizing the risk of damage. They vital tools in the world of Gundam model building, often considered the cornerstone of a modeler's toolkit. Here's why they are so important:
Precision and Clean Cuts
- Clean Removal from Runners: Nippers are designed to cleanly snip plastic parts from the runners (the frames to which model pieces are attached). A good pair of nippers will make a close, clean cut, reducing the amount of excess plastic left on the piece.
- Minimizes Stress on Plastic: High-quality nippers can cut closer to the part without stressing or warping the plastic, which is crucial for maintaining the integrity and appearance of the model.
Enhancing the Building Experience
- Improves Efficiency: Using nippers significantly speeds up the process of removing parts from runners, making the building process more efficient and enjoyable.
- Reduces Cleanup Work: A precise cut minimizes the need for extensive sanding or trimming, thereby reducing the amount of cleanup work required.
Types of Nippers
- Standard Nippers: These are more affordable and suitable for beginners. They might not provide as clean a cut as higher-end models but are a good starting point.
- High-Quality Nippers: These nippers, like those from GodHand or Tamiya, are engineered for precision and minimal stress on the plastic. They tend to be more expensive but are a worthy investment for serious hobbyists.
Care and Maintenance
- Proper Usage: Nippers should be used exclusively for cutting plastic model parts to maintain their sharpness. Cutting wire or harder materials can damage them.
- Maintenance: Keeping nippers clean and occasionally oiling the joint can ensure smooth operation and prolong their lifespan.
Safety
- Handling with Care: Given their sharpness, it's important to handle nippers carefully to avoid injury. Always cut away from yourself and keep your fingers clear of the cutting path.
2. Hobby Knife
A sharp hobby knife is invaluable for cleaning up the tiny bits of plastic left after cutting out the parts. It’s also great for trimming and shaving parts for a perfect fit. Always handle with care, and keep extra blades on hand.
3. Sanding Tools
Sanding is crucial for smoothing out imperfections. A variety of sanding tools, from sandpaper of different grits to sanding sticks, will help achieve a smooth, clean finish. Start with a coarser grit and work your way up to a finer grit for the best results.
4. Panel Lining Pens
Panel lining highlights the intricate details of your model, bringing it to life. Fine tip Gundam markers or Micron pens are perfect for this job. Choose a color that complements or contrasts with the base color of your model. They are an integral part of Gundam modeling, playing a crucial role in enhancing the aesthetic and detail of the models. Here’s why they are so important:
Highlighting Details
- Accentuating Features: Panel lines are the engraved lines on the surface of Gundam model pieces. When filled with ink from panel lining pens, these lines become more pronounced, accentuating the mechanical details and features of the model.
- Adding Depth and Realism: Proper panel lining can give a sense of depth and shadow to the model, making it look more realistic and less like a simple plastic kit.
Enhancing Aesthetics
- Visual Appeal: Panel lining adds an extra level of detail that can make a significant difference in the overall appearance of the model. It gives a professional, polished look even to an otherwise unpainted model.
- Customization: Different colors of panel lining pens can be used for different effects or to complement the color scheme of the model.
Ease of Use
- User-Friendly: Panel lining pens, like Gundam markers or Micron pens, are designed to be easy to use. Their fine tips allow for precise application of ink into the panel lines.
- Control and Precision: The pens offer more control and precision compared to using washes for panel lining, making them a preferred choice for beginners as well as experienced modelers.
Versatility
- Variety of Colors: While black and gray are the most commonly used colors for panel lining, there are various colors available to match or contrast with the base color of the model.
- Suitable for Different Scales: These pens are effective on models of all scales, from the smaller HG (High Grade) to the larger MG (Master Grade) and PG (Perfect Grade) models.
Clean Up
- Easy to Correct Mistakes: Excess ink from panel lining can be easily cleaned up with a rubber eraser or alcohol swab, allowing for corrections and adjustments during the process.
Finishing Touch
- Completing the Look: Panel lining is often one of the final steps in the building process. It gives the model a finished, detailed look that stands out, especially in displays or photography.
5. Tweezers
A pair of tweezers is a must-have, especially for applying decals and stickers. They offer precision and help avoid smudging or tearing, especially with water-slide decals or small stickers.
6. Paints and Brushes
For those who wish to customize their models, a set of model paints and brushes is essential. Acrylics are a popular choice due to their ease of use and cleanup. Don't forget a primer for better paint adherence!
7. Top Coat
A top coat can be applied to protect your paint job and add a finish, whether it be matte, gloss, or satin. This not only enhances the appearance but also protects the model from scratches and wear.
8. Cutting Mat
A self-healing cutting mat not only protects your work surface but also helps to keep your work organized. The printed grids and measurements are handy for precise cuts and measurements.
9. Magnifying Glass or Headlamp
For those tiny, intricate parts, a magnifying glass or a headlamp can be a game-changer. It reduces eye strain and ensures precision in your work.
10. Plastic Cement
Plastic cement is a specialized adhesive used in scale modeling, including Gundam model building. Unlike regular glues, plastic cement is designed specifically for bonding plastic model parts. Here's a closer look at its characteristics, uses, and importance in modeling:
Composition and Working Principle
- Chemical Composition: Plastic cement is typically composed of solvents like toluene or methyl ethyl ketone. These solvents dissolve the surface of the plastic.
- Bonding Mechanism: When applied, the cement slightly melts the plastic surfaces to be joined. As the solvent evaporates, the plastic hardens again, effectively 'welding' the parts together.
Types of Plastic Cement
- Liquid Cement: This type is thin and fluid, applied with a brush or needle applicator. It's ideal for fine, precise applications.
- Tube Cement: Thicker and more gel-like, tube cement is easier to control but may be less precise. It's suitable for larger joints or gaps.
Applications in Modeling
- Strong Bond: Plastic cement creates a very strong bond because it fuses the plastic parts together. This is particularly useful in structural components of models that require durability.
- Gap Filling: Some varieties of plastic cement contain fillers that can bridge small gaps between parts, which is beneficial for parts that don't fit perfectly.
Usage Tips
- Surface Preparation: Surfaces should be clean and dry for the best bond. Any paint or grease on the surfaces can interfere with the bonding process.
- Application: Apply sparingly, as too much cement can deform the plastic or leave a residue. Precision applicators are useful for applying small amounts accurately.
- Ventilation: The fumes from plastic cement can be strong and potentially harmful. It's important to work in a well-ventilated area.
Drying Time
- Varies by Type: The drying time can vary from a few minutes to several hours, depending on the type of cement and the thickness of the application.
Safety Considerations
- Flammable and Toxic: Plastic cement is flammable and toxic if inhaled or ingested. Using it safely involves working in ventilated areas and storing it away from heat sources.
- Skin and Eye Protection: Avoid skin contact and inhalation of fumes. In case of skin contact, wash with soap and water. Eye protection is also advisable.
Limitations
- Plastic Only: Plastic cement works exclusively on certain types of plastic (like polystyrene, which is commonly used in model kits). It's ineffective on other materials like metal or resin.
Cleanup
- Solvent for Cleanup: If you need to remove excess cement or clean up spills, a solvent like acetone can be used, though it should be done carefully to avoid damaging the model.
In the context of Gundam model building, plastic cement is particularly useful for permanent modifications or when assembling custom parts. It provides a level of strength and seamlessness that snap-fit connections or other adhesives can't match, making it an invaluable tool for serious modelers looking for professional-grade results.
Conclusion
Building Gundam models is a rewarding hobby that challenges your dexterity and creativity. Equipping yourself with the right tools not only makes the building process smoother and more enjoyable but also elevates the quality of your finished models. Remember, the best toolkit is the one that suits your personal needs and the complexity of the models you are building. Happy Gunpla building!
Whether you're just starting out or looking to upgrade your toolkit, these essential items will help you on your journey to becoming a master Gundam modeler.