How to Build High Grade (HG) Gundam Models: A Step-by-Step Guide for Beginners
Building High Grade (HG) Gundam models can be a rewarding and accessible hobby for anyone with an interest in detailed model crafting. High Grade kits are 1/144 scale, making them compact yet full of detail, suitable for both beginners and experienced builders. These models offer a balance between complexity and ease, providing a satisfying experience without being too overwhelming.
Gunpla, short for Gundam plastic models, has various grades, and High Grade is a popular choice due to its affordability and solid build quality. Introduced in 1990, HG kits offer a great starting point with their detailed designs and flexible joints, which allow for dynamic posing. Unlike some of the more advanced grades, High Grade models do not require extensive tools or experience to assemble.
For those new to Gunpla, HG kits provide a fantastic introduction to the world of Gundam model building. With a variety of iconic Gundam suits available, builders can enjoy creating their favorite characters in manageable steps. The journey of assembling, posing, and even customizing these models makes for an engaging and creative pastime.
Understanding Gundam and Gunpla
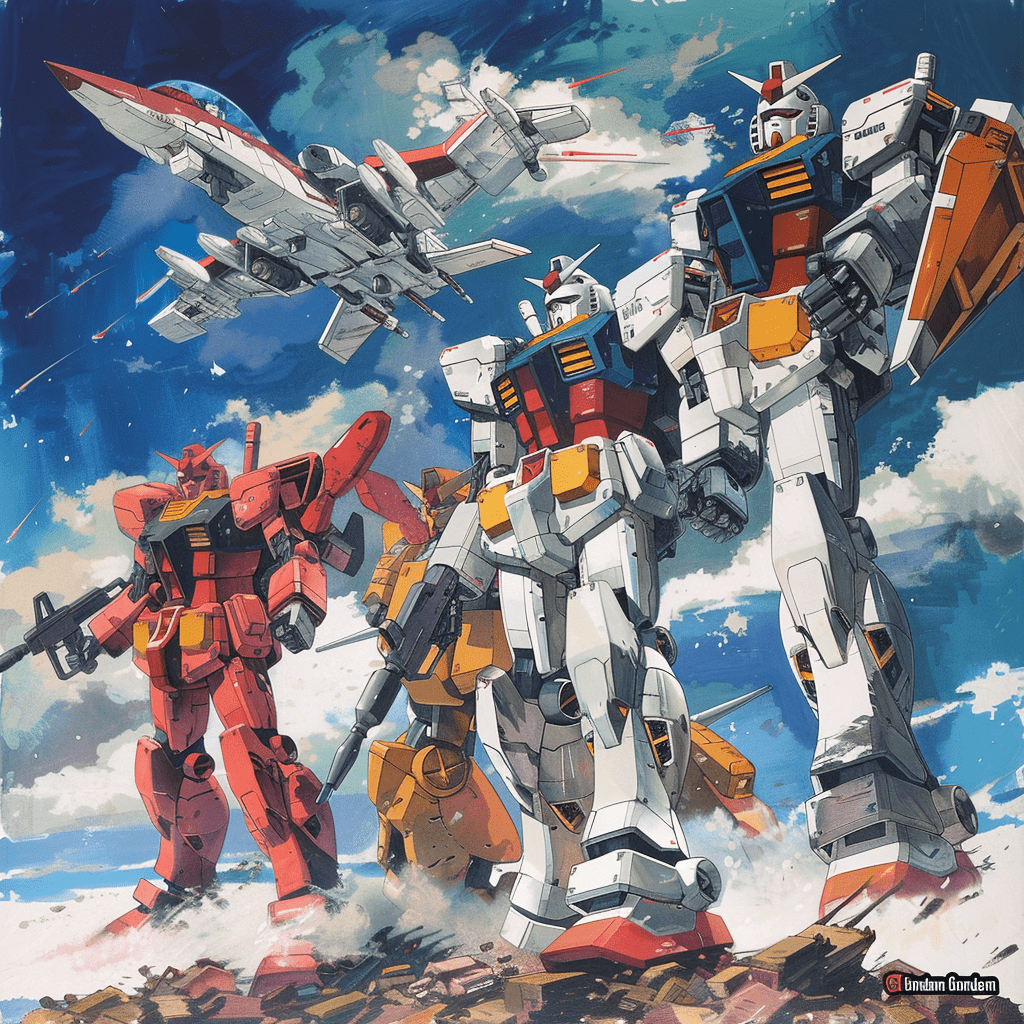
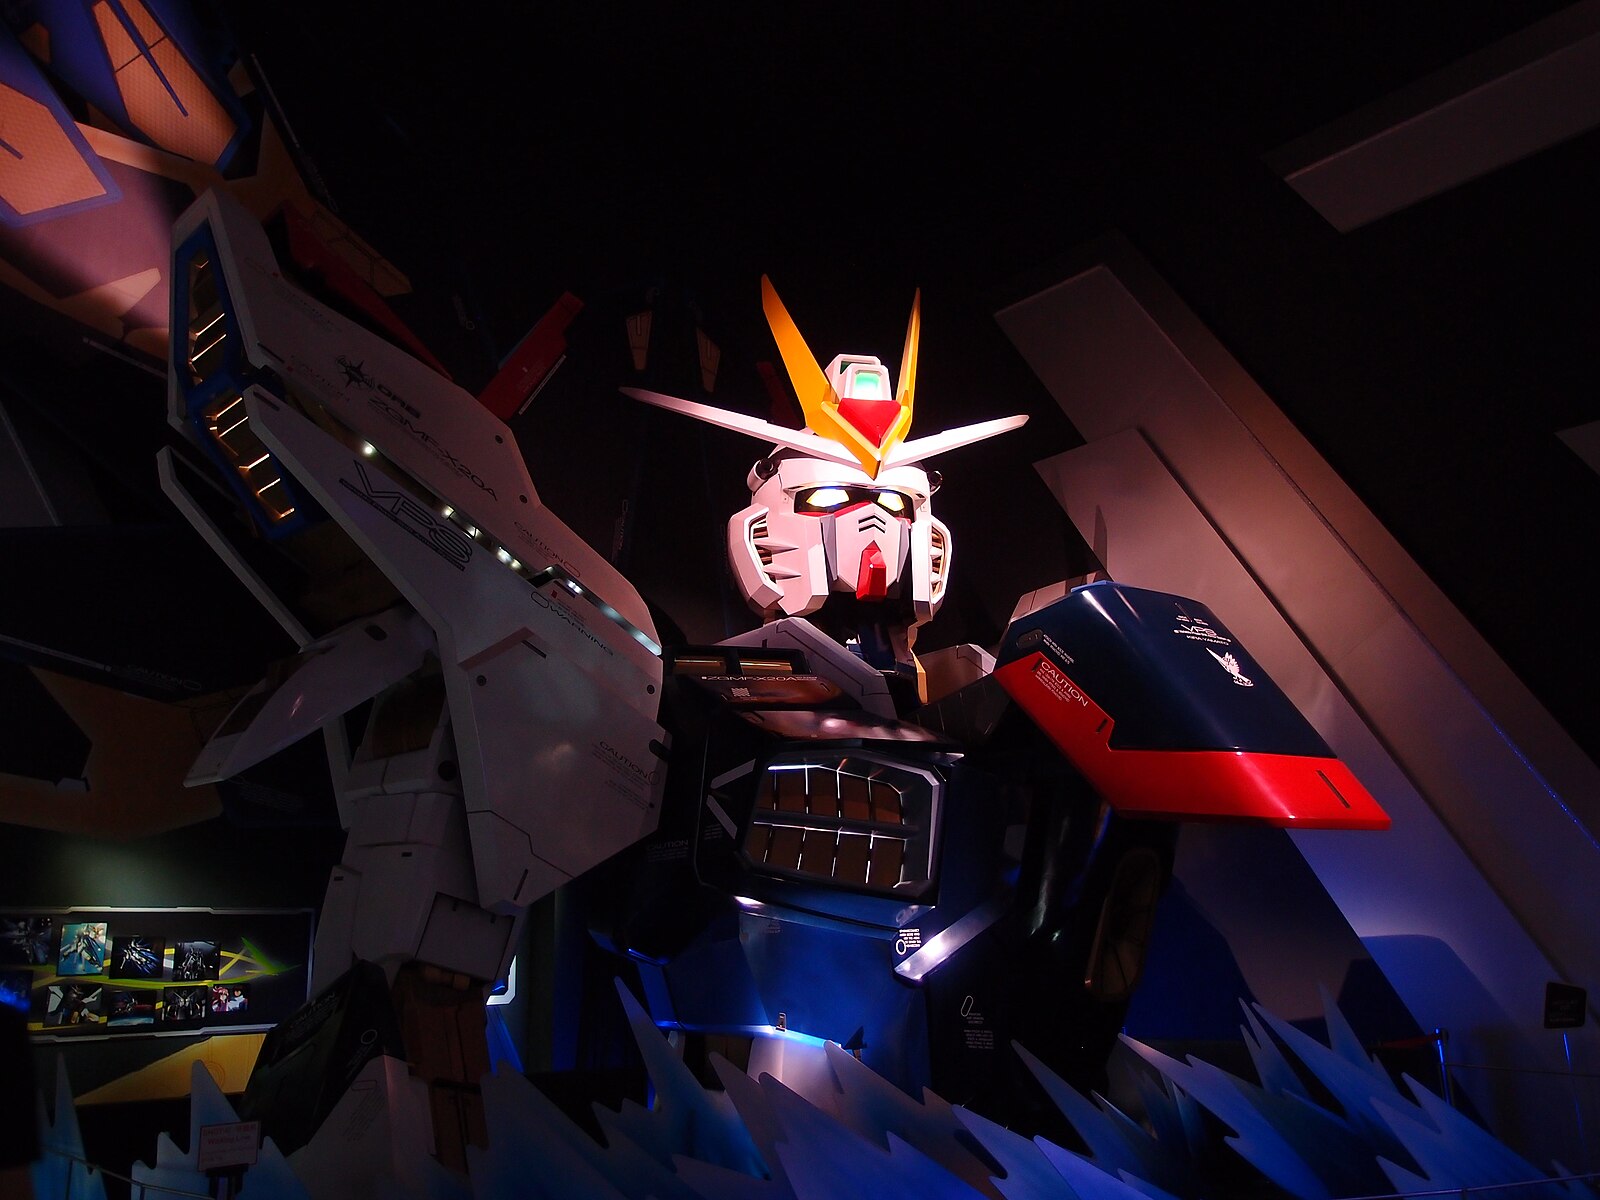
"Gundam" refers to a popular franchise encompassing anime, manga, and models known as Gunpla. The series has captivated fans globally, leading to the evolution of various Gunpla grades.
The World of Gundam Anime and Manga
"Gundam" began as a mecha anime series in 1979. Created by Yoshiyuki Tomino and Sunrise, it introduced giant robots piloted by humans. The franchise extended into manga, expanding its storyline and fandom. Each series within the franchise often has its unique story arcs, characters, and mecha designs, making it a rich universe to explore.
These stories influenced the design and complexity of Gunpla models, connecting fans to their favorite series. Enthusiasts appreciate the detailed plots and complex characters that add depth to the model-building experience.
The Evolution of Gunpla Grades
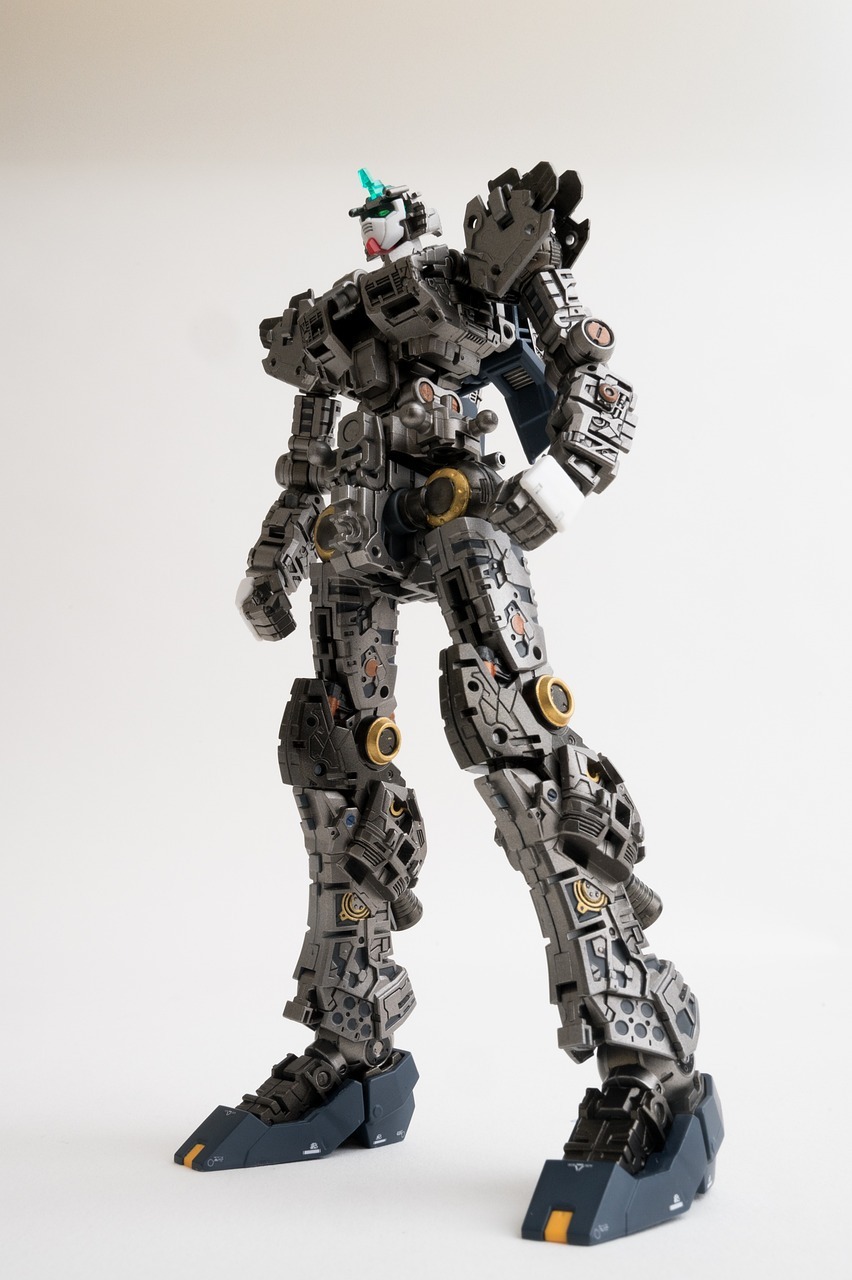
Gunpla models come in different grades, reflecting their complexity and detail. High Grade (HG) kits are beginner-friendly with simpler assembly. Master Grade (MG) and Real Grade (RG) kits offer more detailed parts and articulation, suitable for intermediate builders. Perfect Grade (PG) stands out as the most detailed and challenging, ideal for experienced builders.
A unique category is Super Deformed (SD), which features exaggerated, chibi-style mecha. Each grade offers a different experience, ensuring that both new and veteran builders find kits matching their skill levels and interest.
High Grade (HG) Gundam Models Explained
High Grade (HG) Gundam models are popular due to their affordability, decent detail, and ease of construction. They balance quality and simplicity, making them perfect for beginners and experienced builders alike.
What Makes HG Unique
High Grade models stand out for their balance of detail and articulation. They offer a good level of detail without being too complex. These kits are great for practicing and improving model-building skills.
Their parts come in multiple colors, reducing the need for painting. Articulation allows for dynamic poses and movements, improving display options. HG models also include stickers for adding intricate details, enhancing the model’s appearance without much effort.
HG Scale and Size
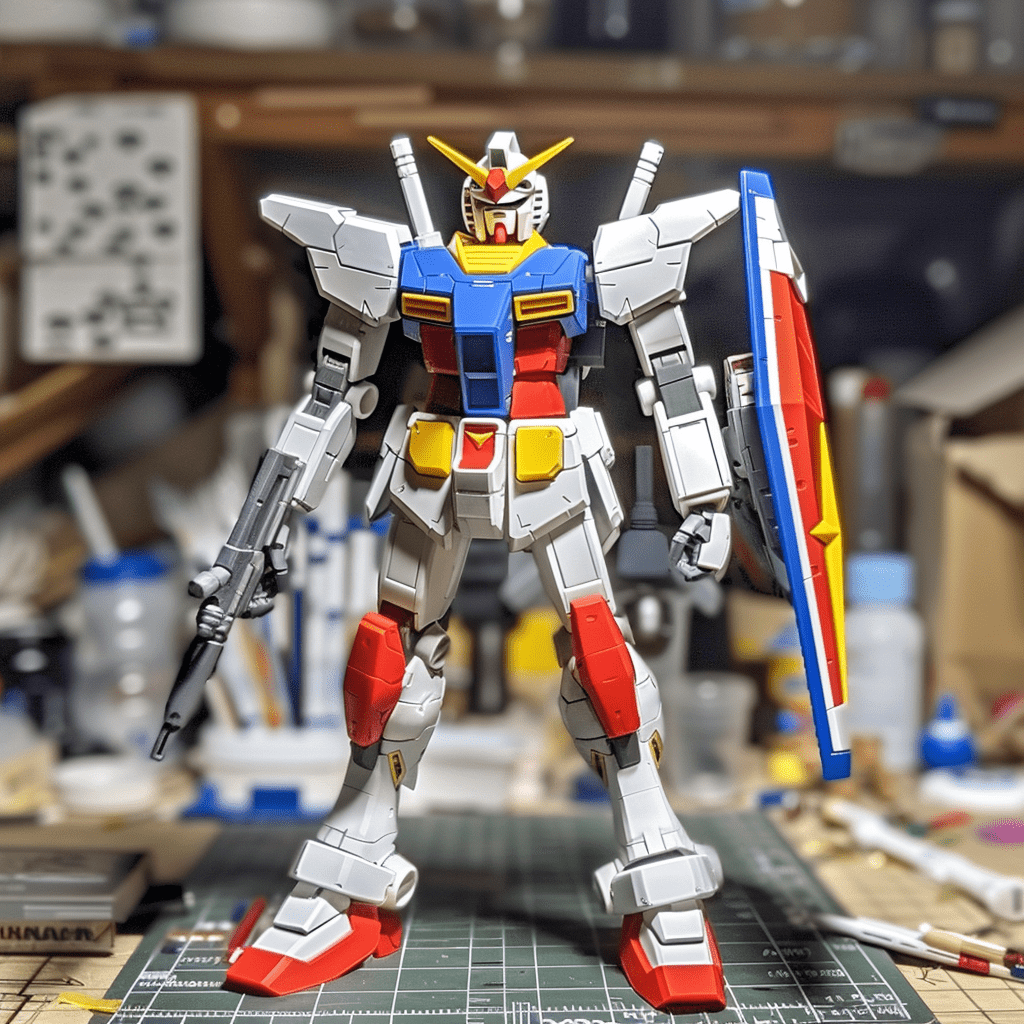
High Grade models are typically in the 1/144 scale, making them smaller than some other grades but still impressive on display. This scale means the model is about 5-6 inches tall, small enough to fit on a desk or shelf without taking up too much space.
The size allows for a manageable build experience, perfect for those new to Gunpla. Despite their size, they maintain a good level of detail and are less intimidating to start.
The High Grade Line-Up
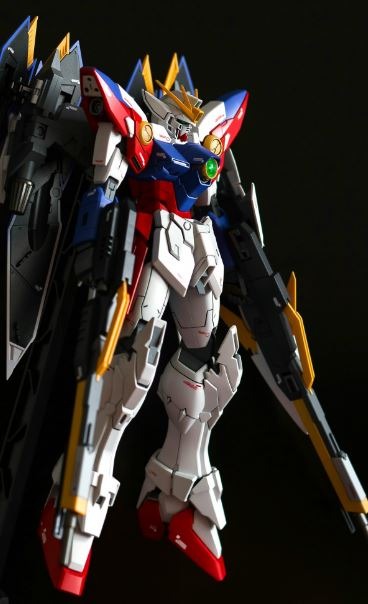
The High Grade line-up includes models from various Gundam series, such as Gundam Seed, Universal Century, and more. This diversity ensures there is something for every fan. The HGAC (High Grade After Colony) series also features models from Gundam Wing.
These kits are affordable, usually priced between $12-25, making them accessible. The variety in the High Grade line allows builders to recreate models from different universes and time periods within the Gundam franchise.
Starting Your Gunpla Hobby
Building Gunpla models, especially High Grade (HG) kits, can be a fun and rewarding hobby. To start, you will need to choose your first model and gather some essential tools.
Choosing Your First HG Model
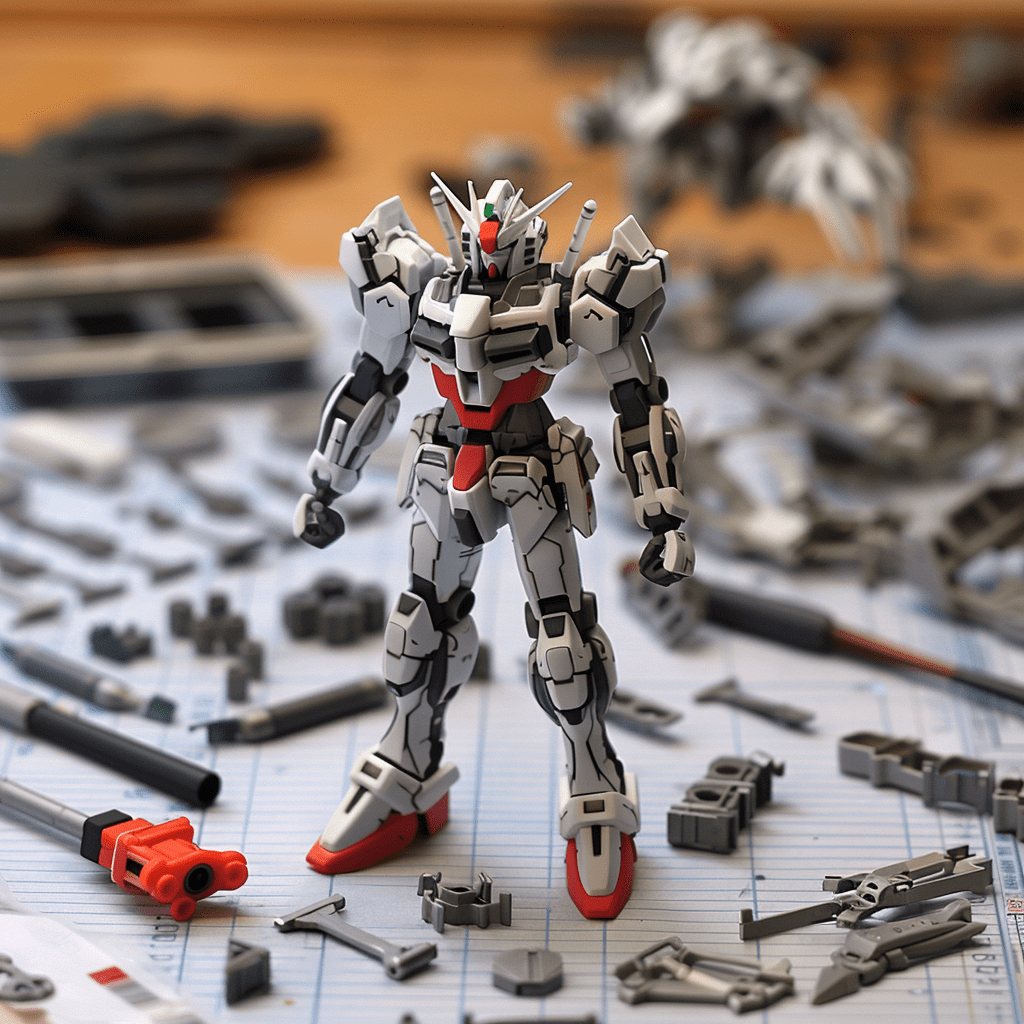
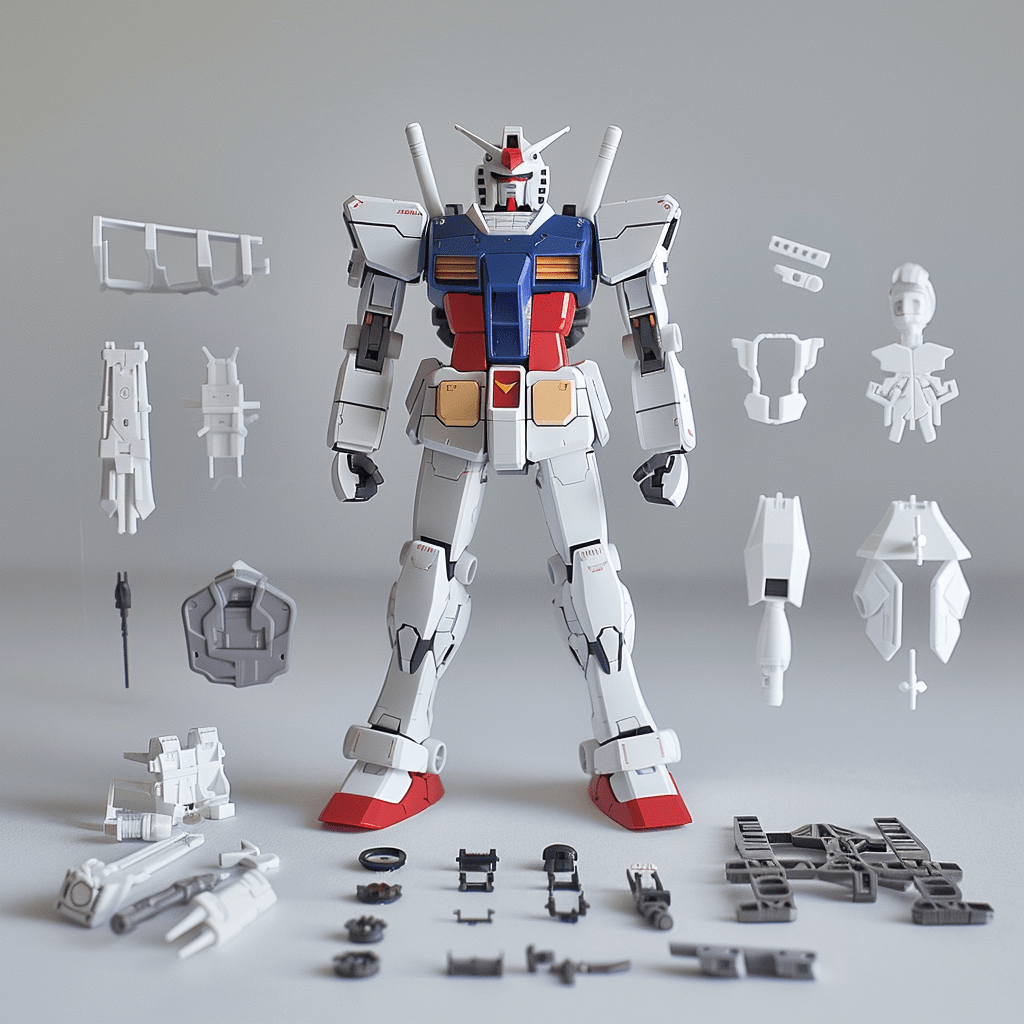
When getting started, beginners should consider the RX-78-2 Gundam High Grade Model Kit. This 1/144 scale kit is detailed and posable. HG kits like this one are designed to be easy to build and have fewer parts than more advanced kits.
Bandai's HG lineup is a great place to start. These kits are accessible and come with clear instructions. Look for HG or High Grade labels on the box to ensure it’s suitable for beginners. This helps in not feeling overwhelmed and enjoying the building process.
Essential Tools for Building HG Kits
You don’t need many tools to start building Gunpla kits. Hobby nippers are the most crucial. They are used to cut out the plastic parts from the sprues and cost around $10. Avoid using regular scissors as they may damage the parts.
A hobby knife is also important for cleaning up any excess plastic after cutting out the parts. Be careful with it to avoid injuries. Sandpaper or a sanding stick can help smooth the edges. Assembly instructions included with the kits guide you step-by-step through the process.
Using these essential tools makes building your first HG model easier and more enjoyable.
HG Gundam Model Kit Preparation
Building an HG Gundam model requires careful preparation to ensure a smooth assembly process. Understanding the manual and organizing your parts and work area are crucial for a successful build.
Understanding the Manual and Runners
The manual provides detailed instructions for assembling your HG Gundam model. Each part is indicated by a specific letter and number, such as Part A2, which means locating Part 2 on Runner A.
Runners are plastic frames that hold all the model parts. It’s important to carefully check and confirm you have all needed runners before starting.
Tip: Read through the entire manual once before starting to identify any special instructions or complex steps.
When handling the runners, use a pair of hobby nippers to cut the parts cleanly. Avoid forcing parts together as this can damage them. Clean any remaining nubs with a fine file.
Organizing Parts and Work Area
A well-organized workspace can make the building process much easier. Begin by laying out all your tools, such as nippers, files, and tweezers.
Place the runners in an easy-to-reach but orderly manner around your workspace. Consider using small containers or trays to keep small parts from getting lost.
Suggested Tools:
- Hobby nippers
- Fine file
- Tweezers
- Small containers
Keep the manual close by for quick reference and work on a clean, flat surface. This helps in maintaining focus and avoiding the loss of small parts.
Tip: Keep a damp cloth handy to wipe away any plastic dust created during filing.
Assembling Your HG Gundam
Putting together your High Grade (HG) Gundam model involves following detailed instructions and using some basic tools. Focus on cleanliness and precision to achieve the best results.
Step by Step Construction
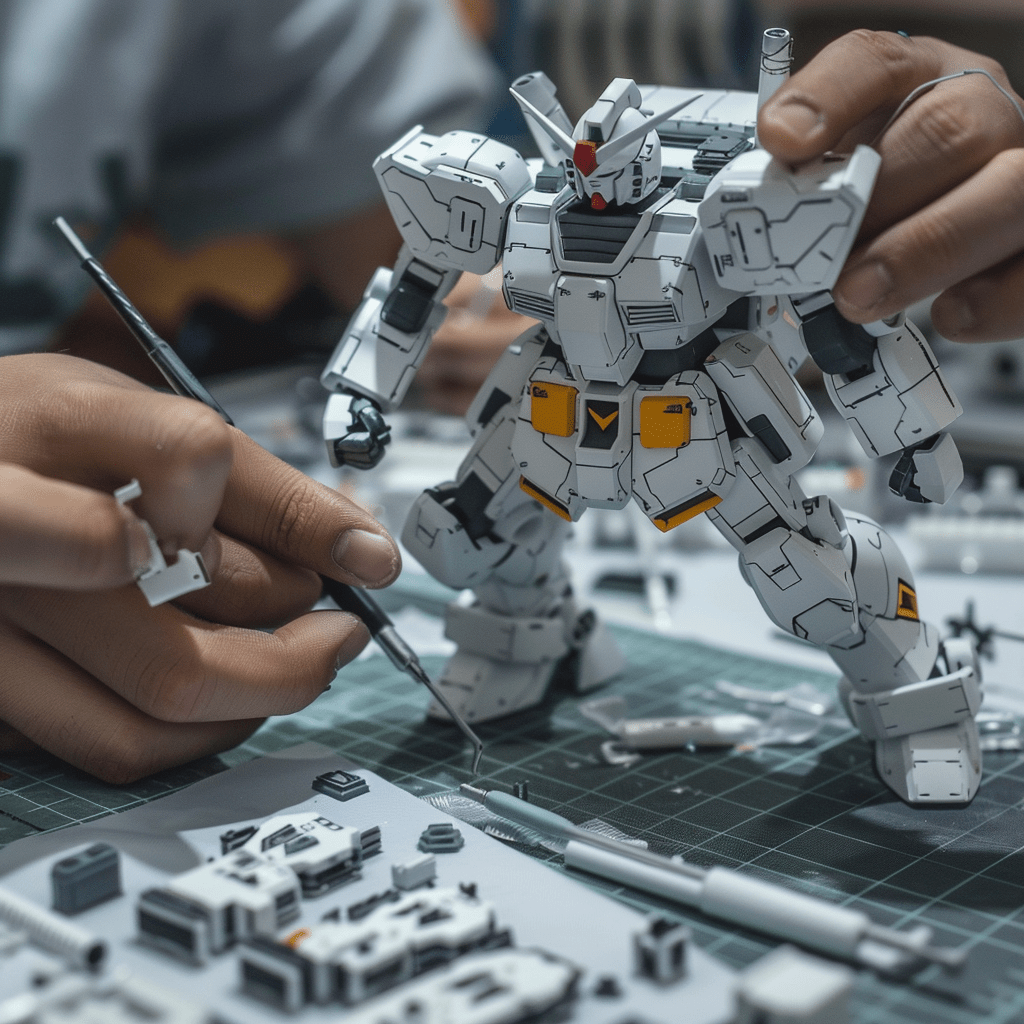
Start by gathering all parts from the sprues using hobby nippers. Carefully trim any remaining nubs with a small hobby knife. Sort the parts according to the manual.
Next, snap pieces together as per the instructions. HG kits are designed to fit without glue, making assembly easier. Follow the numerical or alphabetical order in the manual to avoid mistakes.
Ensure each joint is securely fitted. Be cautious while handling delicate parts like antennas or small connectors. Slowly work part by part to avoid misalignment.
For better results, sand down visible nubs and seams with fine-grit sandpaper. This helps remove any imperfections. Clean pieces with a brush to remove plastic dust.
Tips for Smooth Assembly
- Use proper tools: Hobby nippers, a sharp hobby knife, and fine-grit sandpaper are essential. Tweezers can help with tiny parts.
- Work in a clean, well-lit area: This minimizes the chance of losing small parts and provides better visibility for detailed work.
- Take your time: Rushing can lead to errors. If unsure, double-check the manual before snapping parts together.
- Dry fit parts first: Before final assembly, dry fit sections to ensure they align properly. This practice helps avoid damaging parts.
- Keep parts organized: Use small containers or trays to keep parts sorted, reducing the risk of misplacing pieces.
- Stay patient and persistent: Some parts may be tricky. Persistence pays off in a well-assembled model.
Following these steps and tips ensures a smooth building process. With care and attention, your HG Gundam model will look impressive.
Adding Details to Your HG Gundam

Adding details to your HG Gundam helps it look more realistic and customized. This involves careful panel lining, applying stickers and decals, and basic painting techniques.
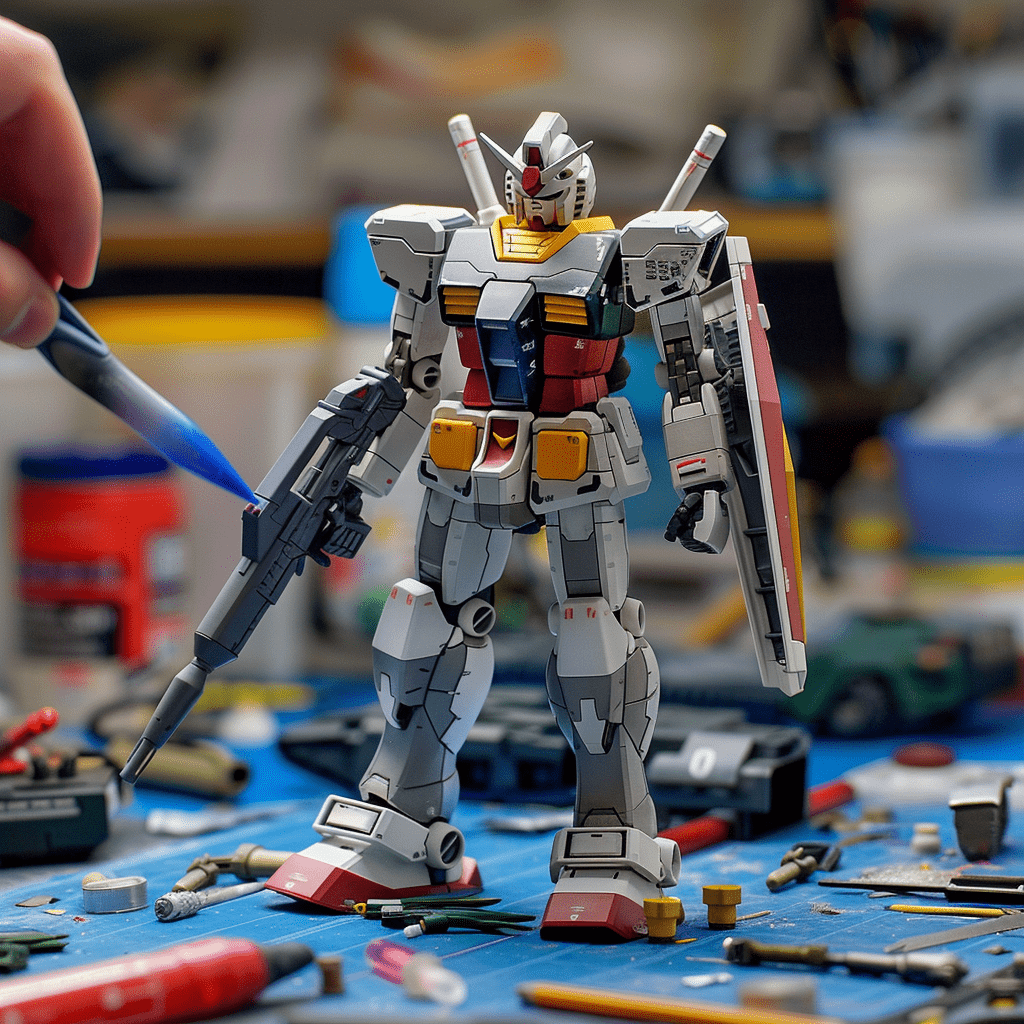
Panel Lining for Realism
Panel lining is used to emphasize the lines and details on the Gundam model. To do this, you can use a fine-tipped Gundam marker or a mechanical pencil. Carefully trace the lines on the model.
Wipe away excess ink with a cotton swab or a clean cloth. This creates a sharp and clean outline. Panel lining brings out the details and gives the model a more defined and mechanical look.
Color options for panel lining can vary. Common choices are black, gray, and brown. Each color can add a different effect to your model.
Applying Stickers and Decals
HG Gundam kits often include stickers and decals to add specific designs or insignias. First, carefully cut the stickers from the sheet with a pair of hobby scissors. Tweezers can help place the stickers accurately.
Use a soft tool or a cotton swab to press down the stickers firmly. Decals may require water application. Dip the decal in water for a few seconds, then slide it onto the desired spot.
Use a soft cloth to pat the decal dry and remove excess water. This process adds more authenticity and detail to the model, making it stand out.
Basic Painting Techniques
Although HG Gundam models come molded in different colors, painting can enhance their look. Begin with basic colors like red, blue, white, and gray. Acrylic paints are recommended for beginners as they are easy to clean and quick to dry.
Use small brushes for detailed areas and larger brushes for bigger parts. Apply thin layers of paint and let each layer dry before applying the next.
Consider using masking tape to cover areas you don't want to paint. Weathering techniques can also be used to give the model a more battle-worn look. This adds depth and realism to the Gundam model.
Advanced Gunpla Techniques
Enhancing your High Grade (HG) Gundam model involves customizing, applying weathering effects, and creating dynamic displays. These advanced techniques can significantly improve the visual appeal and realism of your builds.
Customizing Your HG Model
Customizing goes beyond following the instructions in the kit. Builders can change colors, add new parts, or modify existing elements. Painting is a major component. Use airbrushes for smooth finishes, and hand-paint details for precision. Applying panel lining with fine markers or washes enhances the model’s details.
Builders often use third-party parts or materials like plastic sheets to create custom armor or weapons. Another advanced technique is sanding and puttying, which helps to smooth seams and fill gaps, making the model look more polished.
Decals and stickers can also be customized. Waterslide decals tend to look more realistic than standard stickers. Whether you're adding special insignias or custom markings, decals can make your model stand out. Experimentation and practice are key to mastering these customizing techniques.
Weathering for Aged Effects
Weathering techniques add a sense of realism by simulating wear and tear. Common methods include dry brushing where paint is lightly applied to raised surfaces to highlight edges and create a worn look. Builders often use washes to fill crevices with darker shades, simulating dirt and shadow effects.
Chipping effects mimic the appearance of damaged paint. This can be achieved by applying silver paint with a sponge or using a fine brush. Additionally, pastels and pigments can be used to create rust and dust effects. This enhances the aged appearance, making it look like it's seen many battles.
Remember to protect your work with a clear topcoat once the weathering is complete. This helps to seal the effects and keep the details intact.
Creating Dioramas and Displays
Dioramas and displays set your model in a dynamic scene, enhancing its visual story. Base building involves creating a foundation using materials like foam, plaster, or clay. This base can represent environments like battlefields, space stations, or natural landscapes.
Details are crucial. Adding elements such as rocks, vegetation, or debris can create a more immersive setting. Using items like mini LED lights can bring another level of realism, especially in spaceships and night scenes.
Posing your model correctly within the diorama is vital. Ensure that the pose or action matches the scene’s narrative. Perspective and scale should be considered to maintain realism. Accessories like stands or layers can add depth and complexity to the display, making it more engaging for viewers.
Maintaining and Displaying Your Gundam
Maintaining your High Grade (HG) Gundam models ensures they stay in great shape, while proper display choices highlight their best features.
Cleaning and Maintenance
Regular cleaning is key to keeping your Gundam models looking good. Dust can collect on them, making them appear dull. Use a soft, anti-static brush to gently remove dust from small parts and crevices. A can of compressed air can help blow away dust from hard-to-reach areas.
For tougher dirt, dip a cotton swab in mild soapy water and gently clean the affected area. Avoid using harsh chemicals, as they can damage the plastic. After wet cleaning, make sure to dry the model thoroughly to prevent water spots.
Inspect your model periodically for loose parts or joints. If you find any, a small drop of plastic cement can help secure them. Handle your model with care during cleaning to avoid breaking any delicate parts.
Display Options and Stands
Displaying your Gundam models properly can enhance their appearance and protect them from damage. Display stands are a popular choice as they allow you to pose your Gundam in dynamic positions. Some stands are adjustable, which means you can change poses without buying new stands.
Display cases offer another layer of protection by keeping dust away. These cases come in various sizes and styles, so you can choose one that suits your collection. Using a clear acrylic case lets you view your models from all angles without having to open it frequently.
For a more elegant display, use shelves with built-in lighting. LED lights can highlight the fine details of your models. When setting up shelves, make sure they are sturdy and placed away from direct sunlight to prevent color fading.
By following these guidelines, your High Grade Gundam models will remain in pristine condition and look impressive on display.