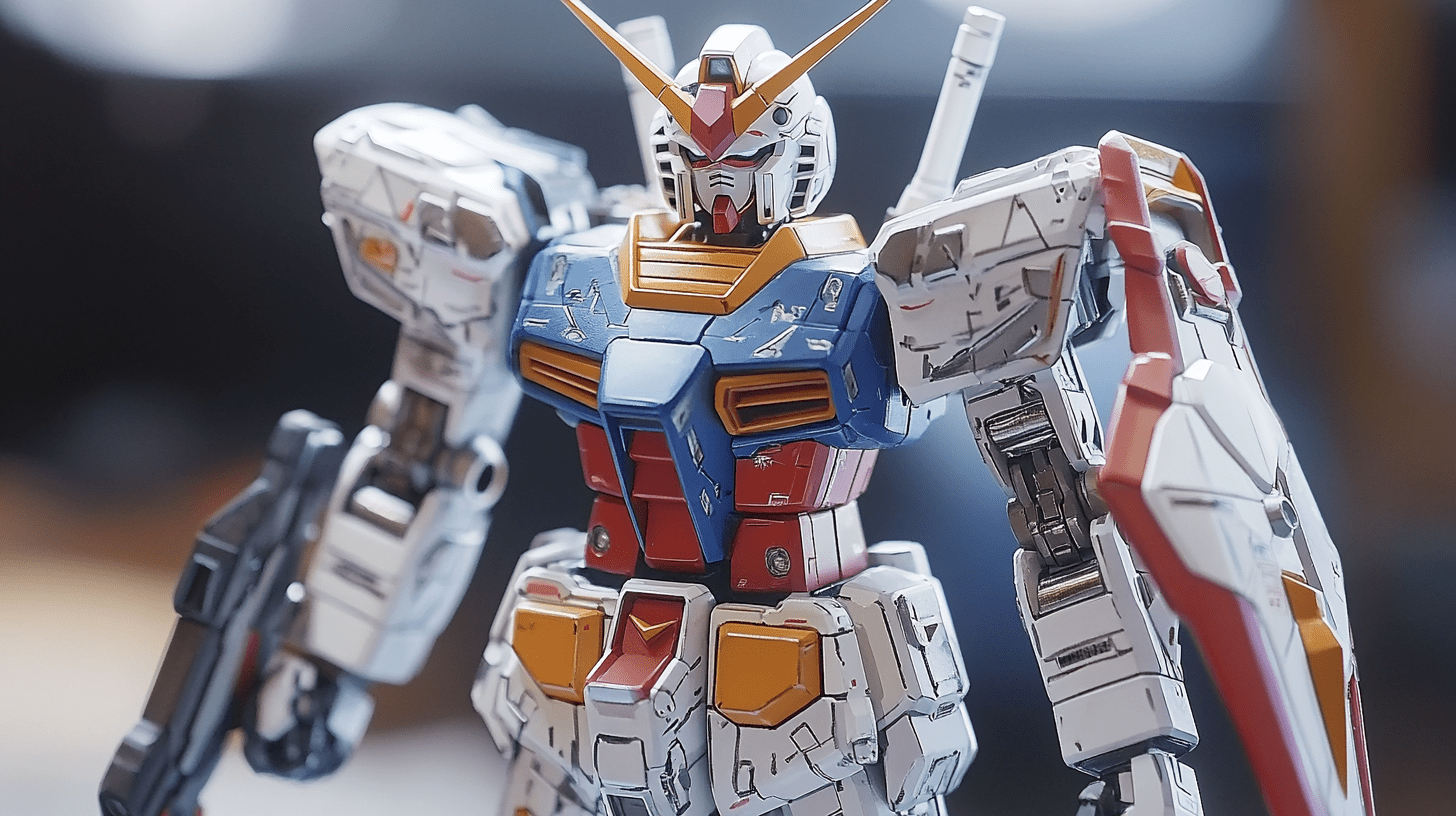
How to Use Airbrushing Techniques on Gundam Models for Precise Detailing
Airbrushing can transform a basic Gunpla model into a stunning work of art. For many hobbyists, learning how to use an airbrush is a key step in mastering the craft of Gundam modeling. An airbrush allows you to achieve a smooth, even finish that is difficult to accomplish with hand painting alone.
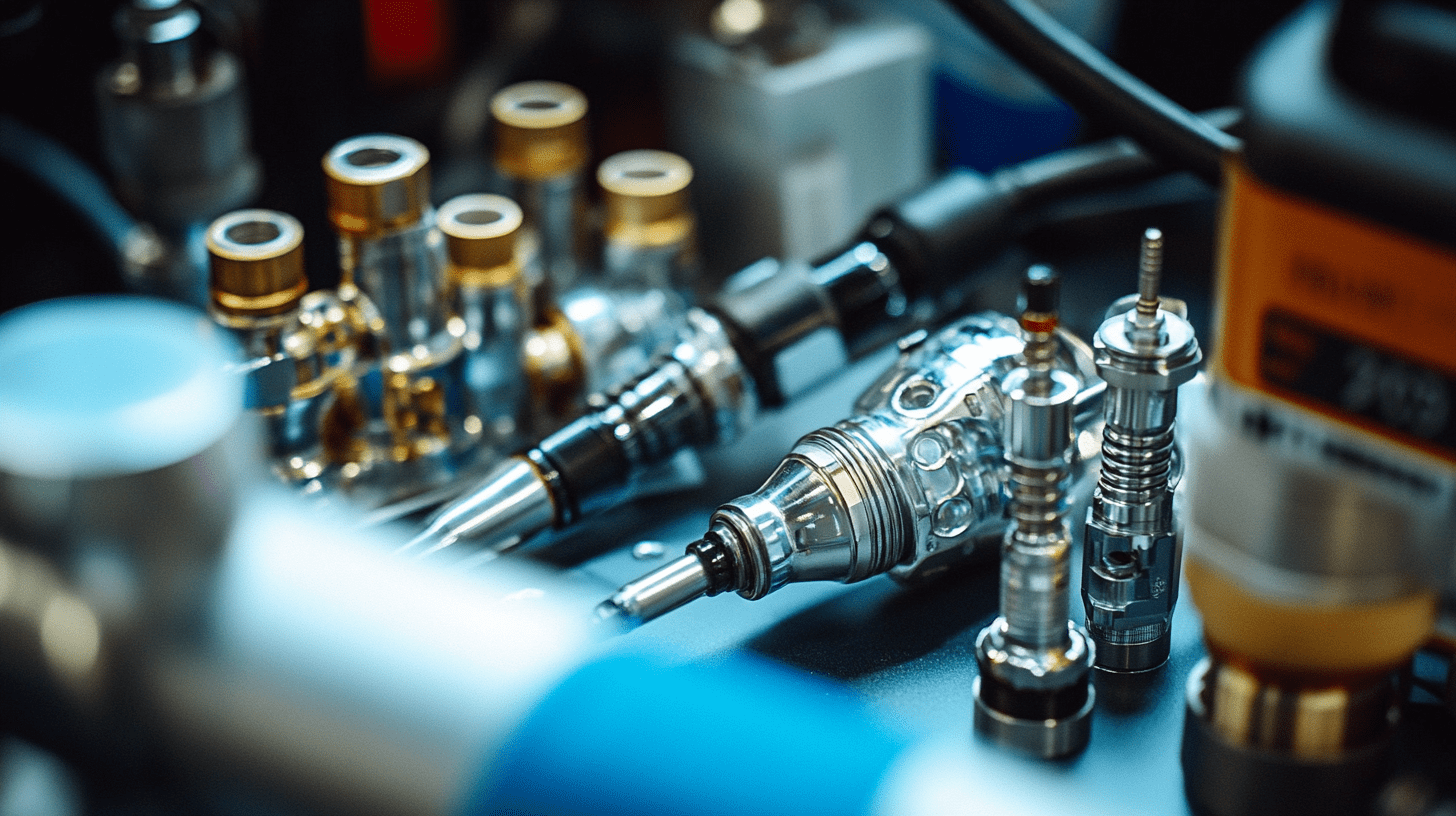
This technique is accessible even to beginners, and the right tools and tips can make the process easier. Essential equipment includes an airbrush, compressor, airbrush hose, and safety gear like a respirator. It's also important to have a well-ventilated area for safe operation. Picking up additional accessories like a regulator and moisture trap can help maintain consistent airflow and improve the quality of your work.
Understanding how to control the airbrush and apply paint evenly is crucial. Adjusting the pressure and practicing on spare pieces can help. By mastering these basic techniques, anyone can elevate their Gundam models and enjoy the artistic journey of airbrushing in the Gunpla hobby.
Setting Up the Airbrushing Workspace
Creating a proper airbrushing workspace is crucial for achieving the best results and maintaining safety. Key elements include choosing the right environment, gathering essential tools, setting up a ventilated spray booth, and using appropriate safety gear.
Choosing the Right Environment
Select a well-lit, clean area with enough space to comfortably work. A garage or a dedicated room works best due to the potential mess. Ensure the room is away from where food is prepared or eaten to prevent contamination.
Natural light is ideal, but additional bright lamps can help. Make sure the work surface is flat and sturdy. A clutter-free space allows for better movement and organization of tools.
Essential Airbrushing Tools
Gather necessary tools before starting. Key items include an airbrush, air compressor, paints, and cleaning supplies. Quality brands like Iwata and Badger are reliable.
Use a double-action airbrush for better control of airflow and paint application. Invest in an air compressor with a tank to maintain consistent pressure, ideally around 20 psi. Thinners and cleaning solutions are essential for maintaining your equipment.
Creating a Ventilated Spray Booth
A spray booth is vital to manage paint fumes and overspray. You can buy a premade spray booth or create one using a cardboard box and an exhaust fan.
Ensure the booth is large enough to comfortably fit your model. Attach a fan with a filter to draw out fumes and particles. Duct the fan's exhaust outside through a window or vent. This setup helps keep the air in your workspace clean.
Safety Measures and Protective Gear
Safety is paramount when airbrushing. Wear gloves and a mask to protect against paint fumes and particles. Nitrile gloves are preferable because they resist chemicals better than latex.
A respirator mask with fine particle filters offers another layer of protection, especially when using paints with strong fumes like lacquers. Always read paint labels for specific safety guidelines and ensure your workspace is well-ventilated to prevent inhalation of harmful substances.
Gunpla Kit Preparation
Proper preparation is essential for achieving the best results with airbrushing techniques on Gundam models. The key steps involve disassembling the model kit, cleaning and priming the parts, and securing them with alligator clips and foam.
Disassembling the Model Kit
Before painting, it’s important to disassemble the Gunpla kit carefully. Separate the parts of the model using a pair of side cutters to avoid damaging the plastic. Pay close attention to the instructions to identify which parts need to be separated.
Organize the disassembled parts by sections such as arms, legs, and torso. This makes it easier to paint them uniformly. Place small parts in labeled containers or zip-lock bags to avoid losing any components. Labeling can help in reassembly after painting.
Cleaning and Priming the Parts
Clean each part to remove any mold release agents or oils from handling. Use a mild detergent with water and a soft brush for cleaning. Rinse thoroughly and let them dry completely before moving to the next step.
Priming the parts is essential as it helps the paint adhere better. Use a spray primer suitable for plastic models. Hold the parts with tweezers or alligator clips and spray in thin, even coats. Let the primer dry according to the manufacturer’s instructions before painting.
Securing Parts with Alligator Clips and Foam
To paint the separated parts effectively, use alligator clips attached to skewers or sticks. This allows for ease of handling and better control while painting. Insert the skewers or sticks into foam blocks to hold them steady.
This setup keeps the parts in place and prevents them from touching any surfaces while drying. It ensures that each part can be painted evenly from all angles. Using alligator clips and foam blocks also helps in avoiding fingerprints on the primed surface, leading to a smooth finish.
Airbrushing Basics
Airbrushing Gundam models can seem complicated, but understanding the key components and techniques makes it much easier. It's important to know about airbrush types, how a compressor works, mixing paint and thinner, and setting the right air pressure.
Understanding Airbrush Types
Different airbrush types are suited for various tasks. The most common are single-action and double-action airbrushes. Single-action airbrushes only control the airflow, meaning you have to adjust the paint flow separately. This type is simpler but less versatile.
Double-action airbrushes let you adjust both paint and airflow by pressing and moving the trigger. This provides more control, making it the preferred choice for detail work on Gundam models. Well-known brands include Iwata, Paasche, and Badger.
The Function of the Compressor
The compressor is what drives the air through the airbrush. It is crucial for maintaining consistent air pressure. There are different types of compressors, like piston and diaphragm compressors. Piston compressors are more common for model painting because they provide steady airflow.
When choosing a compressor, make sure it has an adjustable pressure regulator. This helps you change the air pressure according to the needs of your project. Some compressors come with a moisture trap which removes water from the air, preventing unwanted effects on the paint.
Mixing Paint and Thinner
Getting the right paint mixture is essential for smooth airbrushing. Paints need to be thinned to the right consistency to prevent clogging and ensure an even application. Acrylic paints and lacquer paints are commonly used for Gundam models. Thinning the paint can be done using water for acrylics or specific thinners for lacquer paints.
Use a paint mixing cup and a stir stick to blend the paint and thinner. The mixture should be consistent with milk. Test the mixture by spraying onto a piece of paper. If it sputters or clogs, adjust the thinner ratio until it sprays smoothly.
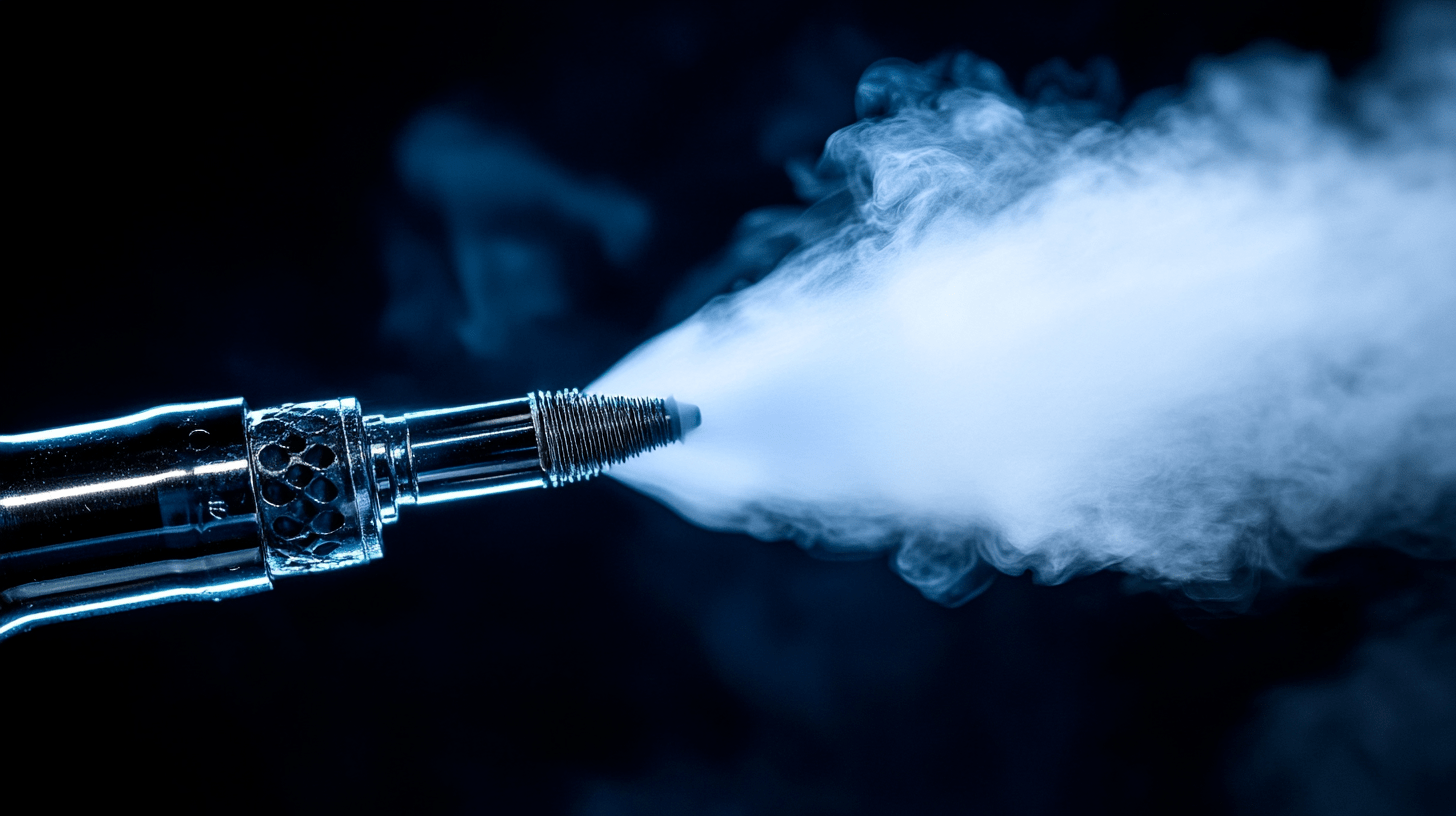
Setting the Correct Air Pressure
Correct air pressure is critical for achieving the best results. If the pressure is too high, the paint may splatter. If it’s too low, the paint could come out unevenly. For most Gundam models, an air pressure setting between 15 to 30 PSI is effective.
Refer to the paint and airbrush manufacturer's guidelines to find the best pressure setting. Experiment with different pressures on a test surface to see what works best for your needs. Adjust the compressor to maintain a consistent air pressure throughout your painting session.
Application Techniques
Applying airbrushing techniques to Gundam models involves several key methods to achieve high-quality finishes and intricate designs. The primary focuses are using thin coats of acrylic paints, masking for multi-color designs, detailing with enamels, and creating gradient and shading effects.
Achieving Thin Coats with Acrylic Paints
Using thin coats of acrylic paints helps avoid a heavy, uneven finish. Thinned paints, such as Tamiya acrylic paints, ensure smoother coverage and finer control.
An airbrush should be set to the right pressure, usually 15-20 psi. Always keep the nozzle clean to prevent clogs.
Spray in multiple, light passes rather than one heavy coat.
Allow each layer to dry before applying the next.
Masking for Multi-Color Designs
Masking lets modelers create clean, multi-color designs. Use high-quality masking tape designed specifically for model painting to avoid bleeding and peeling.
Steps:
- Apply the base color and let it dry completely.
- Place the masking tape over the areas to be protected.
- Spray additional color(s) onto the exposed areas.
- Carefully remove the tape when the paint is dry.
For complex designs, use liquid mask products to cover intricate shapes not easily handled by tape.
Using Enamels for Details
Enamel paints are great for adding small details, lines, and panel shading on Gundam models. They provide a glossy and durable finish, differentiating them from acrylics.
Use a fine-tipped brush for precision.
Apply in thin layers to prevent smearing and pooling. Enamel paints require longer drying times, so patience is key.
For panel lines, use a technique called "panel lining" to define edges and details.
Mastering Gradient and Shading Effects
Gradients and shading bring depth and realism to Gundam models. Achieving smooth transitions between colors requires careful control of airbrush pressure and distance.
Begin by spraying the base color.
Gradually layer other shades from light to dark, changing the angle and distance of the airbrush as needed.
Experiment with different techniques such as "pre-shading" or "post-shading" to add shadows and highlights.
Maintain a consistent, light spray to blend colors seamlessly.
Using these airbrushing techniques helps achieve professional-looking Gundam models with smooth finishes and intricate details.
Advanced Painting Strategies
Advanced painting techniques can take your Gundam model to the next level by adding depth and realism. These methods focus on panel lining, applying decals, adding weathering effects, and finishing with protective layers.
Panel Lining and Edge Highlighting
Panel lining is used to enhance the details of your Gundam model. Using a fine-tipped panel line marker or a thin brush, trace the indented lines on your model. This makes the lines stand out and gives a sense of depth. Edge highlighting involves using a lighter shade of your base color. Dry brush the edges to create highlights, which simulate light reflection on the model's edges.
Applying Decals and Stickers
Decals and stickers add an extra layer of detail. Water slide decals are often preferred for their thinness and realistic look. Soak the decal in water for a few seconds, then slide it into position on your model. Clear gloss varnish can help the decal adhere better and reduce the appearance of edges. Stickers are easier but may not look as seamless. For best results, use a softener to help them conform to curves.
Weathering for Realistic Effects
Weathering makes your Gundam look battle-worn and realistic. Techniques include washes, chipping, and dry brushing. A wash involves applying a thinned-down paint over the model and wiping it off, leaving the paint in the recesses. Chipping can be done with a sponge dipped in paint to create small, worn areas. Dry brushing with a lighter color adds highlights and gives the impression of wear.
Final Coating and Protective Layers
Final coating is crucial for sealing in your work and protecting the paint job. Use a clear coat spray, which comes in matte, satin, or gloss finishes. A gloss coat is often applied before decals to ensure a smooth surface, while a matte coat is used afterwards to reduce shine and give a more realistic look. This protective layer helps preserve your work from dust and handling.
Cleaning and Maintenance
Keeping your airbrush clean ensures it functions properly and provides smooth, even paint jobs on your Gundam models. Regular cleaning and troubleshooting common issues can prevent clogging and maintain the quality of your work.
Regular Airbrush Cleaning Routine
After each use, it's essential to clean the airbrush to avoid paint buildup. Start by flushing the cup with water or paint thinner. Fill the cup halfway and spray through until clear. Remove and clean the nozzle with a small brush or cotton swab. Clean the needle by carefully wiping it with a soft cloth dipped in paint thinner. This removes any leftover paint, preventing clogs.
For a thorough clean, disassemble the airbrush. Soak the parts in paint thinner for about 30 minutes. Use a small brush to clean the nozzle, cup, and internal passages. Reassemble the airbrush, ensuring all parts are dry and free of residue. Regular cleaning not only extends the life of the airbrush but also ensures consistent performance.
Troubleshooting Common Airbrush Issues
Clogs are a frequent problem in airbrushes. If paint isn't spraying, check the nozzle for blockages. Use a needle or toothpick to clear any debris. If the paint sputters or sprays unevenly, the air pressure might be too low. Adjust the compressor settings and ensure the airbrush is properly tightened.
Another common issue is paint buildup on the needle. This can cause erratic spray patterns. Remove the needle and clean it with a cotton swab dipped in paint thinner. Reinsert it carefully to avoid damaging the tip.
Leaks around the nozzle or cup often result from loose fittings. Tighten all connections and check O-rings for wear. Replacing worn parts can prevent leaks and improve performance. Regular maintenance and quick troubleshooting keep your airbrush in top condition, ensuring your Gundam models always look their best.
Final Thoughts and Best Practices
Begin with the basics. Ensure you have the right equipment: an airbrush, compressor, and cleaning supplies. Start with simple techniques before trying advanced ones.
Tip for beginners: Practice on spare parts to get a feel for the airbrush.
Consistency is key. Always thin your paints properly. This prevents clogging and ensures a smooth application. Some prefer to thin by feel, while others measure. Find what works best for you.
Clean your airbrush after every use. Check for dried paint in the brush and use the appropriate cleaning agents.
Avoid handling painted parts too early. Let layers dry completely before moving on to the next. This prevents smudging and ensures a flawless finish.
Layering is an essential technique. Apply thin, even coats. Multiple light layers are better than one thick coat.
For more advanced modelers, try shading and highlighting. This adds depth and realism to your Gundam models.
Remember to use a primer before painting. It helps the paint adhere better and provides a uniform base color.
Tip: Use masking tape for clean edges and precise details.
A topcoat can protect your finished model. Choose between matte, gloss, or satin finishes depending on the look you want.
By following these best practices, anyone can achieve professional-looking results with their Gundam models.