How to Create Dioramas for Your Gundam Models
Creating dioramas for Gundam models is an art that combines creativity with precision. Enthusiasts of Gunpla, a hobby involving assembling and detailing plastic models from the Gundam series, often take their passion a step further by designing intricate dioramas. These dioramas not only display the models but also tell a story, adding depth and context to each figure.
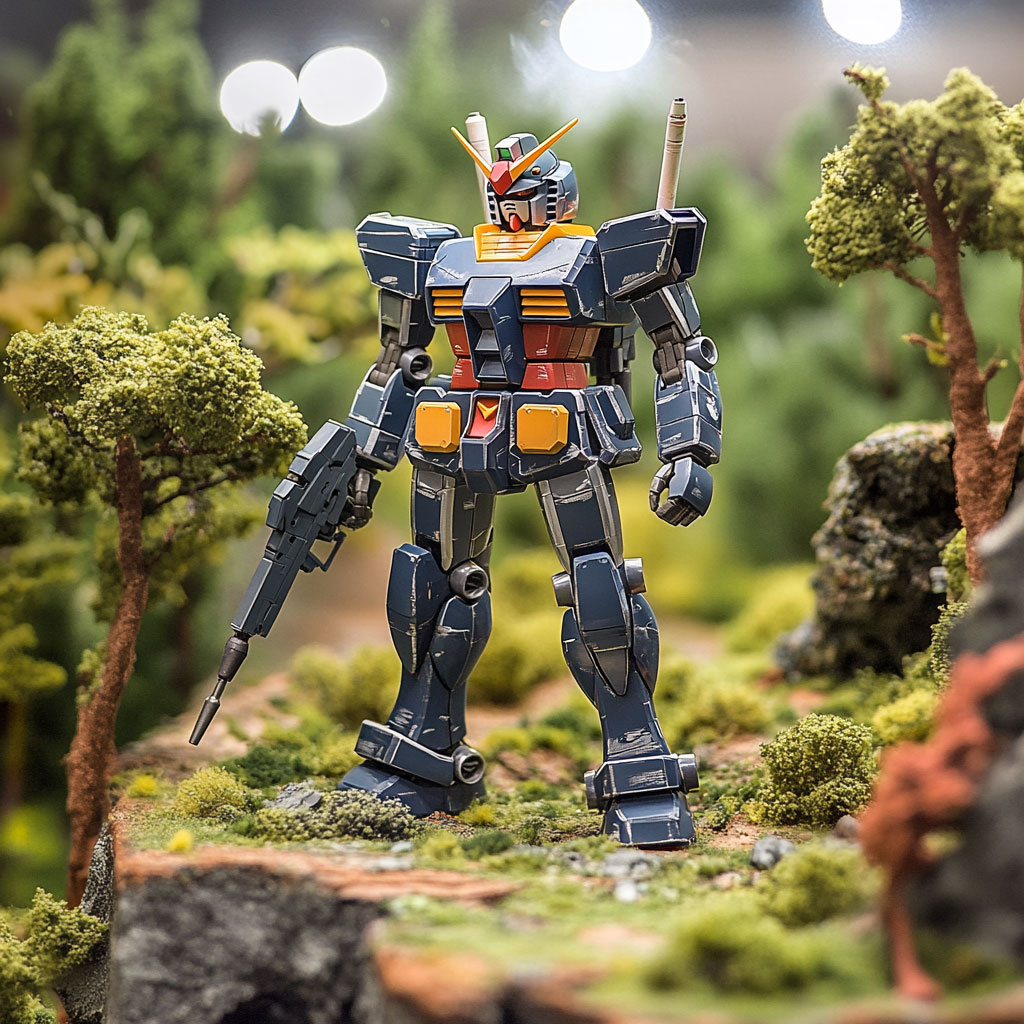
To begin with, it's essential to plan your scene and decide on a theme or setting. This could range from a battle-scarred battlefield to a peaceful village. Selecting the right base and materials for your diorama is important, as they form the foundation of your project's realism and stability. Using items like foam, plaster, paints, and natural elements, modelers can bring their vision to life.
Attention to detail is what sets a great diorama apart. Every element, from the terrain to the placement of the Gundam figures, needs careful consideration. Adding small touches like weather effects, structures, and accessories can make the scene more believable and engaging. Look at examples and tutorials for inspiration, and don't be afraid to experiment with different techniques to achieve the look you want.
Planning Your Gundam Diorama
Before starting your Gundam diorama project, it's essential to plan several key aspects. This includes deciding on a theme and scale, sketching the layout, and choosing the right Gundam models.
Choosing a Theme and Scale
Select a theme that excites you. It could be a battle scene, a peaceful village, or even a sci-fi cityscape. Themes can set the mood for your diorama and guide your material choices.
The scale is also crucial. Common scales for Gunpla dioramas include 1/144, 1/100, and 1/35. Match the scale to your existing Gundam models to ensure consistency and realism. A coherent theme and scale make the diorama more immersive.
Understanding your theme and scale will help you gather appropriate materials and accessories. For example, if your theme is a battle scene, you’ll need rubble, damaged buildings, and maybe some LED lights to enhance the effect.
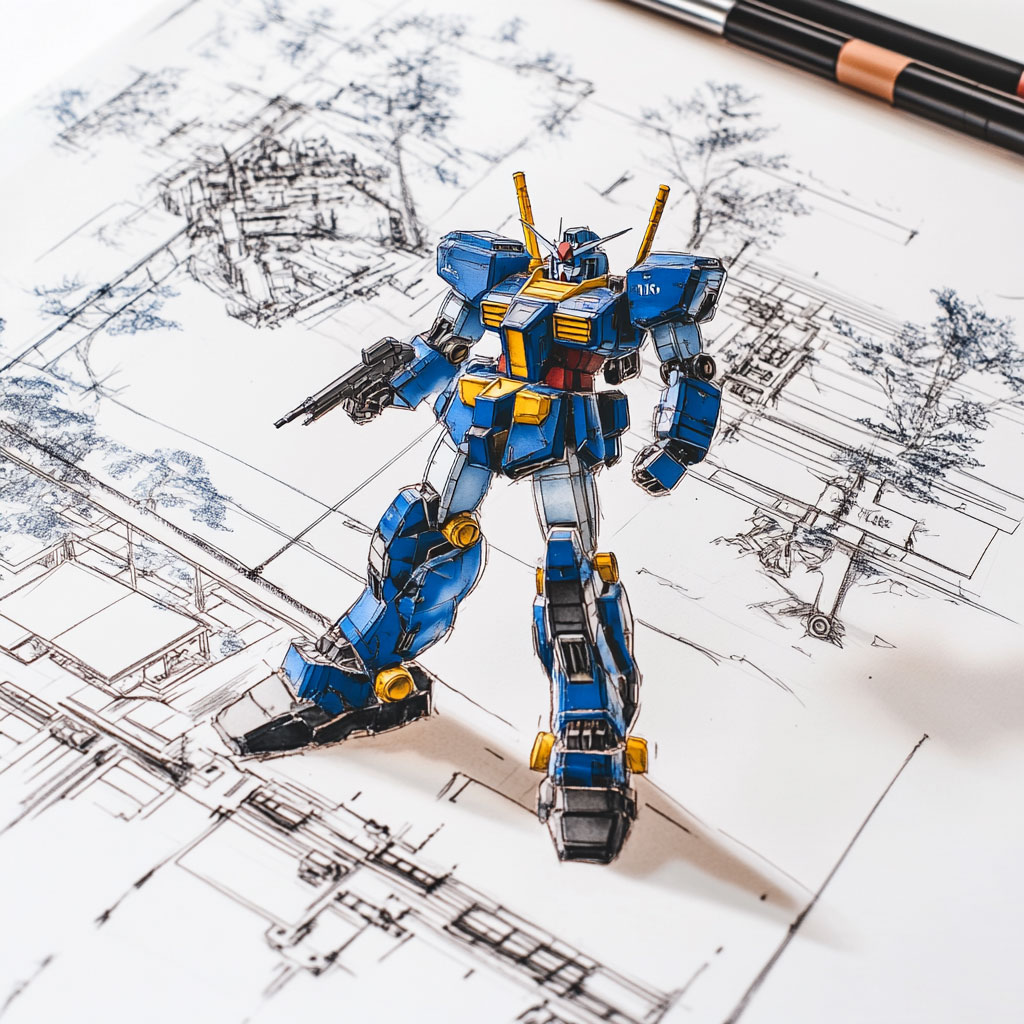
Sketching Your Layout
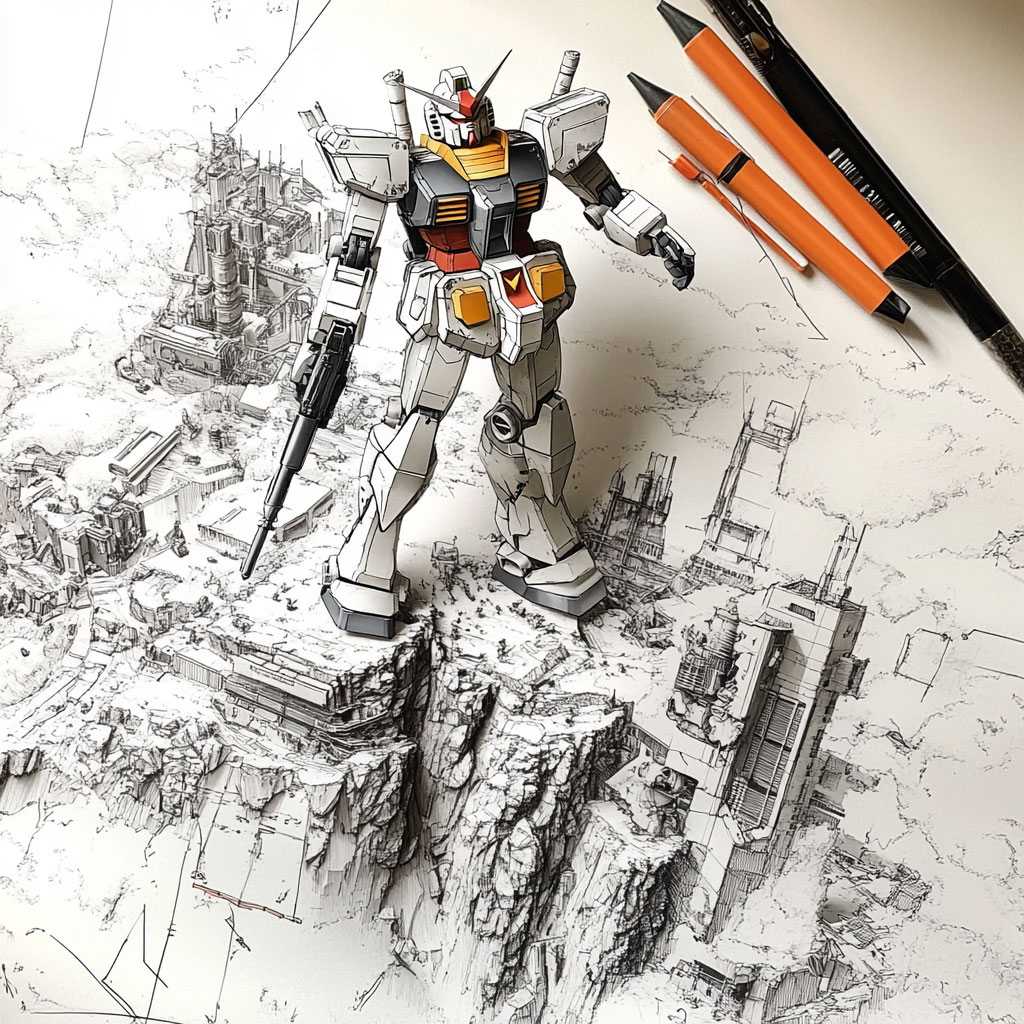
Start by sketching the layout. Use a simple piece of paper to outline where each element will go. This will help you visualize the final product.
Think about the placement of the Gundam models. Are they in the forefront or background? Are there buildings or natural elements like trees and rocks?
Consider using different levels and angles to create depth and interest. A well-thought-out layout makes the assembly process smoother and the final diorama more engaging.
Make sure your sketch includes measurements scaled to the size you chose. This helps in cutting and adjusting the materials accurately.
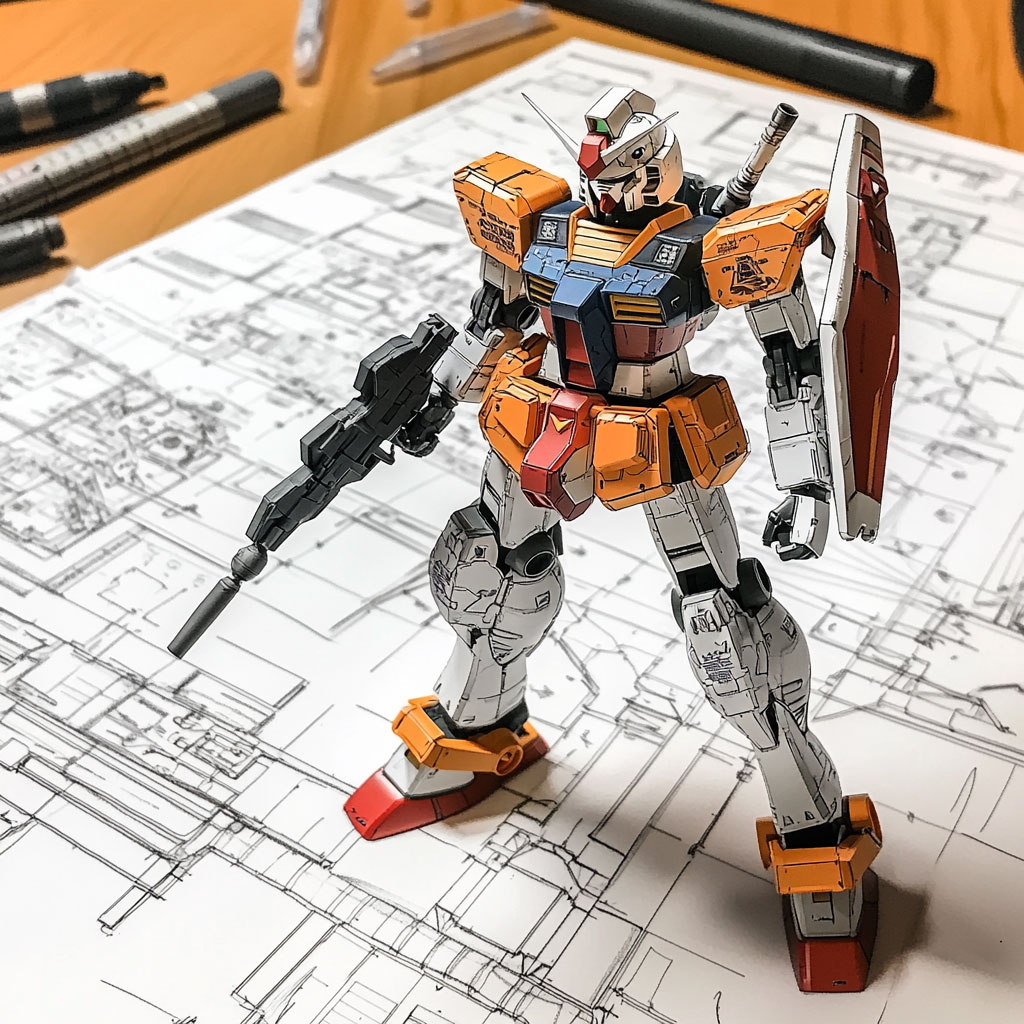
Selecting Gundam Models
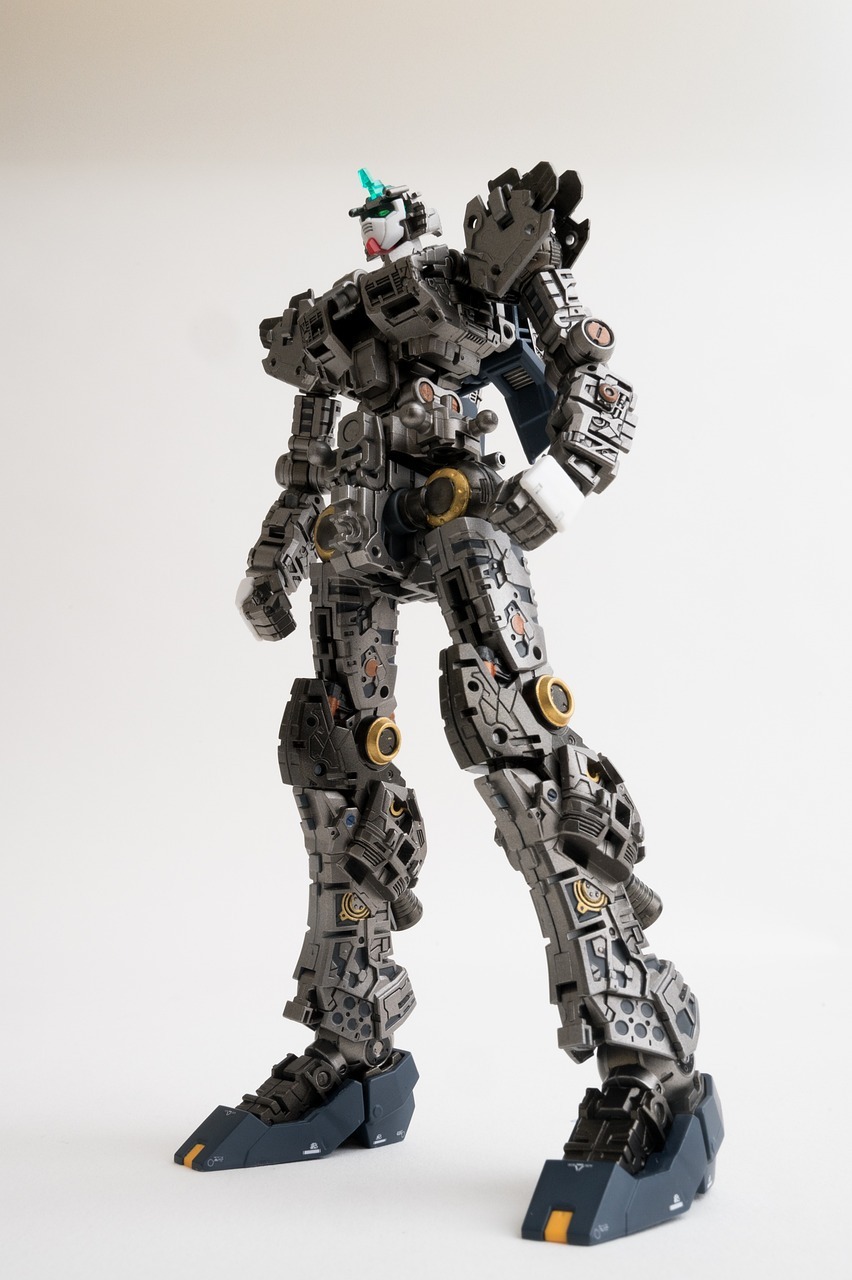
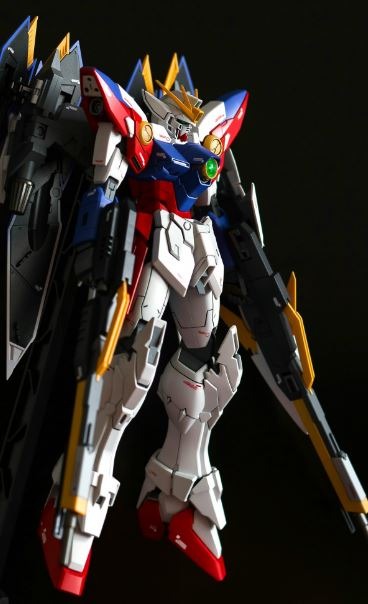
Choose Gundam models that fit your theme. If your diorama is a battle scene, select models with dynamic poses and weaponry. For a peaceful scene, choose models with neutral poses.
Look for models with varied features. This can make the diorama more detailed and interesting.
Pay attention to the color scheme of your Gundam. The models should complement each other and the overall theme of your diorama. For example, a desert scene may call for earth-toned Gundams to blend in naturally.
Choosing the right Gundam models involves considering both aesthetics and cohesiveness. Having a mix of models with unique characteristics and matching colors will create a visually striking diorama.
Gathering Materials and Tools
Creating a captivating diorama for your Gundam models requires the right materials and tools. This section will guide you through the essentials needed for building the base, selecting paints and adhesives, and adding enhancement accessories.
Essential Materials for Base Construction
For the base, foam board and wooden plaques are popular choices due to their sturdiness and ease of shaping. Claycrete is another excellent material for forming terrain; it can be molded and shaped as it hardens. Don't forget mat adhesive for securing various elements together. Turf-green grass adds a realistic touch to landscapes, providing depth and texture to your diorama. These materials form the foundation upon which your scene is built.
Choosing Paints and Adhesives
Acrylics are the most commonly used paints due to their versatility and quick drying time. They are excellent for painting both the Gundam models and the diorama base. Look for a range of colors to match the environment you are depicting. Spray paints can cover large areas quickly and evenly. For adhesives, use modeling glue for small parts and super glue for stronger bonds. Always have a mix of brushes for detailed work and larger areas.
Diorama Enhancement Accessories
Trees, rocks, and water effects can bring your diorama to life. Small trees made from wire and clump foliage add a sense of scale and realism. Use resin or clear acrylic for water effects to create ponds or rivers. Static grass and turf can simulate different types of vegetation. Miniature figures and vehicles provide additional context and help set the scene. Accessories like these make your diorama more engaging and detailed.
Creating a diorama with thoughtful planning and the right materials can result in a stunning display for your Gundam models.
Creating the Structure of Your Diorama
Creating a diorama for Gundam models involves building a sturdy base frame and shaping the terrain to add realism. These key steps will provide a solid foundation and visually engaging landscape for your models.
Building the Base Frame
The first step is to build a stable base to support your diorama. Use materials like foam board or plywood. A popular size is 2 feet by 2 feet. Cut it to the desired shape using a utility knife or saw.
If you want to add height or depth, use pieces of Styrofoam or foam board stacked and glued in layers. Cover them with white glue for stability. This creates a robust frame for adding the landscape.
Make sure the base is level and strong enough to hold the weight of your models. Sand any rough edges to avoid splinters. A level and smooth base ensure a neat presentation, making it easier to add details later on.
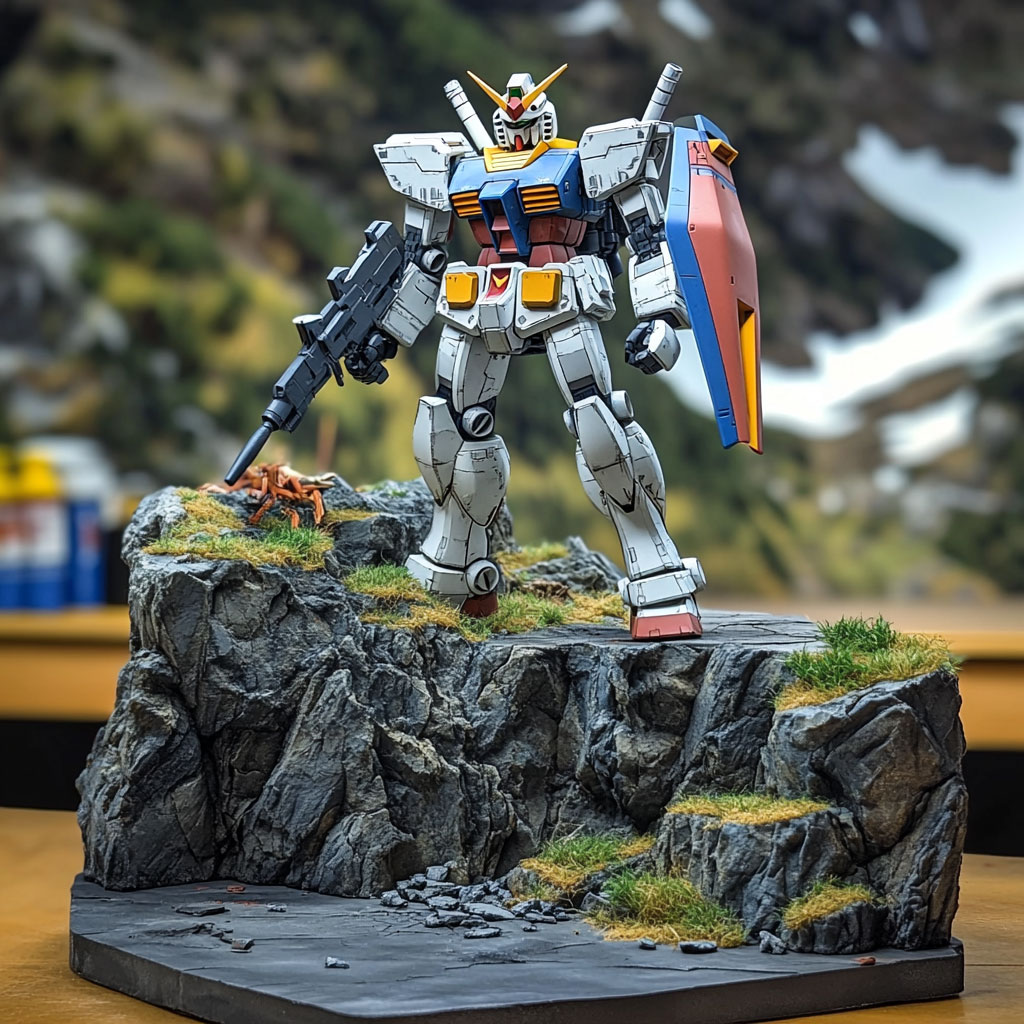
Shaping Terrain and Landscape Features
Next, give life to your diorama by shaping the terrain. Use tools like hobby knives or foam cutters to carve hills, valleys, or other features out of Styrofoam or foam board.
Add texture with materials that mimic real ground surfaces. For a mossy texture, apply a mix of glue and green flocking. To create wet mud, use a blend of dark brown paint and plaster. For beach sand, spread fine sand over a layer of glue.
Keep in mind the scale and placement of Gundam models to maintain a realistic look. Plan the scene with elements like rocks or small plants in mind. Position these features carefully to enhance the visual appeal and realism of your diorama.
By focusing on these steps, you can create a structured and visually captivating diorama for your Gundam models.
Painting and Detailing
Creating a lifelike diorama for your Gundam models involves mastering techniques such as airbrushing, hand-painting, and weathering. These steps bring depth and realism to the scene.
Airbrushing Techniques for Realism
Airbrushing is essential for achieving smooth, even coats of paint on Gundam models and diorama bases. It allows for better control over gradients and shading.
Essential Tips:
- Choose the right airbrush: A dual-action airbrush provides more control over paint flow and air pressure.
- Practice on scrap pieces: Before starting on your model, practice to get a feel for the airbrush.
- Use thin layers: Apply multiple thin layers instead of one thick coat to avoid paint runs and uneven surfaces.
- Mix paint correctly: Thinner paint mixtures are key to a smooth application and to prevent clogging.
Common Mistakes:
- Not cleaning the airbrush: Regular cleaning prevents clogs and ensures smooth operation.
- Incorrect air pressure: Too high or too low pressure can ruin the paint finish.
Hand-Painting Small Details
Hand-painting is perfect for adding intricate details to Gundam models, such as panel lines, insignias, and cockpit interiors.
Must-Have Tools:
- Fine-tipped brushes: Essential for precision and control.
- Magnifying glass or visor: Helps in seeing fine details better.
- High-quality acrylic paints: Dry quickly and are easy to correct if mistakes happen.
Techniques:
- Panel Lining: Use a fine pen or brush to outline the grooves and recessed lines. This adds depth and highlights details.
- Dry Brushing: Lightly dip the brush in paint, wipe off excess, and brush over raised areas to highlight edges and textures.
Pro Tip:
- Patience: Take your time to avoid mistakes. Let each layer dry completely before adding the next.
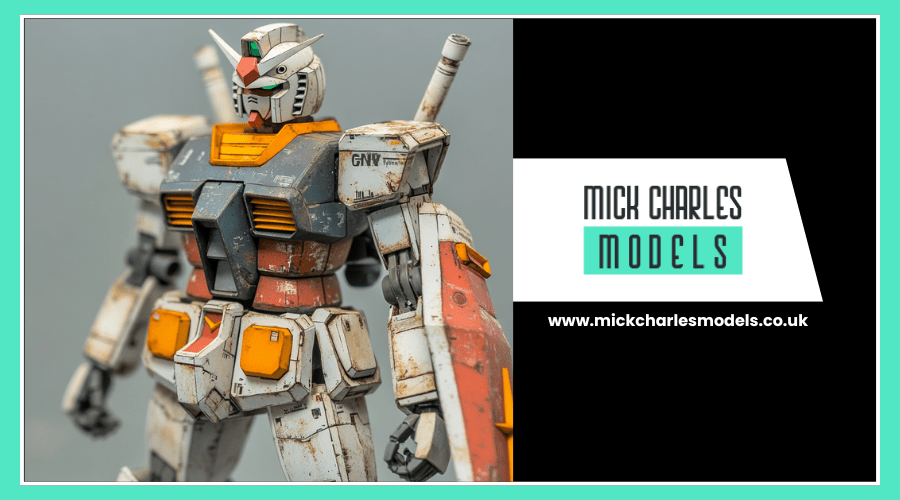
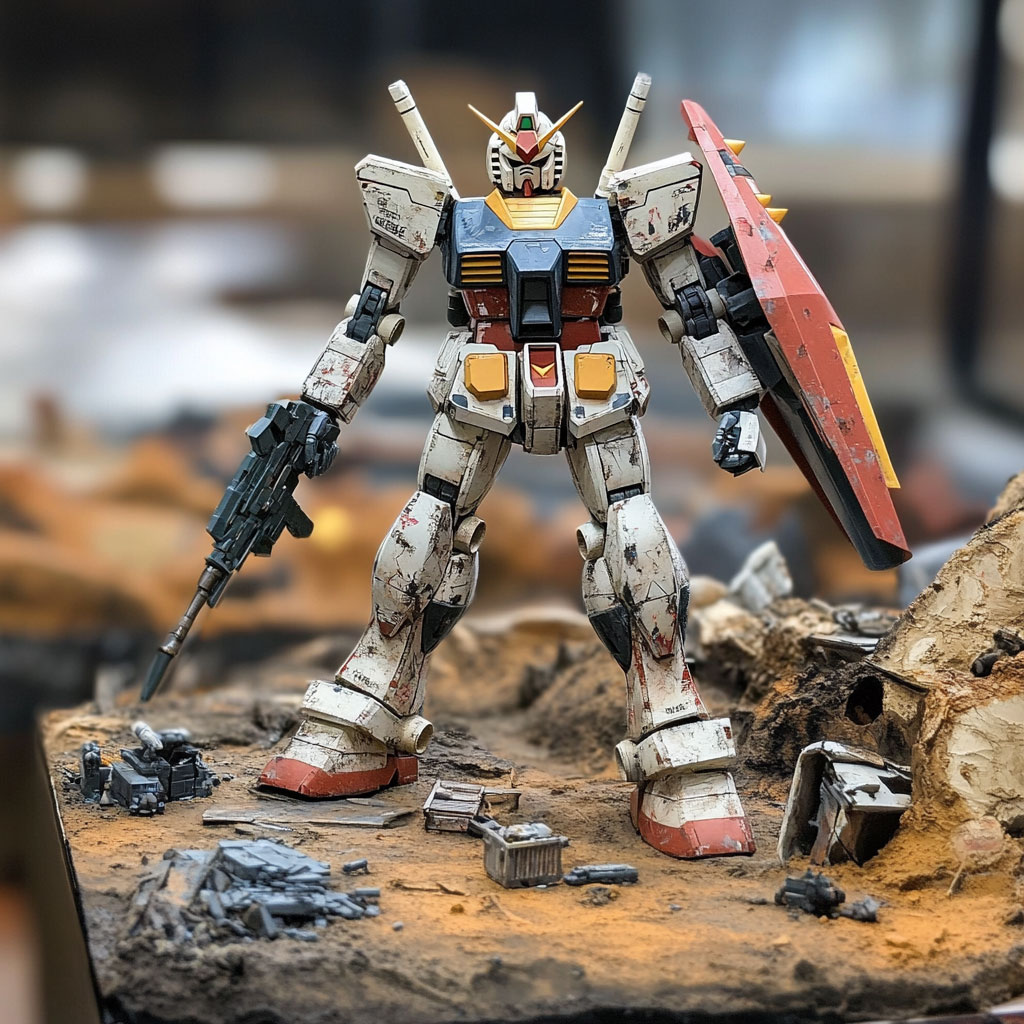
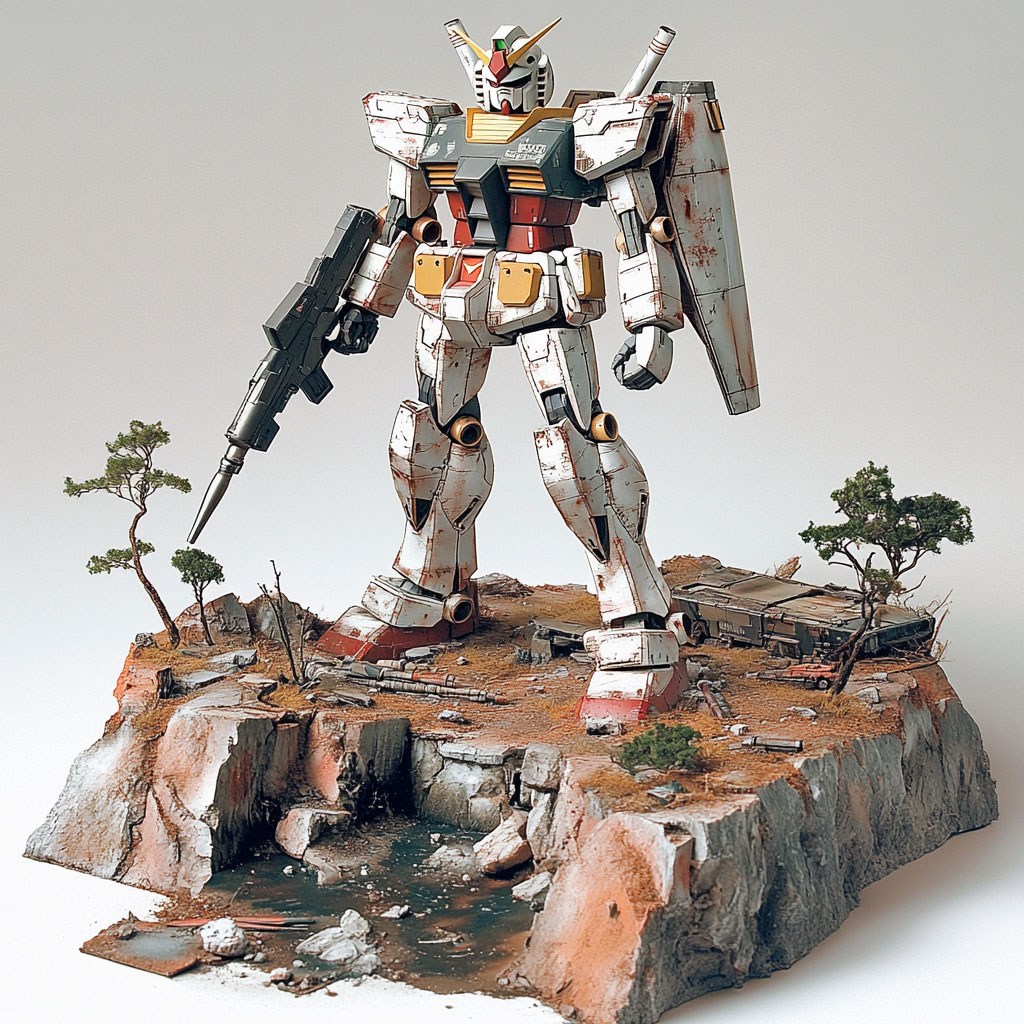
Weathering for Authenticity
Weathering adds a realistic, battle-worn look to your diorama, making it appear as though the models have been through real combat.
Basic Techniques:
- Wash: Apply a diluted paint (often dark colors) to the model to accumulate in recesses and cracks, simulating dirt and grease.
- Dry Brush: Similar to the technique mentioned above but used to show wear and tear on edges and surfaces.
Advanced Techniques:
- Chipping: Use a small sponge or brush to dab on paint to mimic paint chips and scratches.
- Filters: Thin, translucent paint layers that tint and unify the model's colors, giving a more cohesive look.
Materials:
- Pigments: Powdered weathering pigments add texture and color to bases and surfaces.
- Sealers: Use matte or gloss sealers to protect the weathered finish.
With these techniques, diorama painters can bring their models to life with realistic and intricate details.
Adding Final Touches

Attention to detail can make a big difference in your Gundam diorama. Adding the final touches enhances realism and brings your scene to life.
Applying Scenic Backdrops
A scenic backdrop sets the stage for your diorama. For a battlefield scene, consider a backdrop showing a war-torn city or countryside.
Materials:
- Printed backgrounds
- Painted canvas or foam boards
Tips:
- Choose a backdrop that complements the theme of your diorama.
- Ensure the backdrop covers the entire background area without gaps.
Attachment: Use adhesive or clips to secure the backdrop. Ensure it's flush with the base to avoid shadows.
Positioning Gundam Models and Equipment
Positioning the Gundam models and accessories like abandoned equipment and vehicle treads is important. Place models in dynamic poses to convey movement or conflict.
Steps:
- Arrange Models: Position the main Gundam first. Place other units to support the theme.
- Add Accessories: Scatter weapons, abandoned equipment, and spare parts.
- Check Placement: Ensure no items obstruct important details. Use markers or tape if needed.
Seating: Fix models and accessories securely to the base using glue or pins.
Incorporating Natural Elements
Including natural elements like trees, rocks, and water features adds depth and realism.
Materials:
- Trees: Use model trees available in hobby stores or craft them with wire and flock.
- Rocks: Real pebbles or styrofoam painted as rocks can be used.
- Water Features: Resin and paint can create realistic ponds or streams.
Placement Tips:
- Spread elements evenly but naturally. Avoid overloading one area.
- Position elements to guide the viewer's eye toward the main model.
Adherence: Secure all natural elements with strong glue. For resin, follow the curing instructions for a clear and realistic water effect.
Displaying Your Masterpiece
Displaying your Gundam dioramas involves creating an engaging environment and maintaining their condition. Carefully chosen settings and regular care will make your models stand out.
Choosing Display Environments
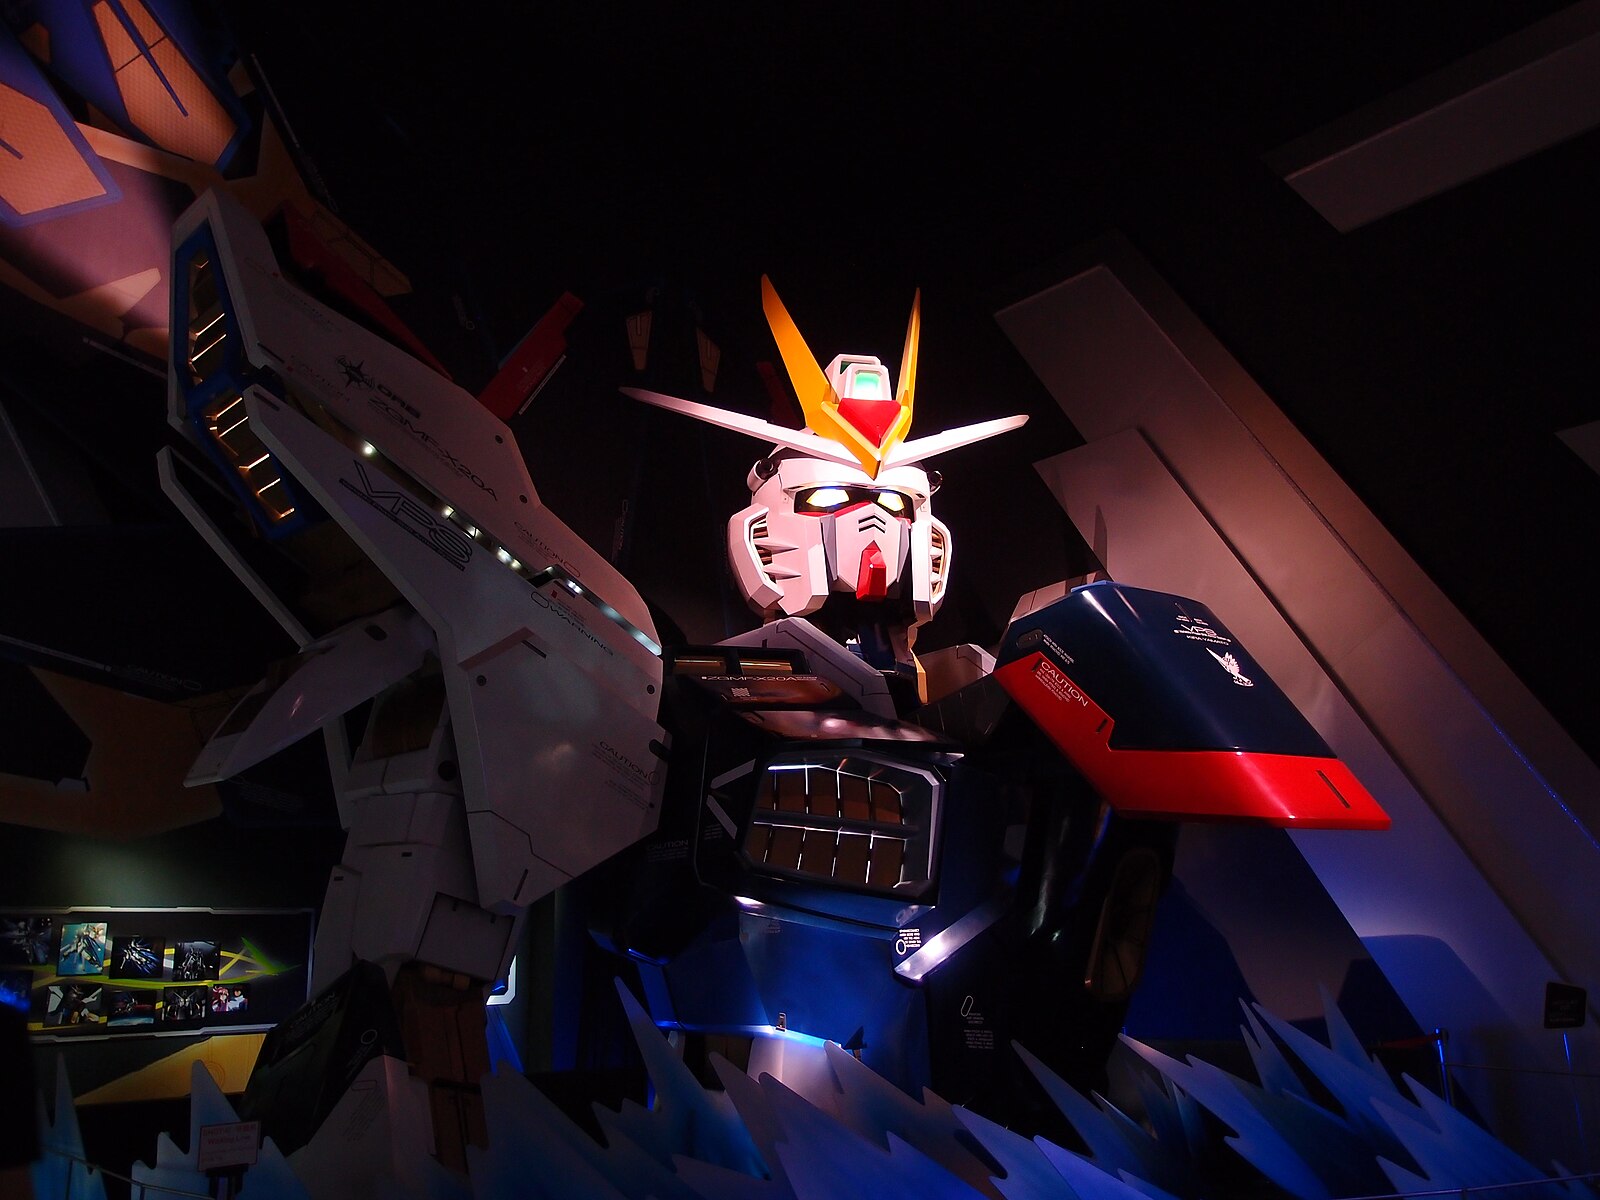
Selecting the right display environment is a key step. Dioramas often showcase models like those found at the Gundam Place Store, adding depth and context. Consider the scene you want to create—urban battles, space voyages, or natural landscapes.
When setting up, use a stable surface away from direct sunlight to prevent fading. Shelves with glass doors are ideal to keep dust at bay while allowing visibility. Think about lighting; LED lights can highlight details without damaging your models.
For more advanced displays, customize your diorama base. Include elements like buildings, foliage, or machinery to create a more immersive scene. Materials for these bases can be found at model stores.
Maintenance and Cleaning Tips
Maintaining your dioramas ensures they remain in top condition. Dust is your biggest enemy. Use a soft brush or air blower to remove it without damaging the models. Don’t use water or harsh chemicals, as they can damage the paint and materials.
Inspect your models regularly for any damage. Fixing small issues early prevents bigger problems later. Keep your display in a low-humidity environment to avoid moisture damage.
If you need to move your diorama, handle it carefully. Support both the base and any fragile parts. Cleaning around the display helps keep dust levels down. Regular checks and gentle cleaning will keep your masterpiece looking fresh and impressive.