Tips For Using Cement In Model Building
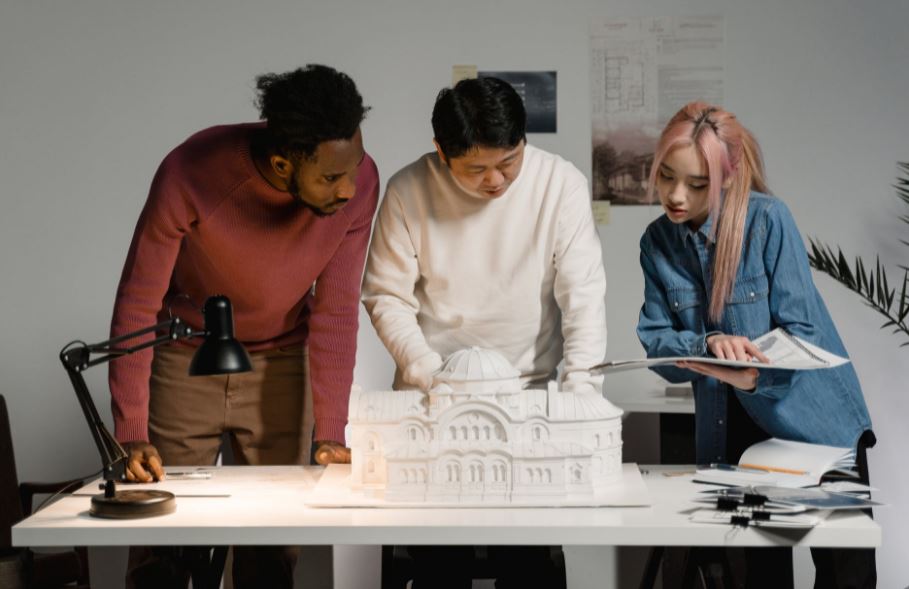
The use of actual models when presenting your concepts for a structure is preferred, especially in the architectural industry. These concrete representations allow you to show off your artistic skills.
Physical models have been a powerful tool for a long time, allowing the audience to see and experience an idea in all four dimensions at once.
For model making, there are a wide variety of materials accessible. Foam boards, cardboards, and wood are the most commonly utilized materials. These would have been the materials used in your first architectural model if you had studied architecture in college, and that's quite reasonable. In contrast, a model may communicate more if it is made of something other than cardboard.
A wide variety of options are available, and they are relatively inexpensive. However, if you're looking to improve your skills, you should branch out and use different resources.
Cement or plaster is a more advanced modeling material. Other materials don't have the same texture as cement, so caution must always be exercised when using it. Otherwise, you'll end up destroying your model.
Working with Cement
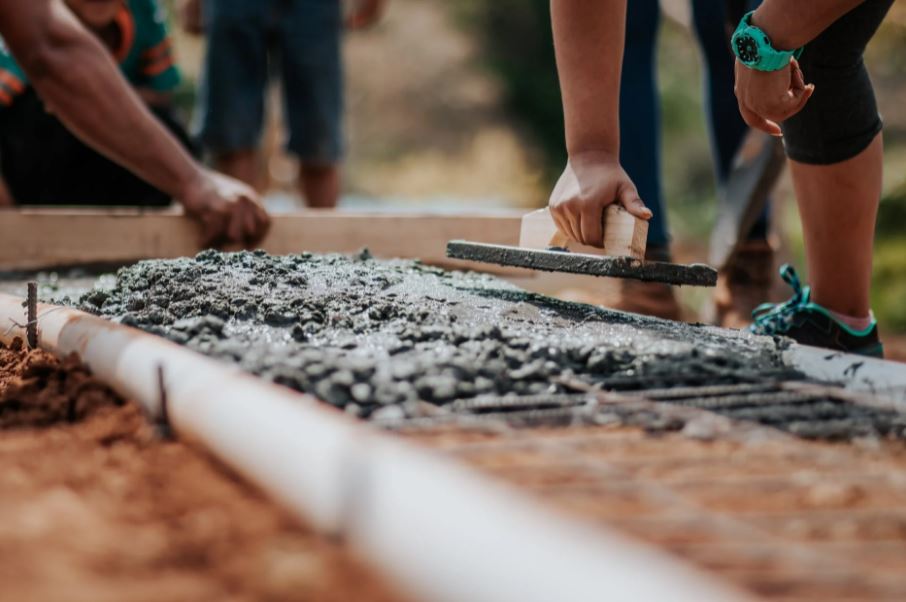
Using cement is a great way to show off your abilities. It's the perfect tool to show your versatility. For your design model, you must replicate the process of building a structure. Cement and water need to be mixed; molds need to be made; cement must be cured, then poured and stacked.
Prior to using this material, you should practice and learn more about its capabilities, so you won't have to second-guess your actions while dealing with it. This can also help you avoid wasting resources like materials, and most significantly, your time.
Cement vs. Concrete: What's the Difference?
The phrases cement and concrete are sometimes used interchangeably; however, there is a notable difference between concrete and cement.
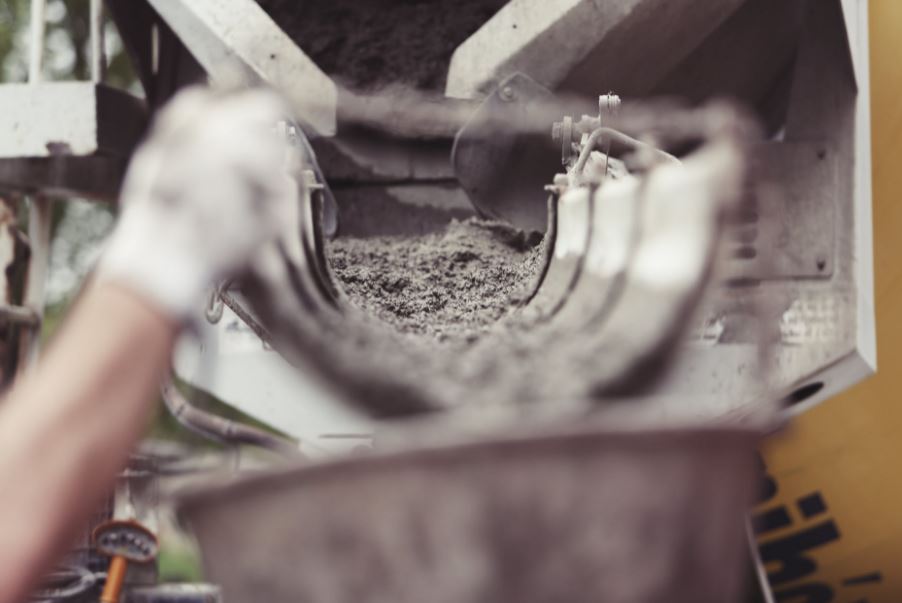
Cement is actually a component of concrete. Aggregates and paste are combined to form concrete. Gravel or crushed stone and sand as the aggregate; the paste is water and portland cement.
Ten to fifteen percent of the total volume of the concrete is made up of cement. The hydration process hardens and binds the aggregates together to create this rock-like mass of cement and water. Throughout the years, the concrete hardens, making it stronger as it ages.
Concrete Models
Concrete models are a fascinating challenge because they require following a process that mirrors that of large-scale construction: make a mold or formwork, mix the cement with water and then pour. An architectural sculpture could be created from the model if done correctly.
Making Your Model

You must first understand the nature and scope of the project you will be modeling before beginning the process. If your primary attention is on the form, then you must choose a foundation material that best demonstrates the shape, regardless of how it appears from the inside.
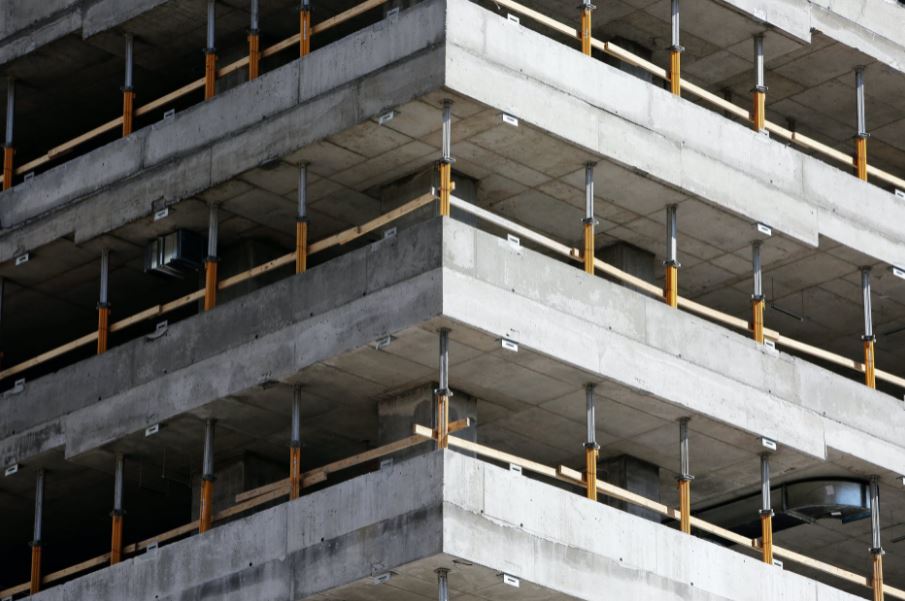
Other projects, such as houses, may necessitate the usage of an architecture model that depicts the exterior and interior plan of the building, and this is where things get a little more complex.
For example, if it is an apartment model, the interior is all that matters. An urban design model is a whole other matter. Architectural features in the model will require far less depth because you'll be modeling entire neighborhoods.
Measure It Up (Or In This Case, Down)

Models are a way to scale down a massive project to a more manageable size.
Getting the suitable scale for your model will be easier if you take accurate measurements first.
As a general rule, architectural models are often between 1:10 and 1:200 in scale, whereas urban models are typically between 1:500 and 1:2500.
Prototypes!

Try and make a few test runs first. In order to check that all of your measurements are right before you begin assembling your model, make a few sample components.
This will minimize errors when working on your actual model later on.
Using The Right Tools
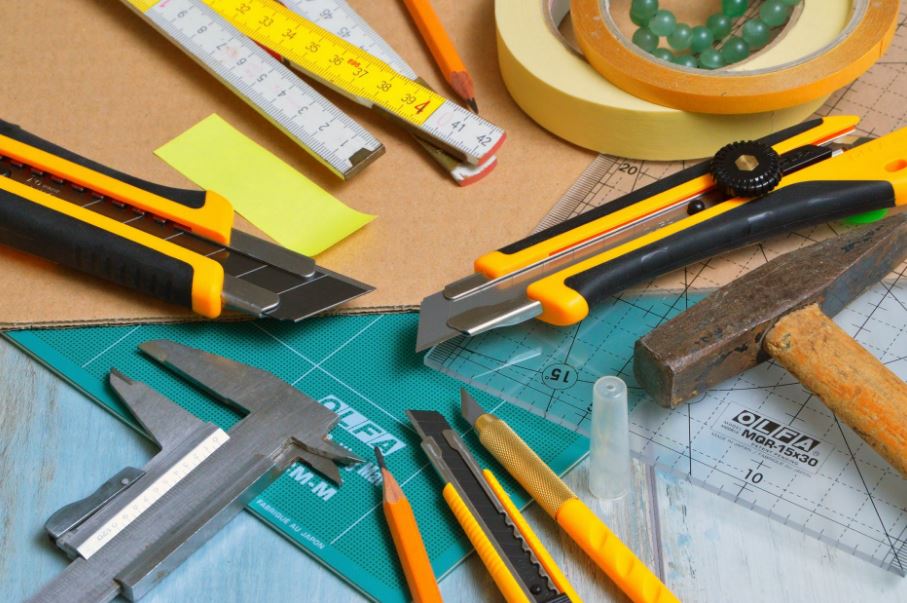
Model builders need a sharp blade, a utility knife, scissors, and L-squares. If you have the resources, a laser cutter is also an alternative (laser cutting services can be expensive).
You'll have to research to figure out which tool is ideal for the job and what you can afford.
Keep It Together
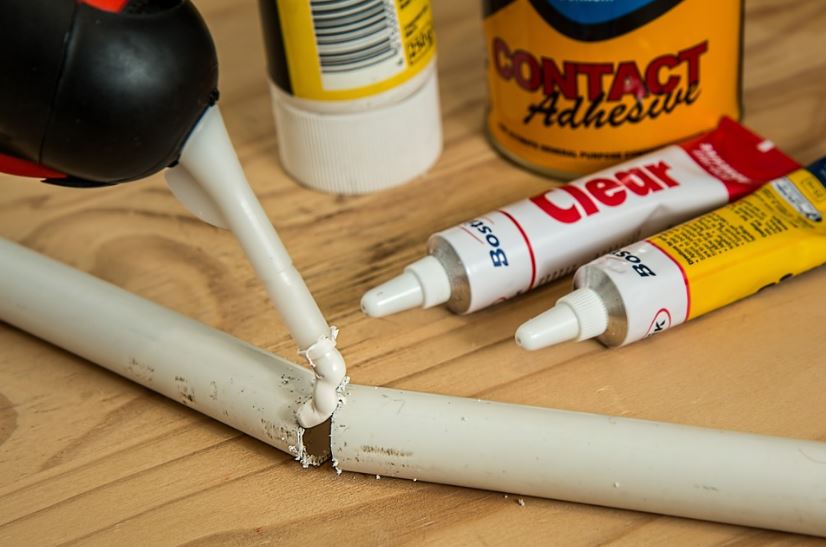
Keep everything together by using the right glue. You can use wood glue for wooden parts, but note that it can discolor if not carefully removed from the surface after use.
Tacky glue is thicker and stronger than white glue, dries faster, and is recommended for everything but paper building projects because it holds more securely.
A hot glue gun takes the top spot in terms of speed and strength. However, this can be a dangerous tool to work with and doesn't allow much leeway for mistakes. Instead, you can use double-sided tape for added security.
Finish It Up
This stage calls for creativity because when it comes to materials, there is a wide range of ways to portray them.
For roofing, you can use corrugated paper. You can use them for some wall finishes as well. Glass in your design can be indicated with thin, translucent plastic sheets, known as clear sheet print.
For wooden screens and other wooden finishes, balsa wood strips can be used. Moreover, the brownish tint of the cork sheets could also create the appearance of wood. Paper or foam board painted with color sprays can also be used for colored surfaces.
A pro tip for your finishing touches: don't overdo it. Consider carefully what you want your model to reflect. Stickers with no texture, as well as too many other elements, will appear unnatural. Just show what's most critical.
Presenting Your Work
If you've mastered the art of model-making with cement, the next step is to present your work. It would be best, to begin with, a solid foundation or base for your model, as this serves as the framework for your project.
After that, you can share your explanation with your audience about how you came up with your model's design and how the material you used helped you achieve your goal.