What Is the Extra Plastic on a Model Kit Tree Called?

The extra plastic pieces on model kit trees are called sprues and runners. You'll find these plastic frames serve multiple essential manufacturing purposes, including maintaining proper material flow and pressure during injection molding. They also help organize parts with numbered gates and color-coding for easier assembly. When removing parts, you'll need the right tools like side cutters and hobby knives. Perfecting proper sprue removal techniques will take your modeling skills to the next level.
Understanding Sprue and Runner Systems
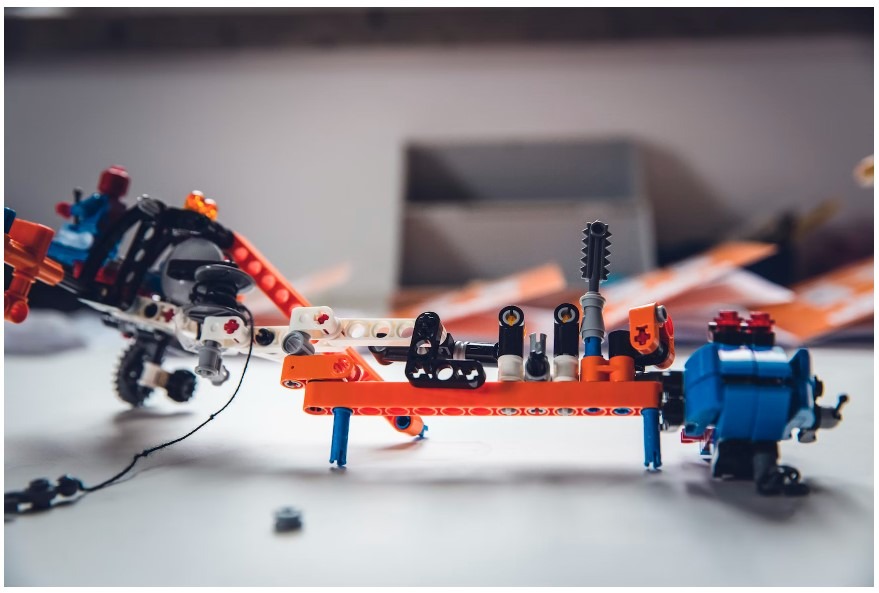
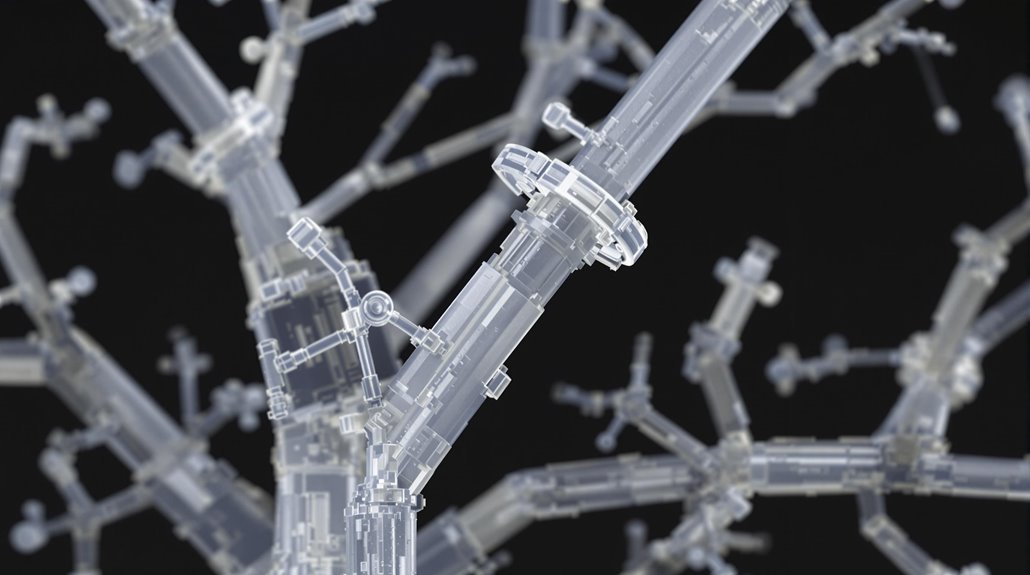
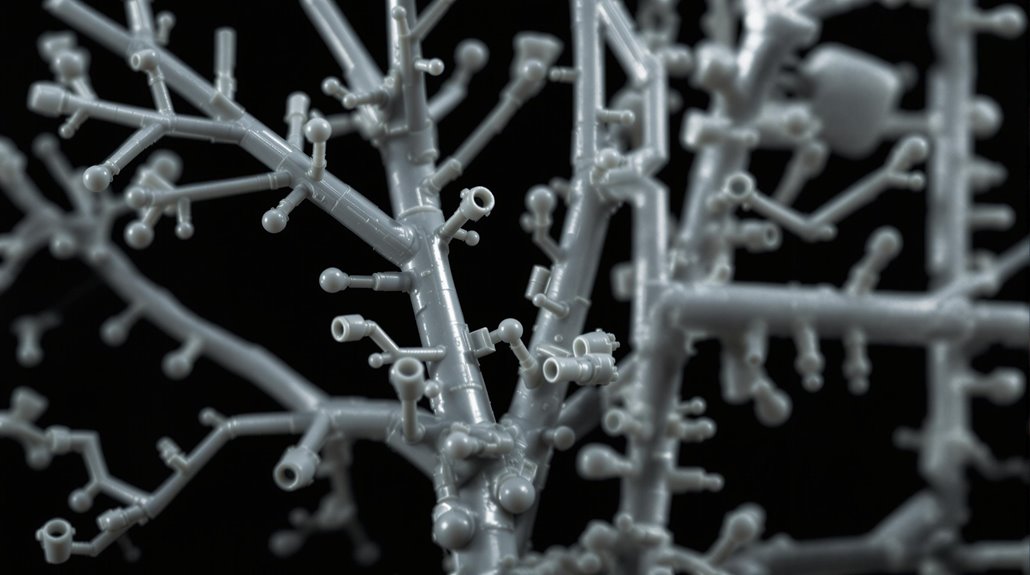
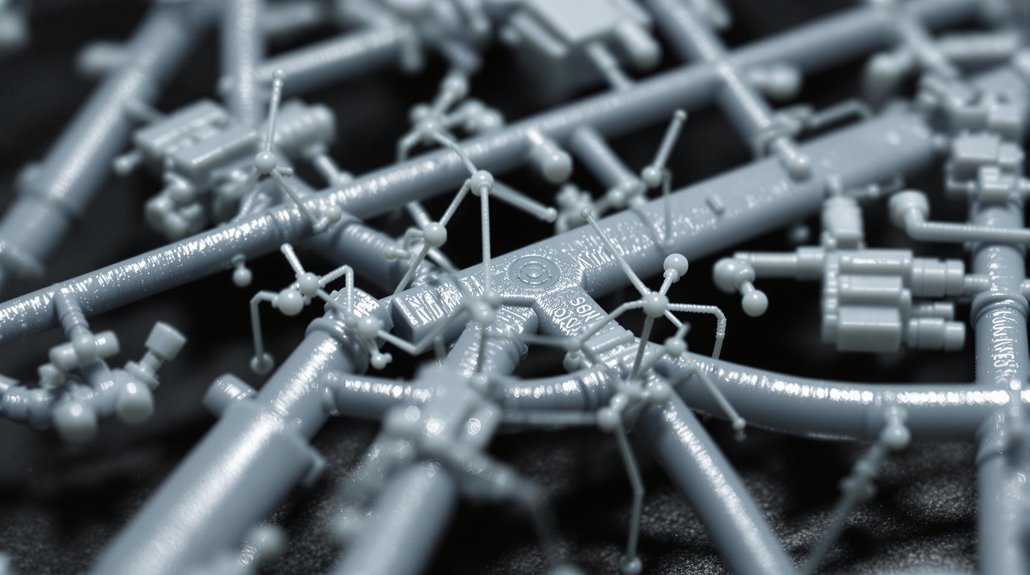
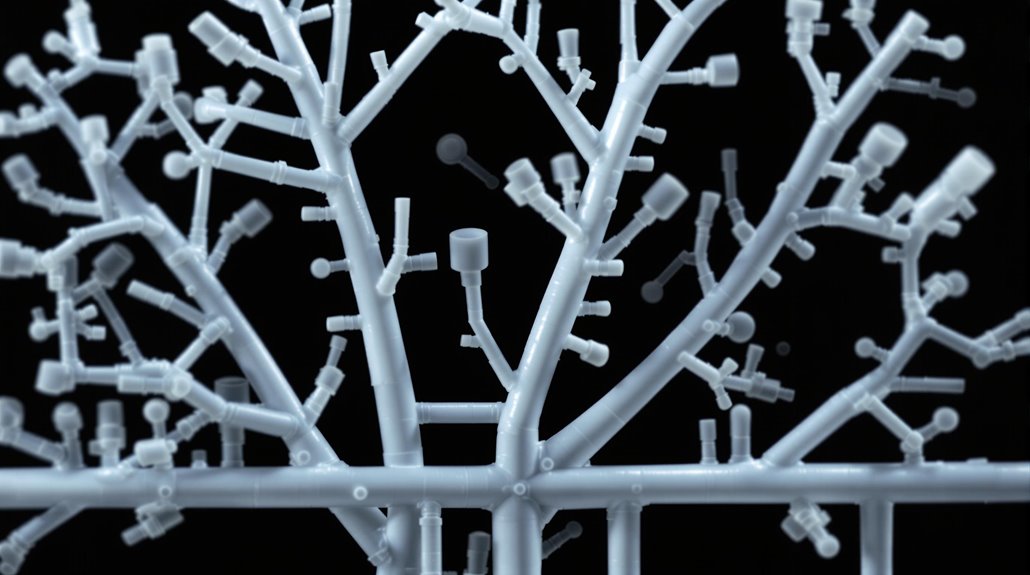
When you open a new model kit, you'll notice the plastic parts are attached to a structure of channels and connectors. This framework, known as the sprue and runner system, serves as both a delivery method during manufacturing and a protective structure for the parts. The main sprue connects to smaller runners, which then link to the individual components.
Working with plastic kits requires careful attention when removing parts. You'll need a sprue and plastic cutter to separate pieces from the runners, but always make clean cuts close to the connection points to avoid damaging the parts. The runner system's design guarantees proper plastic flow during molding while keeping parts organized and protected until you're ready to remove parts for assembly. This systematic arrangement makes it easier to identify and access components during your build.
After removing parts, you'll need cyanoacrylate adhesive for quick and secure bonding of plastic components during assembly.
The Manufacturing Purpose of Extra Plastic
The extra plastic pieces found on model kit trees serve critical purposes in the injection molding process. They help guarantee proper flow of molten plastic throughout the mold cavity, maintain consistent pressure, and prevent manufacturing defects in your model kits.
During production, these excess pieces act as reservoirs that store additional plastic material. When you're working with intricate details and thin sections, having this extra material helps prevent trouble spots like short shots or incomplete filling. The surplus plastic also compensates for material shrinkage as the parts cool down. Without these additional elements, you'd likely see more imperfections in your finished pieces, such as sink marks or warping.
Plus, these extra bits often serve as attachment points that keep parts organized and protected until you're ready to build your model. Once removed with a hobby knife, these connection points can be smoothed with sandpaper for a cleaner finish.
Essential Tools for Part Removal
Getting clean, precise cuts on your model kit requires proper removal tools to protect both the parts and your safety. You'll want to start with a high-quality side cutter, specifically designed for plastic model kits, as your primary cutting tool. These specialized nippers allow you to get close to the part's surface while minimizing stress marks on the plastic.
For more precise work, you'll need a sharp hobby knife with replaceable blades. This tool helps you carefully trim away any remaining nubs or flash after the initial cut. When cutting, always work on a stable surface and cut away from your body. Remember to maintain your tools by regularly replacing dull blades, as they can slip and cause accidents or leave ugly marks on your model parts. Always wear protective eyewear when cutting parts to prevent flying plastic bits from causing eye injuries.
Best Practices for Clean Part Separation
Successfully separating parts from your model kit's sprue demands a methodical approach and proper technique. When removing parts, you'll want to work on a cutting mat to protect your work surface and maintain stability during the separation process.
For most components, you'll achieve the cleanest cuts using micro shears, which leave minimal cleanup work. If you're dealing with hard-to-reach areas, flat cutters provide extended reach while maintaining precision.
When working with delicate clear parts or canopies, switch to a razor saw to prevent stress and potential damage to the plastic. Remember to leave a small nub when cutting, as it's easier to sand down later rather than risk damaging the part by cutting too close. This careful approach guarantees your parts separate cleanly, setting you up for successful assembly.
Common Mistakes to Avoid When Removing Parts
While building model kits can be rewarding, beginners often make several critical mistakes when removing parts from sprues. You'll need to avoid rushing the removal process, as this can damage delicate components. Don't attempt to twist or bend parts off the sprue, which can create stress marks or break pieces entirely.
When first starting out, you might be tempted to use dull blades or scissors, but always use proper modeling tools like a sharp sprue cutter or scalpel. Another common error is cutting too close to the part on your initial cut - instead, leave a small nub that you can sand down later. Never remove parts without first studying the connection points and planning your cuts. Failing to support the part while cutting can also lead to breakage or deformation.
The Role of Sprue in Model Kit Organization
The plastic structure known as sprue serves as more than just a holding mechanism for model kit parts. It's actually an ingenious organizational system that helps you identify and locate specific components during assembly. When you're working with multiple kits or dealing with parts that rolls in a box, the sprue's numbered gates and systematic layout prevent pieces from getting mixed up.
Many manufacturers use two different colour rolls for their sprues to help you distinguish between separate subassemblies or variant parts. This color-coding system makes it easier to sort components and keep your modelling tools organized while you work.
The sprue's layout also typically follows the kit's assembly sequence, guiding you through the building process in a logical order that minimizes confusion and assembly errors.
Advanced Techniques for Fragile Component Removal
When working with delicate components in model kits, razor saws offer superior control and precision compared to standard cutting tools. By carefully sawing through the sprue connections, you'll prevent compression that could warp or damage fragile pieces like clear canopies on your scale model.
Before you begin cutting, you'll need to wash the parts in warm soapy water to remove any residual mold release agents. Once the liquid is cleaned off and parts are dry, you can start the careful separation process. Using a razor saw helps you maintain the structural integrity of delicate components while ensuring clean cut lines. This technique is especially important when working with transparent parts or intricate details that could easily become distorted with traditional cutting methods.
Proper Cleanup and Surface Preparation
After separating parts from the sprue, three essential cleanup steps certify your model's professional finish. First, you'll need to carefully sand or file any remaining nubs where the parts connected to the sprue. This guarantees smooth surfaces and proper fitting during assembly.
Next, you'll want to wash all my plastic components in warm soapy water to remove any residual oils, mold release agents, or plastic dust. Personally wash each piece thoroughly, as these contaminants can interfere with paint adhesion later. A light scrub with a soft brush helps reach all the crevices.
Finally, inspect each part carefully after it's dry. Double-check for any missed nubs or rough spots that need additional attention. This precise approach to surface preparation will significantly improve your model's final appearance.
Impact of Sprue Design on Kit Quality
How a manufacturer designs their sprue system can make or break the overall quality of a model kit. You'll always be mindful of this when you receive the tips weekly from experienced modelers about choosing quality kits. When you need a top-of-the-line kit that's easy to build, look for ones with well-engineered sprue layouts.
- Parts are organized logically, making identification quick and straightforward
- Attachment points are strategically placed for clean removal
- Multiple components can be molded efficiently in one production run
- Before you wash my plastic parts, they're already positioned for minimal cleanup
Well-designed sprues not only streamline the manufacturing process but also guarantee you'll spend less time cleaning up parts and more time enjoying the building experience. The thoughtful engineering behind sprue systems directly impacts your modeling satisfaction.
Storage and Preservation of Unused Sprue Parts
Many modelers find that leftover sprue parts can become precious resources for future projects, making proper storage essential. You'll want to keep your unused sprues in a dedicated storage container, carefully sorted by size, type, or potential use. Clear plastic bins or tackle boxes from your tool kit work perfectly for organizing these pieces.
When storing sprues, you should protect them from dust, excessive heat, and UV light to prevent degradation. Many modellers have an extensive collection of leftover parts that they've accumulated over years of building. To maximize the lifespan of these pieces, consider labeling your storage containers with the kit name and part numbers. This system makes it easier to locate specific pieces when you need them for kitbashing or repairs on future projects.