
Steps for Building Great Looking Gundam Models
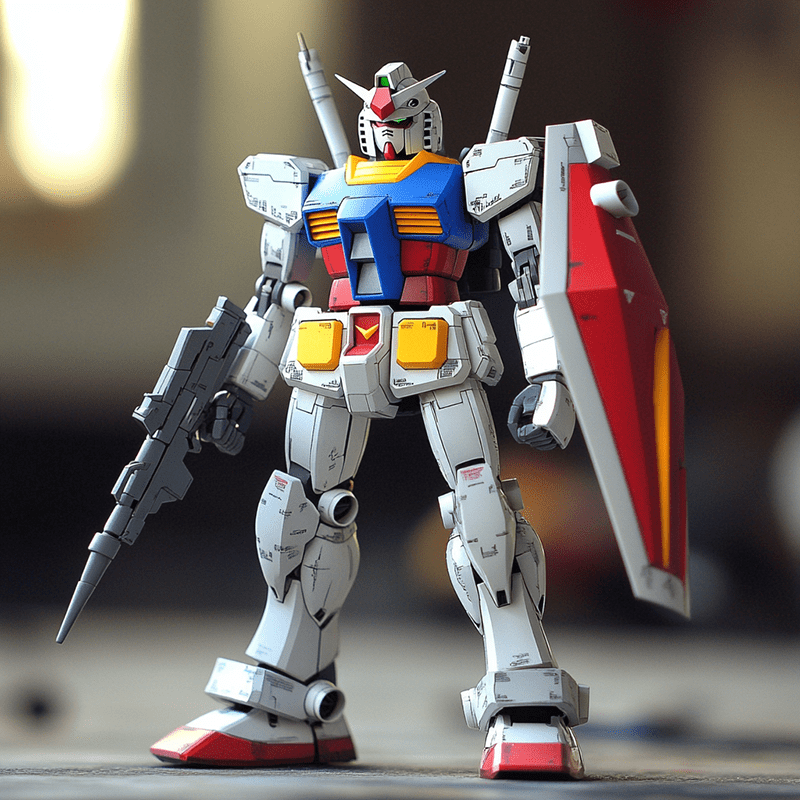
Building Gunpla models, also known as Gundam plastic models, is a fun and rewarding hobby that offers a unique modeling experience for beginners and experts alike. These models are based on the popular Mobile Suit Gundam anime series and are manufactured by Bandai, a renowned Japanese company. Below is a step-by-step guide to help you get started on your Gunpla building journey.
1. Understanding Gunpla Basics
Gunpla refers to plastic mecha model kits from the Gundam series. The name "Gunpla" is a combination of "Gundam" and "plastic model." These kits are unique because they come in pre-colored plastic parts that snap together, eliminating the need for glue or paint, which makes them an excellent starting point for aspiring modelers.
2. Choosing Your First Gunpla Kit
Before you start building, you’ll need to select a Gunpla kit. Gunpla kits are categorized into different grades, indicating their complexity and price. For beginners, a High Grade (HG) kit is highly recommended. These kits are affordable, relatively simple to build, and provide a good introduction to the hobby. A popular choice for beginners is the HG 1/144 scale RGM-79(G) GM Ground Type model.
3. Gathering Essential Tools
To begin building Gunpla, you'll need a few basic tools:
- Nippers or Side Cutters: For removing parts from the sprues.
- Hobby Knife: For cleaning up nub marks left by the sprues.
- Sanding Sticks (Various Grits): For smoothing the parts.
- Cutting Mat (optional but recommended): To protect your work surface.
For a more precise cut, experienced modelers suggest using both a double-bladed and a single-bladed nipper, but beginners can start with just a double-bladed nipper.
4. Unboxing Your Gunpla Kit
When you open a Gunpla kit, you’ll find the following:
- Assembly Instructions: Usually easy to follow, with clear illustrations and part numbers.
- Stickers and Decals: For adding details to your model.
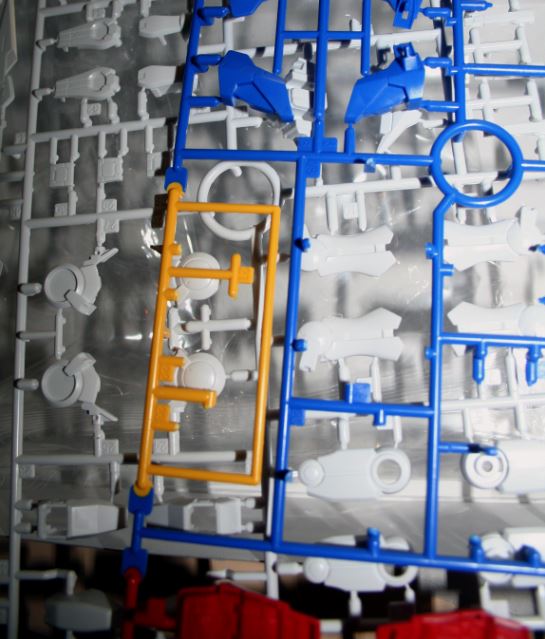
- Plastic Parts on Sprues (also known as runners): Molded in accurate colors.
Organize your parts by sprue letter (e.g., Sprue A, Sprue B) to make assembly easier.
5. Building Your Gunpla Model
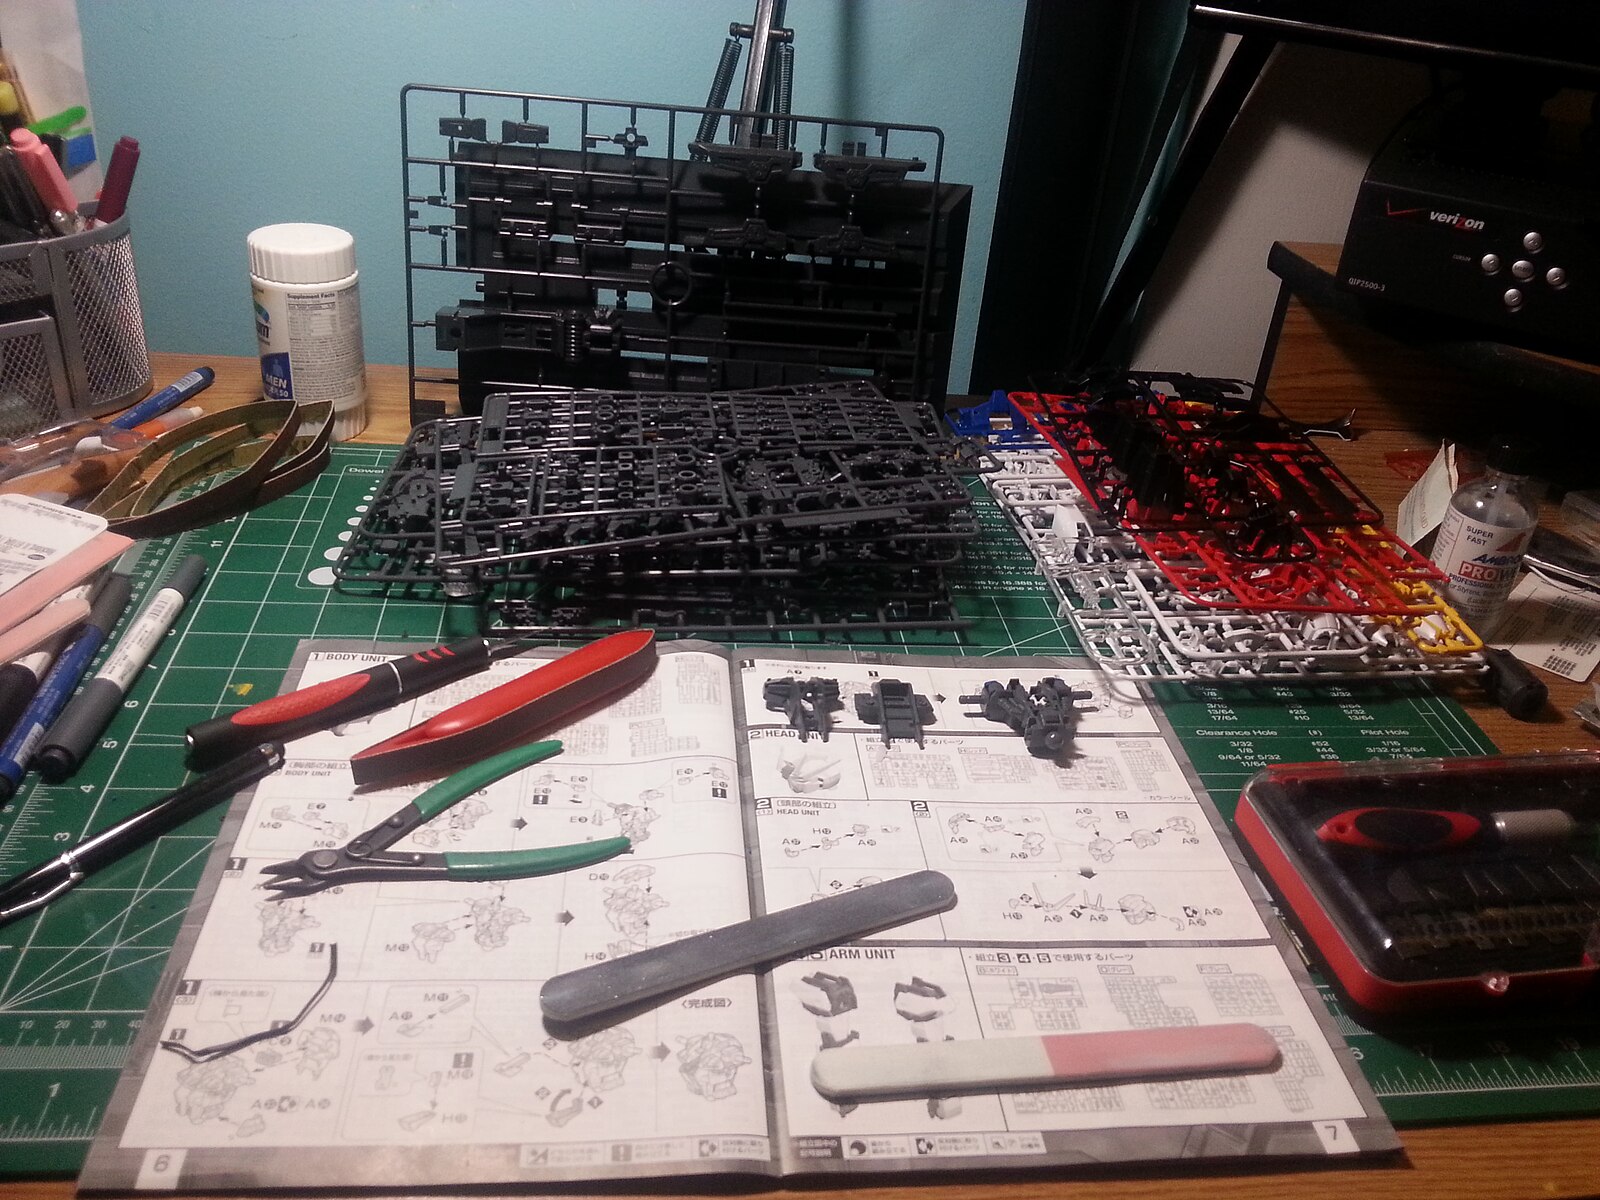
Cheposo(Subida/Upload), Mesa de Trabajo de un Modelista Gunpla y herramientas (Working table of a Gunpla Modelist and tools), CC BY-SA 3.0
Step 1: Removing Parts from Sprues
Carefully cut the parts from the sprues using your nippers. Avoid cutting too close to the part to prevent damaging it. Leave a small nub, which you can shave down with your hobby knife.
Step 2: Cleaning Up Nub Marks
Using your hobby knife, slowly and carefully shave away the remaining nub. After shaving, smooth the area with progressively finer sanding sticks. For unpainted models, sand up to 2500-4000 grit for a smooth finish.
Step 3: Assembly
Follow the instructions to assemble your Gunpla model. The instructions will guide you on which parts to use and how to fit them together. If parts don’t fit, double-check the instructions—never force them together.
Step 4: Addressing Mold Lines
Mold lines, formed where the mold meets when making the sprue, can be removed with a ceramic scraper or the edge of your hobby knife. Sand the area smooth afterward.
6. Enhancing Your Gunpla Model
Once assembled, you can enhance your Gunpla with decals and panel lining. These steps are optional but add a level of detail and realism to your model.
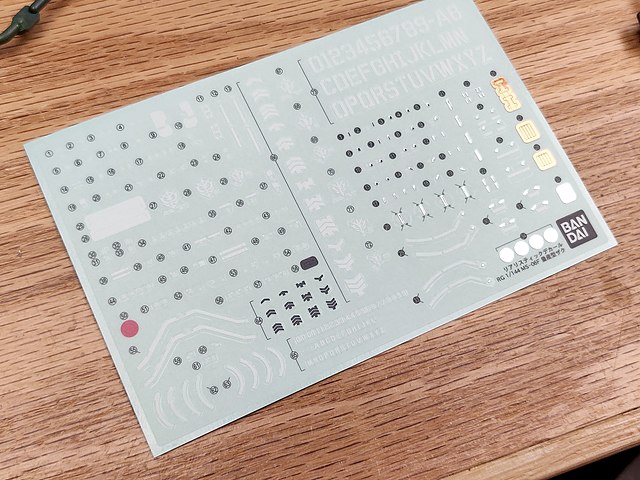
Step 1: Applying Decals
Waterslide decals often look better than stickers. Here’s how to apply them:
- Cut out the decal.
- Dip it in warm water (you can add white vinegar to soften it).
- Slide the decal onto the part using tweezers.
- Align the decal and gently dab away excess water with a cotton swab.
- Apply decal softener to help it conform to the surface.
Step 2: Panel Lining
Panel lining involves applying a dark wash to the recessed lines of your model to make details stand out. Before lining, apply a clear gloss coat to protect the plastic.
- Apply the panel line accent to the recessed areas.
- Let it flow along the lines via capillary action.
- Clean up excess with a cotton swab dampened with thinner.
7. Final Touches: Applying a Topcoat
After panel lining, apply a final topcoat of clear varnish to protect the decals and panel lines from rubbing off or smudging. You can use a gloss, satin, or flat finish, depending on your preference. Avoid using lacquer-based clear coats, as they might react with the panel line accent.
8. Conclusion: Enjoy the Process!
Building Gunpla models is a therapeutic and enjoyable hobby, perfect for those looking to dive into model building. With just a few tools and some patience, you can create impressive models that reflect your skill and creativity. So, what are you waiting for? Start your Gunpla journey today and enjoy the process of bringing these iconic mechas to life!

.jpg)