How to Add Lighting To Your Model Sets
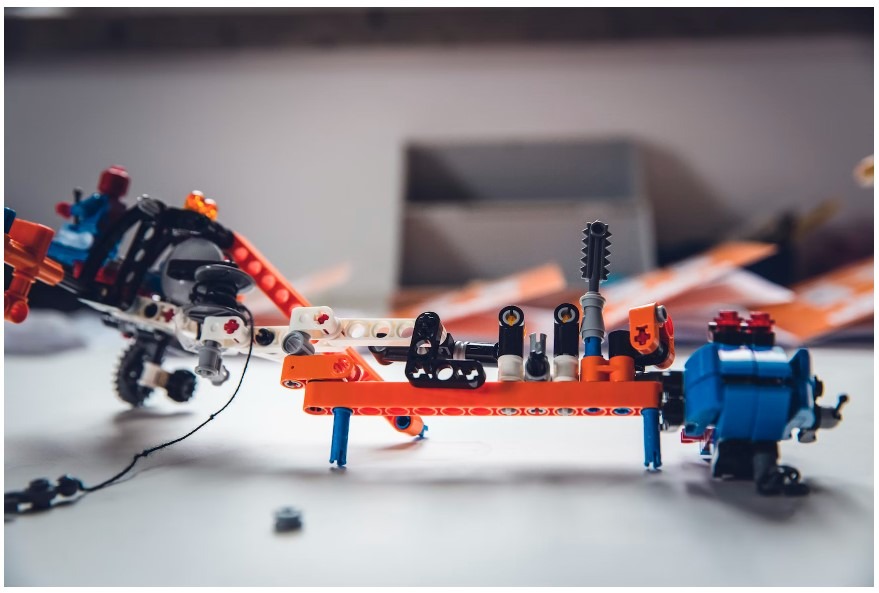
A lot of people today enjoy scale modeling as a hobby. It is a fun and exciting hobby for both kids and adults, but it also needs patience, skills, creativity, and preciseness to ensure that you will get the best results. This means that without proper skills and knowledge, your project or output might end up a disaster.
There are many different things that you can build scale models of, such as famous landmarks, model trains, cars, boats, and more. When you finish them, the next step is to display them somewhere at home or in the office. However, sometimes it’s not enough to simply display them on a shelf or table. There are times that we’d like to see something amazing and dramatic or add elements that could make them look more realistic miniatures. One of these is adding lights.
The subject of lighting scale models sometimes frightens some model builders. There are different types of lights that you can use to do this, like LED lights, laser lights, and spotlights. Though the options are quite limited, the skills are not that challenging. All you need is the desire to succeed and also to use the right materials.
If you are thinking of adding lights to your model sets, we’re happy to give you some ideas. Read on to learn how to light up your model sets with LEDs and fiber optics.
Materials Needed
In order to successfully light up a model set, here are some of the basic but useful items that you need:
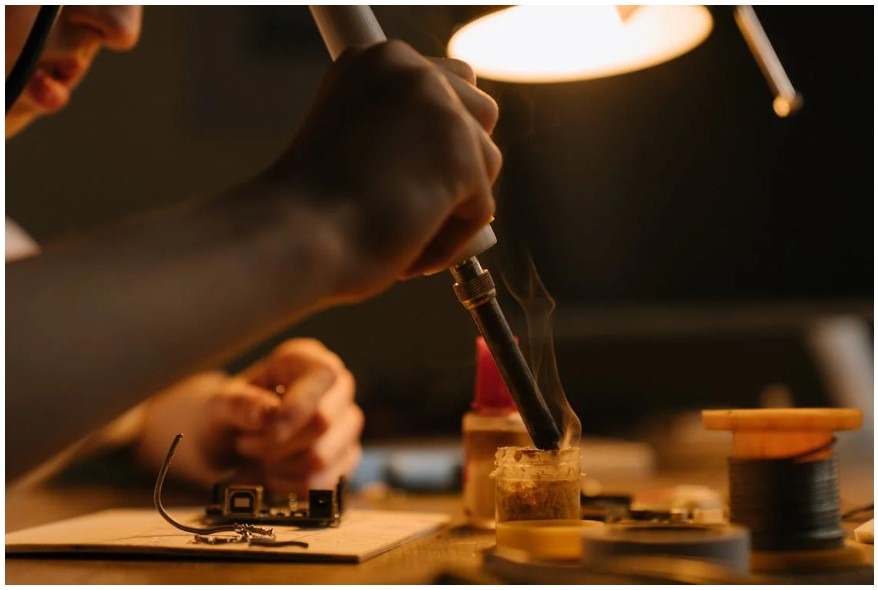
- A reliable fine tip soldering iron
- 60/40 Rosin solder .032 or smaller
- Shrink tube or electrical tape
- 20- or 30-gauge wire, black and white for negative and positive
- Holder to help in soldering
- Mini-toggle switch
- Fiber optics in different sizes
- Wire stripper
- 9-volt battery clip
- Diffusion material
- 3mm and 5mm LEDs with resistors
The First Steps
After obtaining all the materials needed, you then have to decide how you want to light your model, and as well as the colors of the LED light that you want. There are many different options for colors, such as yellow, blue, red, or white. If you have a sci-fi model, then lighting is ideal. When you get the right effect, it can set your model apart from the others. In addition to adding to the overall visual effect, it will also enable you to see the details inside the model, particularly in smaller ones.
If you have a small model, you can use small LEDs or fiber optics that run off a single 3mm or 5mm LED. This will light up even the tiniest details in your model. You can start by soldering the LED size that you want, such as 3mm with resistors. Then, you can pre-make around half a dozen or so LEDs using 20- or 30-gauge wire. After that, finish with a shrink tube over the soldered areas. You also have the option to use electrical tape. Later on, you can shorten the wires after getting everything routed through the model and finalized.
Diffusing the Lights
One of the challenges that come with LED lights is that they are very focused, which is not good if you are looking for a broad light effect. What you can do is put a piece of diffused clear plastic sheet in front of the LED. In addition, you can also bend the diffusion material in a curve by heating it. Then, mount it in the model behind the area that you want to illuminate. Then, mount an LED behind the curved material to get an even more broad light effect.
Avoiding Light Leaks
After you’ve soldered the LED lights to the model and decided what areas to light up, you can then mount the lights permanently. But you also need to ensure that no light will leak to the areas that you do not want to be illuminated. To do this, what you need to do is spray the model’s hull with a flat black primer. Doing this will deflect the light from showing through the surface or leaking to spots that you do not want to be lighted.
Mounting the Lights in the Model

Before you mount the lights, you need to plan ahead. Look for the ideal spots to get the best lighting effect. Once you’ve figured this out, double-check everything and ensure that all the lights are working before assembling the model. Make sure that when you close everything, there will be no parts that will come loose or any bad connection that will require resoldering.
Another thing that you need to consider is the spot where you can place the battery. Since a 9-volt battery will be used, you need to decide on a location where it will not be seen when displayed, but it should be accessible, too. It can be under the base of the model or behind it.
Conclusion
Adding lights to model sets might seem like a hard task at first. But once you’ve tried it and become familiar with the materials and how it works, you will find it easy to do and maybe try other methods and other kinds of lights, too. It is also a great skill to have, especially if you want to explore other aspects of modeling, such as dioramas, buildings and model railroading, and shadow boxes. We hope this post gave you some ideas on how to add lighting to your model sets.