What Are Matchstick Models?
Constructing matchstick models is a growingly popular pastime. It would be even better if people knew more about it.
However, the term "matchstick" is a misnomer. Combustible matchsticks are rarely used nowadays. A special type is used, which can be found in any art and craft store.
The best matchstick models can be found in a good wood art gallery. Without a doubt, matchstick modeling is an amazing form of artistic expression and a cost-effective and cheap way of creating something that will capture the attention of many people.
But what exactly are matchstick models? Learn this question and more in this article.
What Is a Matchstick Model
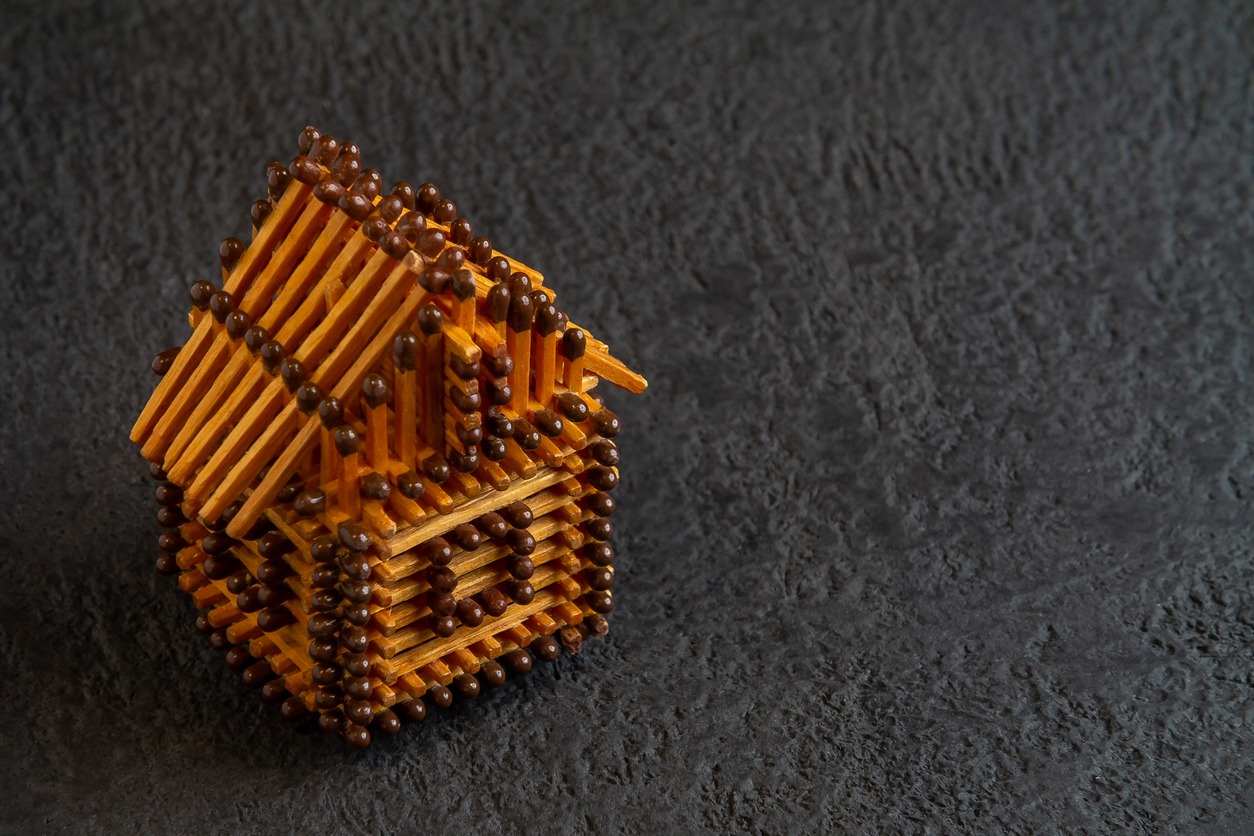
A matchstick model is a scale model made as a hobby out of matches. However, regular matches aren't used, but rather a special modeling type that does not have explosive heads and can be purchased from art and craft stores. Before the mass production of such, actual matches were utilized with the heads trimmed or left on to add colored detail.
History
Matchstick models were originally a hobby of prisoners (particularly naval prisoners of war) in the 18th century. During the period, better-funded modelers, like professionals today, preferred using more replicated parts for models, whereas the poor couldn't pay to use up many matches.
Construction
The matches are cut with a sharp knife and glued together, often with paperboard "formers" holding them in place until the glue dries. While glue can fill the smallest gaps, specially carved matches can fill larger ones.
Many modelers prefer to build models from the ground up. Many kits available include pre-cut card formers, instructions, and enough modeling matches for the project.
A scratch-built replica of Notre Dame Cathedral that measured more than six feet in length and included electric lights was an impressive and exceptionally large matchstick model.
Why Are Matchstick Models So Distinctive?
Matchsticks are deemed unique for a variety of reasons. They could be used as a base for a variety of paper models.
If you're creative and inclined to think outside the box, you can learn to construct matchstick models in the truest sense. As mentioned above, they are quite cheap and are readily and easily available.
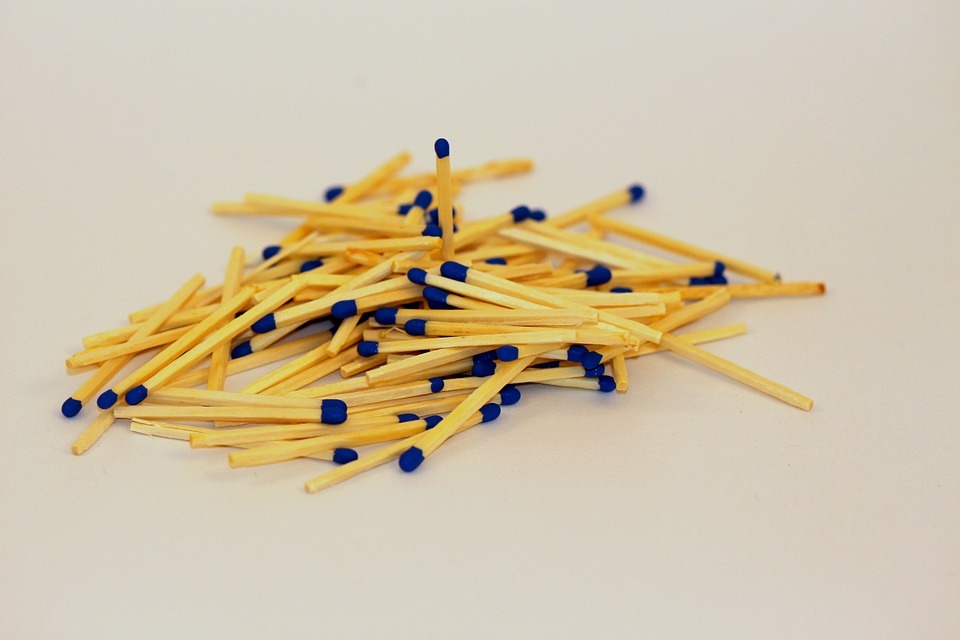
While many people use burnt matches, others use headless matchsticks. For example, a bag of around 10,000 matchsticks should not cost more than 12 dollars. As previously stated, they are reasonably priced and widely available.
Some people use burnt matches, while others utilize headless matchsticks. For example, a bag of 10,000 matchsticks shouldn't cost over $12. Hence, it's among the cheapest and most effective ways of expressing one's artistic side.
You can build matchstick models from kits or scratch.
A few projects made by enthusiasts include things like the Empire State Building, Golden Gate Bridge, Titanic, and many others.
Building Matchstick Models
Matchstick projects, as opposed to traditional plastic model building, can take years. It's not unusual to hear of individuals working on their models for anywhere from one to thirty years. As you will see, this is not a project for the impatient.
People of all ages can create matchstick models ranging from simple class work to complex. Though the designs and complexity may vary, certain guidelines remain constant.
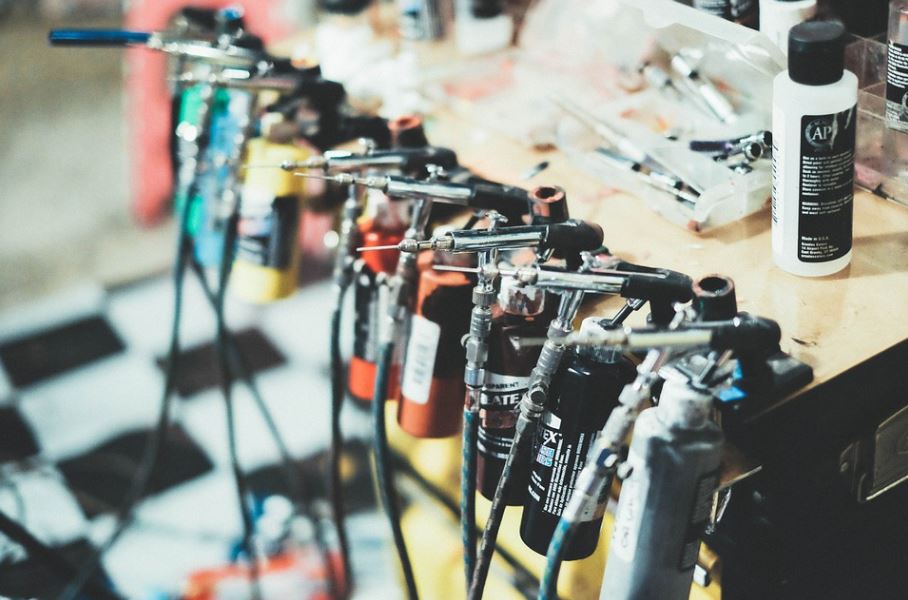
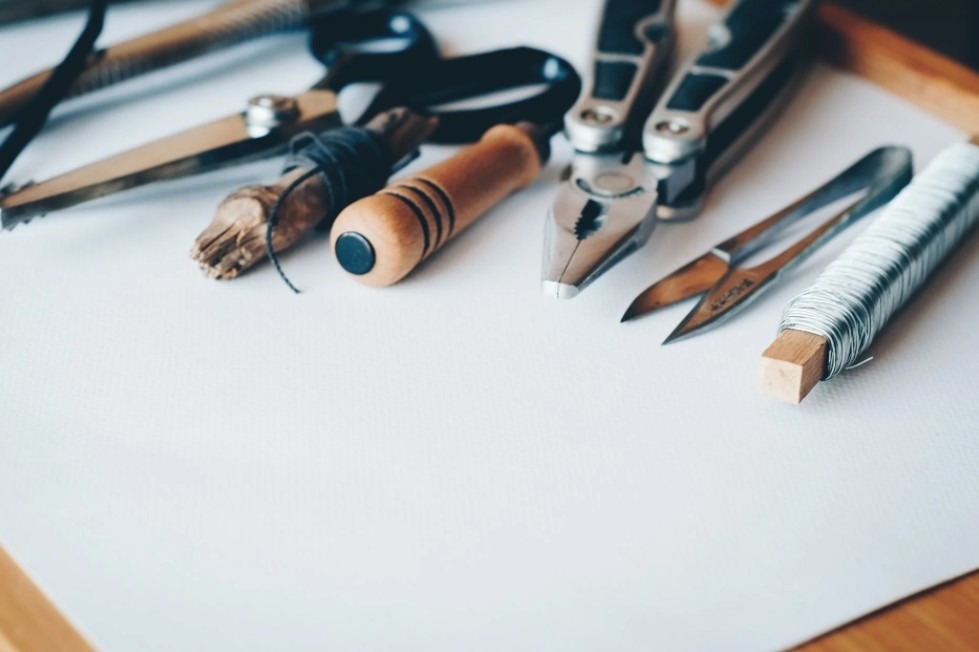
Tool Kit
You will consider the hobby much easier if you have the right tools. A great tool kit should include at least the following items:
- scissors
- small 1" paintbrush
- flexible knife set
- pointed pliers
- small G-clamps
- small square
- small files
- side cutters
- pencils
- ruler
- straight edge
- sandpaper and matchstick cutter
Having a small rechargeable 'do-it-all' machine is also a good idea. You'll also require a cutting board to protect the table and water, a sponge, and a towel to keep your glue from drying on your fingers.
Choosing the Best Glue
The first step in determining how to build matchstick models is to visit an excellent online sculpture gallery to learn basic lessons about the models you can create with matchsticks. The next action is to find the best glue for firmly binding the matchsticks and keeping them in place.
Though there are numerous options, there are motives to think that PVA (Polyvinyl Acetate) is the best. It's more commonly known as craft glue.
It has remarkable properties: it dries quickly and isn't messy on the fingers or other surfaces. Because it's a water-based glue, PVA is environmentally friendly. Also, when you run out of model glue, there are tons of options to pick from.
Design
Next, you'll need a design, which you can find in matchstick modeling kits or online. The more talented can even draw unique designs. If you choose to draw your own, use a reference image to ensure that the dimensions and scale are correct.
Models range in complexity from simple shapes to complex structures. It is best to plan your model from the inside out, beginning at the bottom. Planning is not always required for simple basic designs or shapes.
If you are using a model kit, read the instructions carefully and become familiar with the parts that must be assembled and in what order. Keep in mind that there are no shortcuts. In the end, shortcuts will stand out like a sore thumb.
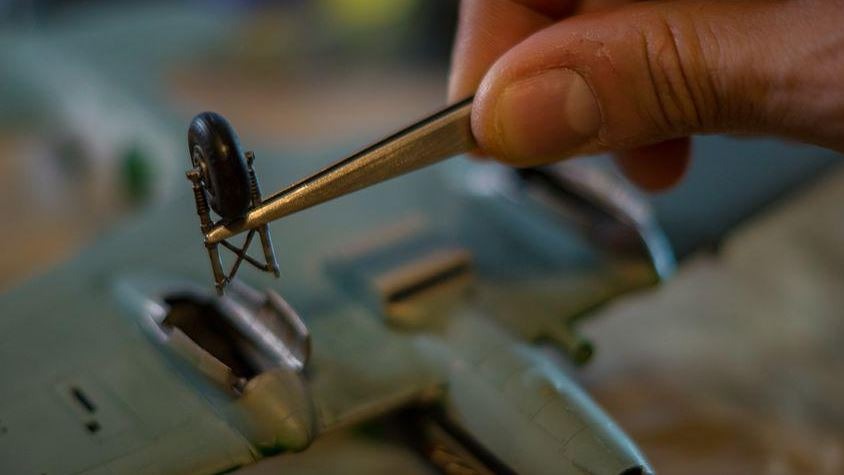
Now it's time to start building by cutting the matchsticks. They can be cut in a variety of ways. To form joints, trim the bottom or cut at an angle to make them shorter. For the safety of young children, matchstick cutters are recommended.
"Paint" the glue onto the matchstick, then stick it against another, working your way up. Let the glue dry before gently sanding and filing. You should do this with caution at all times.
Glue the card, not the matchsticks, when you clad a pre-cut card former. Spread enough glue for around ten minutes of cladding time with a paintbrush, keeping it damp, so it doesn't dry out. Allow 4-5 hours for flat sections to dry under a heavy flat object.
Sanding Blocks
Creating odd pieces, such as circular objects, can get a little cumbersome. Use a length of tube the same diameter and size as the piece you're making for this.
Line the exterior of the tube with a piece of paper but do not glue it on. Glue the matchsticks to the paper. After the glue has hardened and the piece has been sanded, you can remove the tube.
Some pieces, like wheels, may require "bending," in which case you must soak the sticks.
Experts recommend waiting for room temperature for up to 24 hours or overnight. The sticks will then become pliable enough to form the necessary shape.
Make as many sections as possible before beginning to assemble your model. First, sand the sections across the grain with coarse sandpaper. Finish by sanding with fine grain sandpaper. Sanding blocks can be made from short pieces of wood cut to shape and glued with good quality sandpaper.
But be cautious. They are, after all, just matches.