What Is the Slab Method in Pottery?
The slab method in pottery lets you create ceramic pieces by working with flat sheets of clay. You'll roll out uniform clay slabs, typically 1/4 to 1 inch thick, using tools like a rolling pin or slab roller. You can then cut, shape, and join these slabs to form vessels, sculptures, or functional items. It's a versatile technique that gives you precise control over your work's final form. Exploring this fundamental method opens up endless creative possibilities in ceramics.
Understanding the Fundamentals of Slab Pottery
The slab method stands as one of pottery's most versatile and foundational techniques. When you're making slab pottery, you'll work with flat sheets of clay that you can transform into countless ceramic forms. To begin, you'll roll out the slabs to your desired thickness, ensuring consistent dimensions for your project.
Hand building with slabs offers you remarkable control over your creations. You can choose between using soft slabs for organic, flowing shapes or waiting until they're leather-hard for geometric structures. The pottery techniques you'll employ include careful preparation, precise cutting, and skillful assembly of your pieces. Whether you're creating shapes that are architectural or sculptural, the thickness of the slab plays a pivotal role in your final piece's stability and form. This adaptable method lets you explore endless design possibilities in ceramics. Slab-built planters are perfect examples of this technique, allowing even beginners to create functional and attractive ceramic pieces.
Essential Tools and Materials
Success in slab pottery begins with having the right tools and materials at your fingertips. You'll need a rolling pin and straight-edge to create flat slabs, while a knife or cutting tool helps shape your pieces precisely. Don't forget loop tools and rubber ribs for smoothing and refining your work.
Choose high-quality stoneware or porcelain clay that's sturdy enough to maintain its shape. A slab roller or flat work surface will help you create even, stiff slabs consistently.
To enhance your creative possibilities, keep texturing tools and molds nearby. You'll also need slip, a mixture of clay and water, to join pieces together effectively. Remember that proper drying and curing of your clay slabs is essential before assembly to prevent warping or cracking in your finished piece. Similar to how cast polyurethane resin is used in model kits, clay must be processed under controlled conditions to ensure durability.
Preparing and Rolling Perfect Clay Slabs

Creating perfect clay slabs starts with proper preparation and technique. You'll need to thoroughly knead and condition your clay to guarantee it's uniform and free from air pockets that could cause cracking.
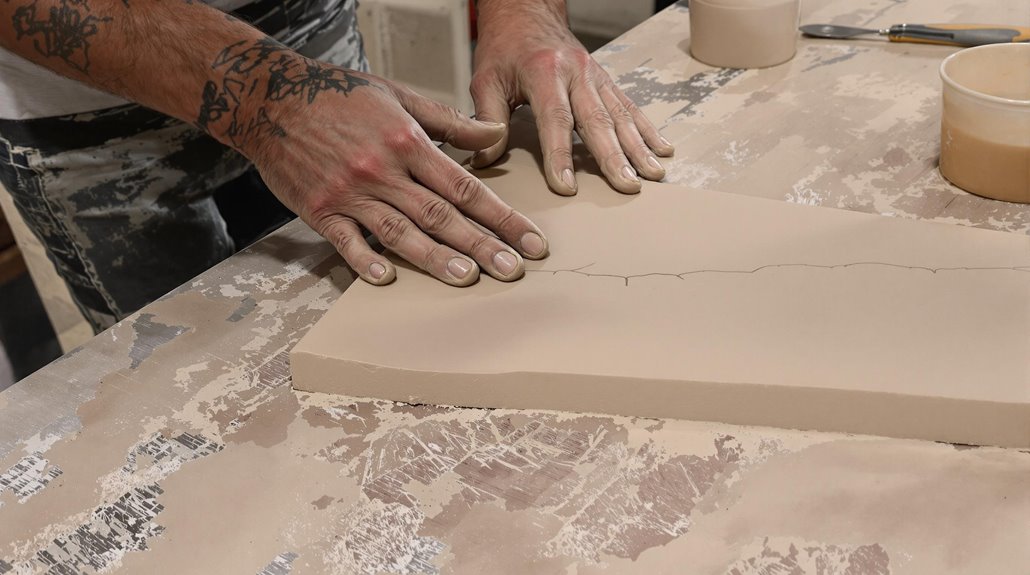
When using the slab technique, place your clay between wooden boards or canvas on a hard surface, then use a rolling pin or slab roller to achieve even thickness between 1/4 to 1 inch.
To perfect your slabs of clay, maintain consistent slab thickness throughout the rolling process. Once you've achieved your desired thickness, smooth the surface with a drywall knife or sponge to eliminate any imperfections.
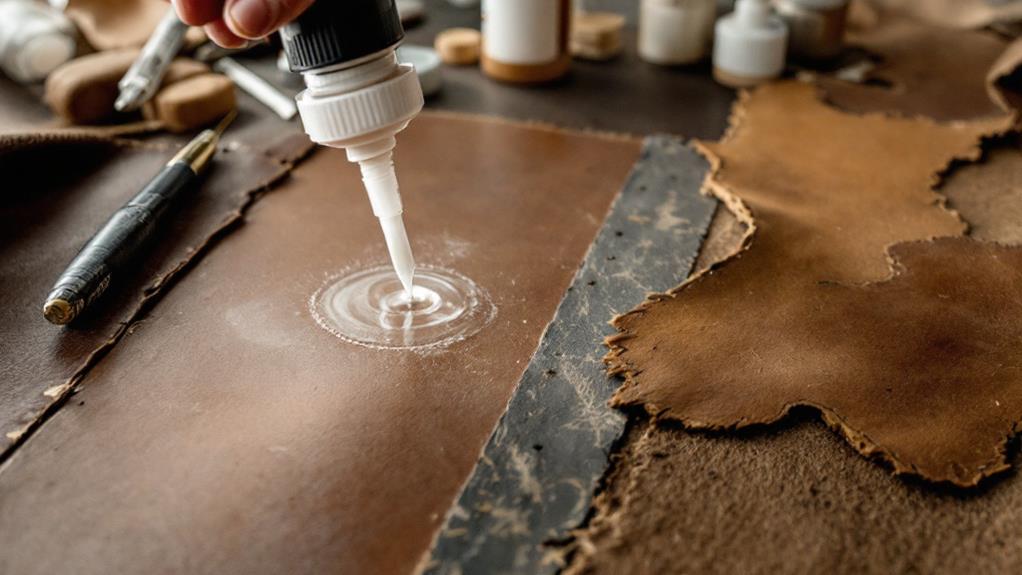
Before cutting or assembling your pieces, allow your clay slabs to reach a leather-hard state, which is essential for preventing warping and cracking in your final project. If you need to join clay pieces together, use a white glue alternative like epoxy for stronger bonds between sections.
Techniques for Joining and Building
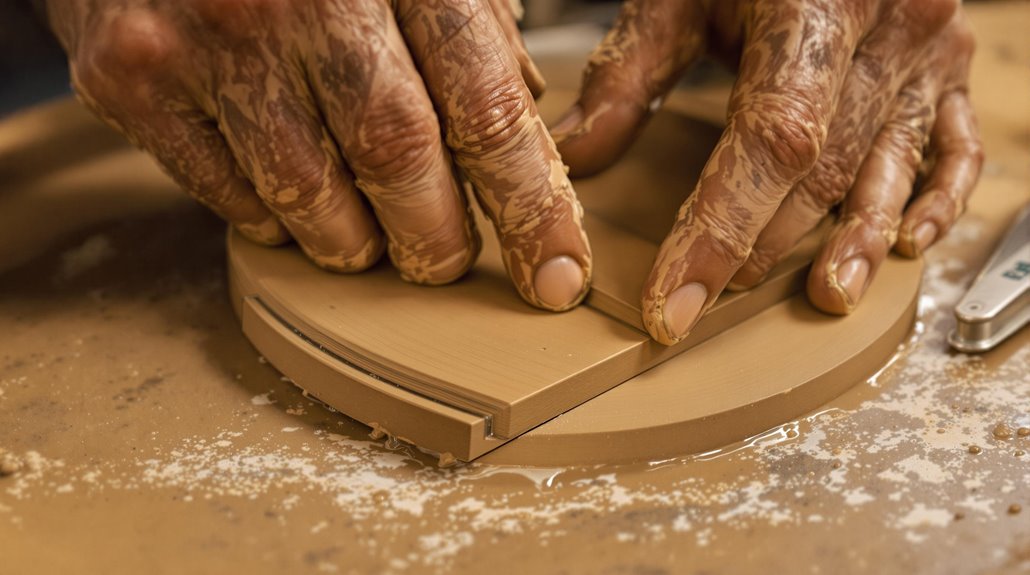
Once your clay slabs reach the right consistency, joining them requires precise techniques to guarantee strong, lasting connections. Start by scratching the surface of the pieces you'll join and apply slip to create a durable bond. Then, carefully align and press the slab pieces together, smoothing the joint to achieve a seamless look.
To create complex shapes, you can use templates or freehand cutting while your clay is still leather-hard and malleable. This technique allows you to join multiple pieces without the risk of cracking. As you're making your piece, consider adding decorative elements like coils or textures to enhance your design. Remember, successful slab construction isn't just about rolling pin skills - it's about understanding how to join surfaces effectively while maintaining the integrity of your clay forms.
Common Challenges and Solutions
While working with slab pottery, you'll encounter several technical challenges that require specific solutions to overcome. To achieve an even thickness when you roll clay onto a hard surface, use guides alongside your rolling pin or invest in a slab roller. When fitting two pieces together, thoroughly score and slip the edges to create strong bonds that won't separate during firing.
You'll find that controlling the drying process is vital to prevent warping and cracking. Unlike pieces made on a potters wheel, slabs are particularly susceptible to uneven drying. Create shapes in a controlled environment and monitor humidity levels.
When you're joining pieces together, take extra care with your edges by using sharp cutting tools for clean lines. To add visual interest, plan your textures and patterns before applying them to your slab surface.
Creative Projects for Every Skill Level
Ready to investigate slab pottery projects? You'll find options for every skill level in this versatile pottery technique. For beginners, start by using a rolling pin to create simple shapes like plates, tiles, or small boxes.
Once you've become proficient in basic building pottery, move on to intermediate projects like vases, mugs, or decorative wall pieces.
Advanced potters can challenge themselves by creating unique sculptural forms, combining slabs to create complex geometric designs, or crafting large-scale installations. Try adding texture with stamps, fabric impressions, or carving tools to enhance your work.
Whether you're following a beginners guide or exploring advanced methods, you'll achieve beautiful results by experimenting with different forms and surface treatments. The slab method's flexibility makes it perfect for both functional and artistic pieces.