What is Drying vs. Curing for Model Painting?
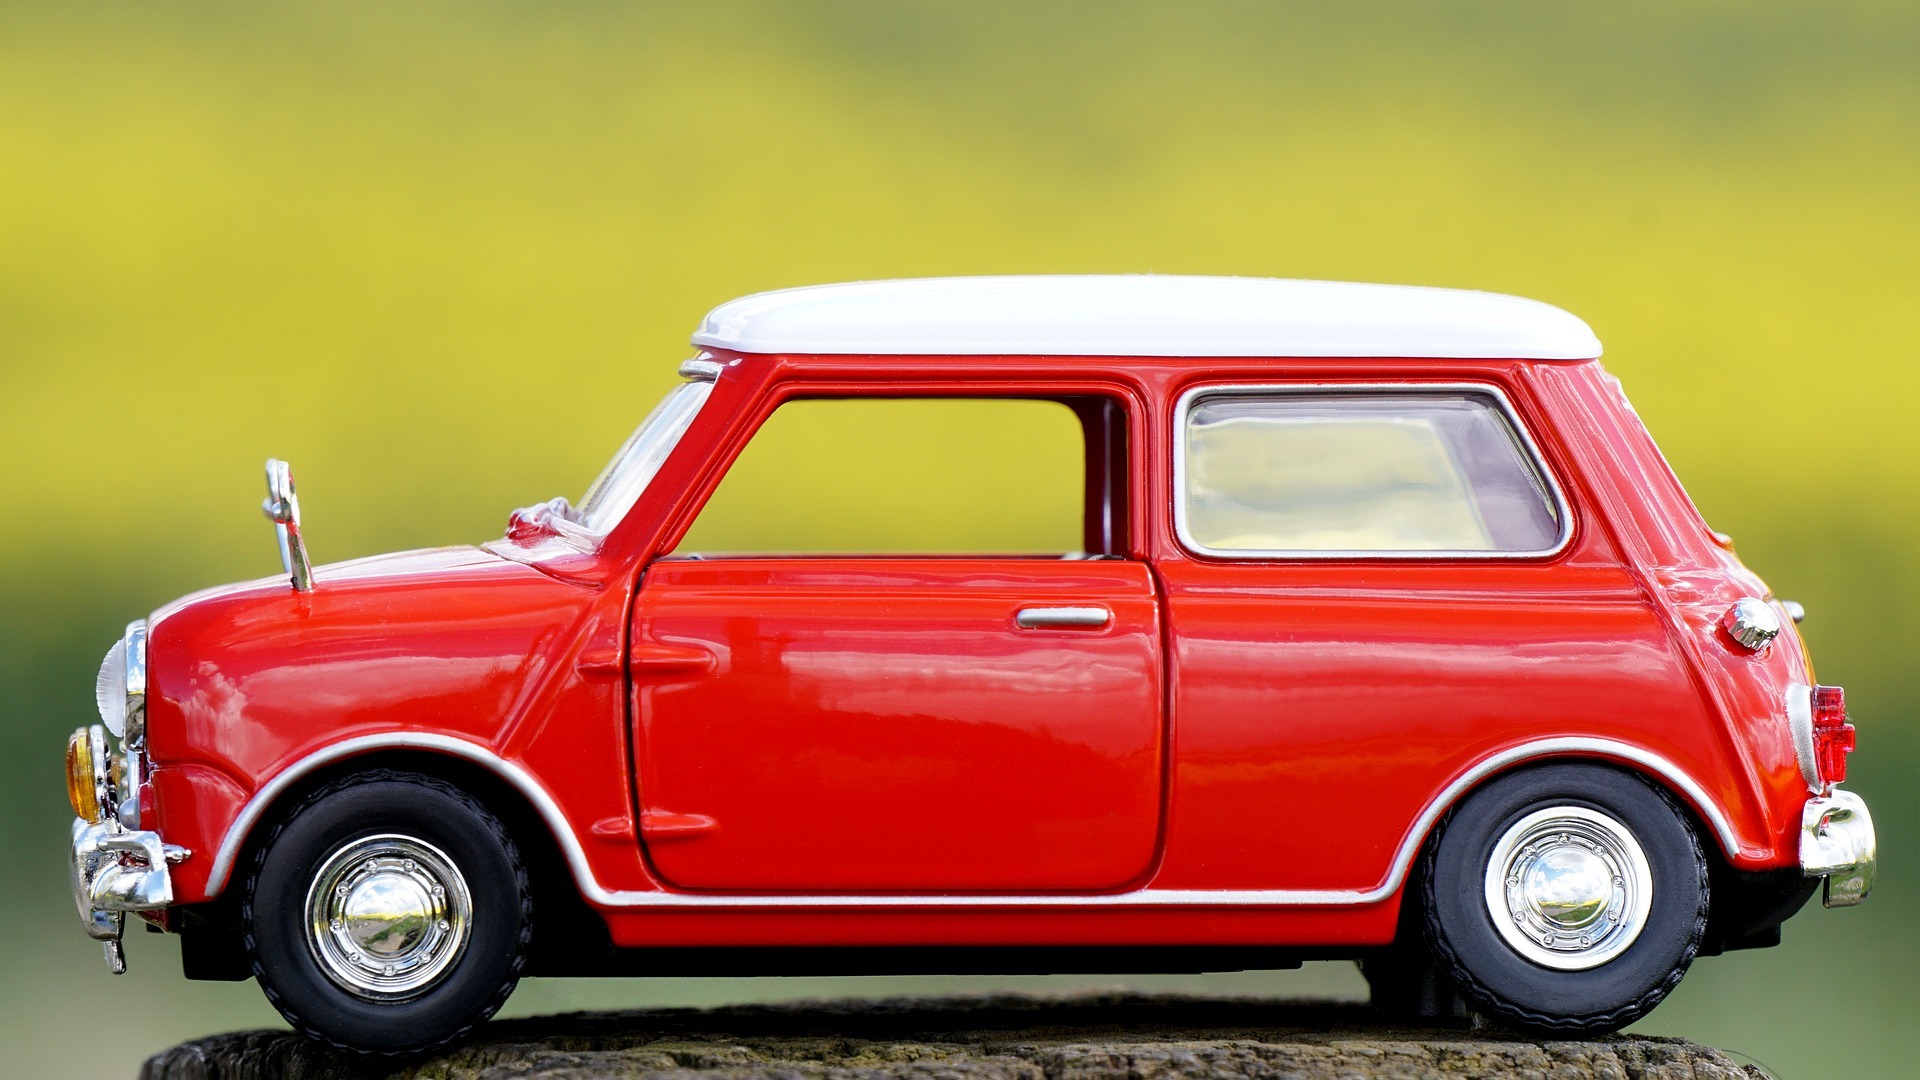
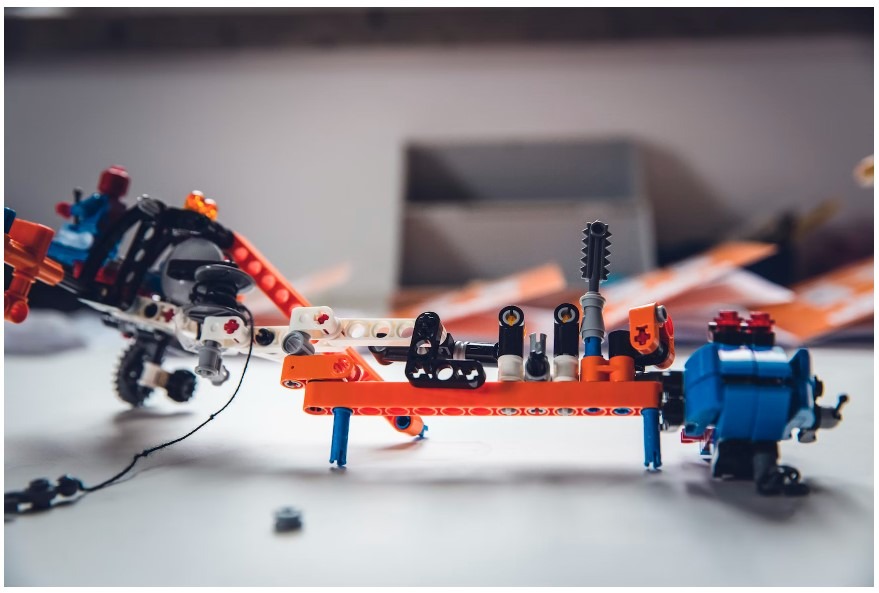
Many people enjoy spending their free time building model vehicles. Seeing your prized vehicles on display can be a nostalgic trip down memory lane and a chance to brag about your collection. But the nicest part is knowing that you worked hard to complete a model car of which you can be proud. There are some things you should keep in mind before you start painting your first model automobile.
First, it's vital to define the difference between "drying" and "curing," as they are frequently misinterpreted. The Paint must cure and dry after application. The amount of time needed for this is determined by the substrate that needs to be painted, the kind of Paint used, and numerous environmental conditions.
The Difference Between Drying and Curing
"Drying" and "curing" are often used interchangeably when a finish changes from a liquid to a solid film. The primary distinction between curing and drying is that heat is applied or generated to vaporize the water in the ink's solvents, leaving the pigments behind to add color to the substrate. In contrast, ink is transformed from a liquid to a solid during drying. Curing and drying are important processes after applying a thin coat of a certain paint to a surface.
Drying is the process of applying or producing heat to remove the water from the ink's solvents, leaving the pigments behind to add color to the substrate. The terms "evaporation" and "coalescence" describe this process. Every water-based Paint typically goes through drying.
Evaporation takes place in the initial stage. At this stage, air conditions cause the volatile liquids in the paint coat to evaporate. Water typically evaporates quickly. However, co-solvents—liquids evaporating more slowly—might also be utilized. These co-solvents are made to last a long time in the paint film. They offer most of the qualities needed before, during, and after the application process.
The coalescence phase is the second stage. It happens following the evaporation stage. A coherent paint film is created from discrete particles of a polymer binder that are disseminated in the liquids after most of the volatile liquids have evaporated. Paints contain components essential for reducing or eliminating undesired film flaws that become apparent after the Paint has dried. Dispersing agents, anti-setting agents, and emulsion stabilizers are common paint additives. They are also added to the formulation to help in Paint can production and stability.
Whereas, when something is "cured," a chemical process that turns it from a liquid to a solid takes place inside the finish. This is how to varnish, especially polyurethane varnish, cures, as do other two-part catalyzed finishes, even two-part water-based finishes. Once the chemical reaction has occurred, the thinning liquid might initially evaporate, whether it be mineral spirits, lacquer thinner, or water. Still, it is impossible to use that liquid to dissolve the finish again.
When a coating is "cured," water or solvents are removed. This procedure is carried out independently of the drying procedure. When we paint something solid, the Paint undergoes a chemical process to attach to the surface. The Paint is only cured once it has completely bonded and hardened, ready for regular usage.
For instance, a freshly painted car may not be suitable for usage while moving from one location to another. This is due to the Paint needing to be prepared. Being gentle with the object's surface is crucial during the curing process. The surface is readily vulnerable to chipping, scratches, and flaking off before this complete bonding occurs. During this process, the Paint sticks to the surface because the other chemicals change, and the water in the Paint evaporates. When the substance has fully dried, it becomes more robust and resistant. We can now use the item daily as a result.
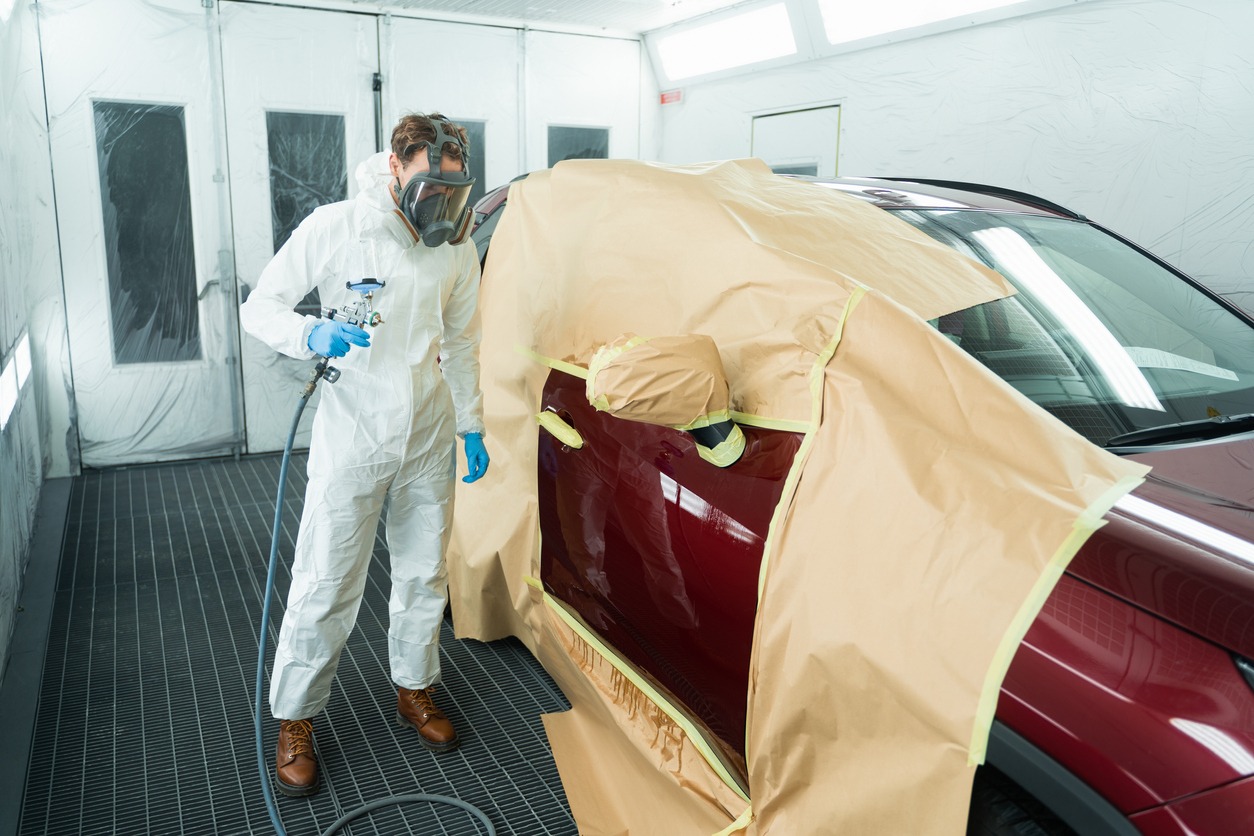
The need for a curing procedure may arise for a variety of reasons. For instance, in the automotive sector, this frequently involves applying Paint and coatings to fix or enhance the vehicle's appearance. Furthermore, ceramic coating, a decision that makes car maintenance simpler, is becoming more and more popular.
Tools for Car Model Painting
If you're going to be keeping a model car paint kit, you'll want to have the following handy:
1. Glue - Any model kit beyond the beginner level will require glue. You'll need plastic cement in a tube or liquid plastic cement to acquire the proper grip while dealing with plastic kits.
2. Tapes - The tape covers surfaces or sections of your model car that you don't want to paint. This aids in painting a model car with straight, sharp lines.
3. Brushes - Invest in a wide range of miniature paintbrush sizes. For painting on a larger scale, you'll want to use brushes with a wider tip. Small paintbrushes are ideal for creating intricate patterns and finishing touches.
4. Vice Grips - When assembling your model automobile, you should have a few vice grips on hand. It's crucial to apply consistent pressure when gluing things together to ensure a good bond. A vice grip allows you to exert this steady pressure while you go on to the next stage of construction.
5. Stand - Using a stand streamline and improves the painting process. If you don't hold your model components as you paint, less Paint will get on your fingers, and your model will show fewer fingerprints.
6. Hobby Knife - When starting your model car trip, a hobby knife is necessary. Having a range of sizes of hobby knives on hand will come in handy. You'll use hobby knives to remove excess material, release components from molds, and reshape them for a snugger fit. A collection of hobby knives is a necessity for any serious enthusiast.
7. Drop Cloth - When building and painting your model automobile, it's a good idea to work on a drop cloth or two. This is especially important when using spray paint on your model car, as the Paint can easily spread outside the can and ruin your workspace.
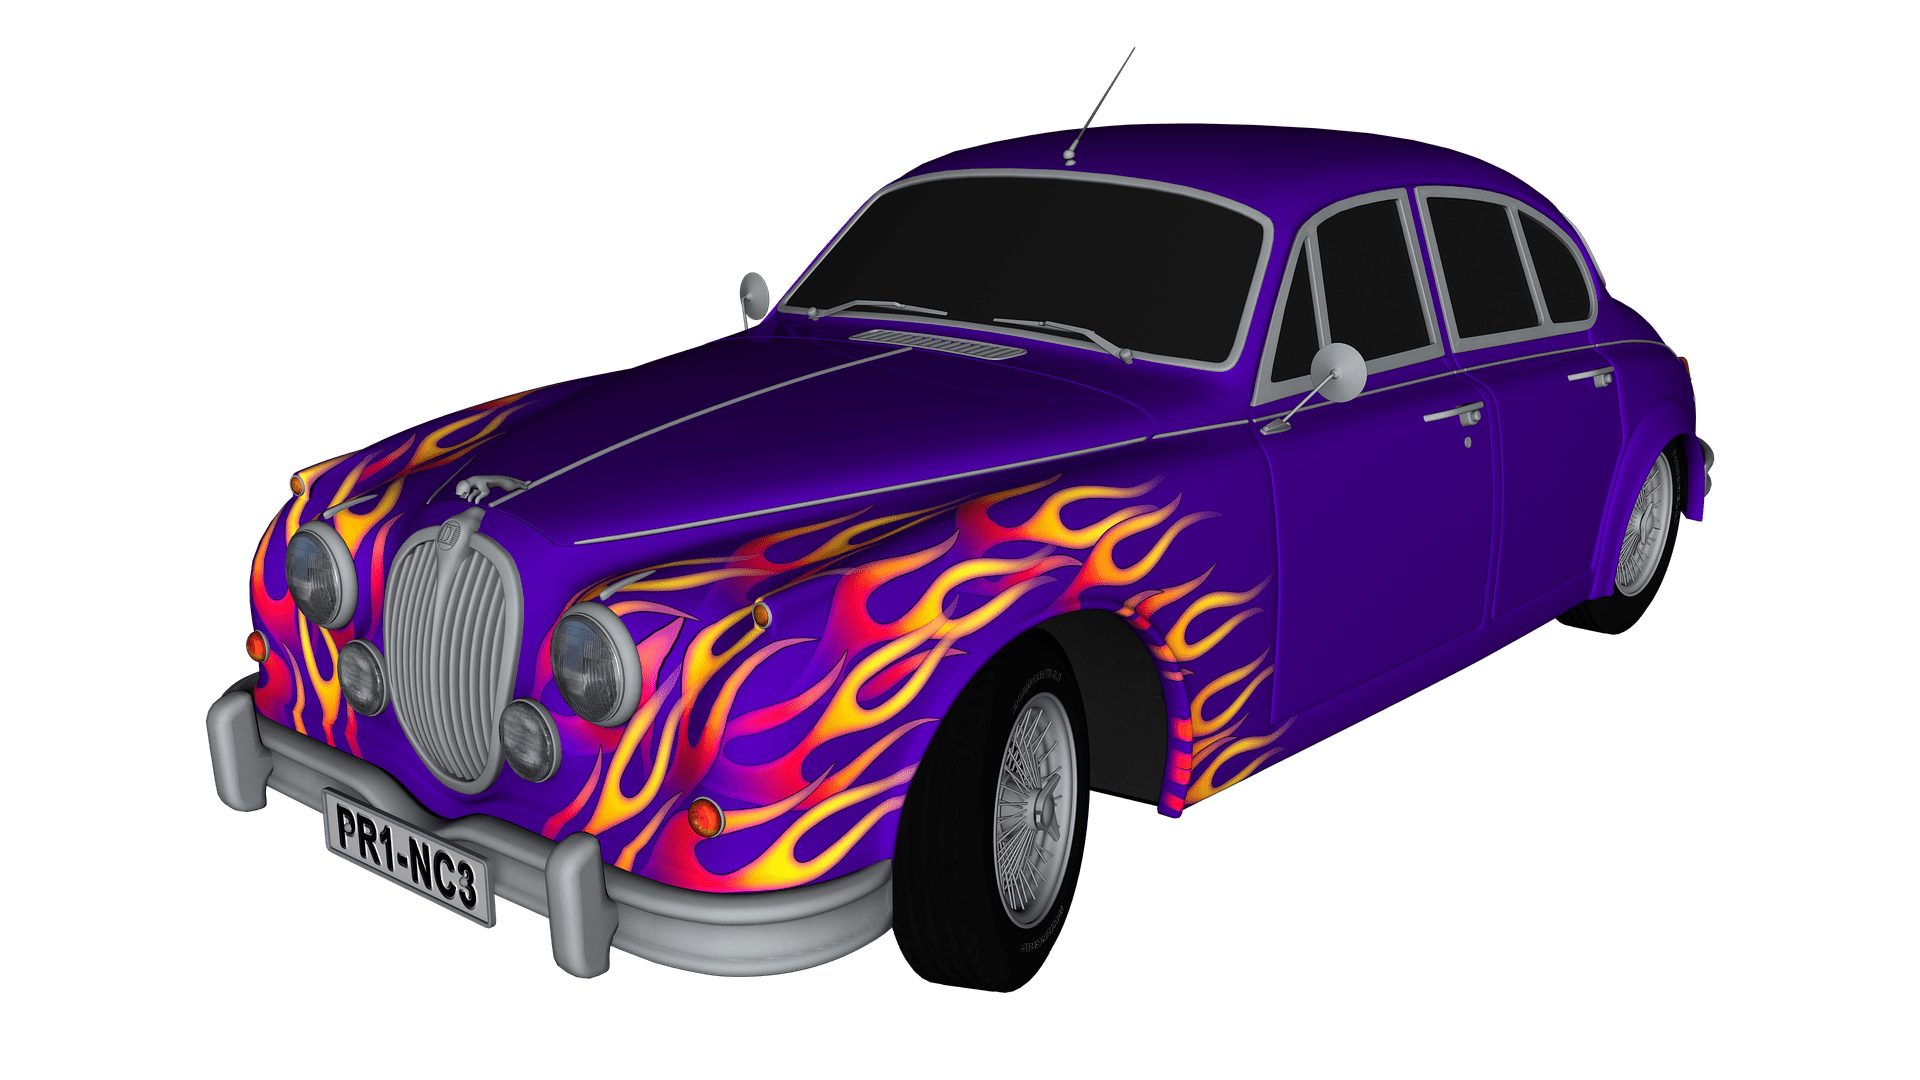
Choosing the Right Paint and Color for Car Models
Before picking any old hue or brand, deciding what kind of Paint you'll be using is crucial. The best way to apply each type of Paint depends on its unique variables. Choose one that works well with your machine, skills, and aims. Choose either acrylic or enamel paint to finish your model automobile. Weigh the following criteria when you make your decision:
- Types of Solvent - Paints all have a solvent in them, which allows you to spread the Paint around on different surfaces and makes it possible to use the Paint. Enamel paint is an oil-based medium, while acrylic Paint is water-based. When deciding between solvents, consider their relative performance.
- Quality and drying time - Acrylic lacquer Paint is the way to go if you need a quick dry time. It can be touch-dry in less than an hour after application and fully dry in a day. However, acrylic Paint is more easily scratched and chipped. Even though enamel Paint takes a few days to dry, the finished product may be of superior quality and last much longer. Enamel paint can withstand being touched by humans and maintain its vibrant color for a long time. For more specifics on drying times, consult the Paint's label.
- Cleaning Process - Because acrylic Paint is water-based, all you need to clean your brushes and tools with is warm water or rubbing alcohol. Due to the oily nature of enamel Paint, paint thinners such as mineral spirits will be required for cleanup.
- Released Fumes- Acrylic paint dries via the evaporation of water. The absence of dangerous fumes means you can keep the windows and doors shut during the painting process. By reacting with oxygen in the air, the oil in enamel Paint hardens. The fumes released during this operation could be dangerous to humans. To prevent harm to yourself, your family, and any pets, ensure that the area where you will be painting has adequate ventilation.
- Application techniques - Both kinds of Paint can be applied using similar techniques. For example, you can use spray paint, an airbrush, or a paintbrush to decorate your model car. When using an airbrush to paint your model automobile, remember that the Paint will need to be thinned. Water can be used to dilute acrylic Paint. In contrast, mineral spirits or similar solvents can dilute enamel paint.
- Variation of colors - Your decision about which paint to buy may be influenced by the range of colors you can pick. Acrylic Paint comes in various colors, giving you enough to work with and ideas to draw from. Fewer colors are available in enamel Paint, but the high quality of the finished product may make up for that.
Steps in Painting a Model Car
You can either wait until the model is finished to paint it or paint each piece separately and then assemble it. You get to decide, and these are some ways to get closer to your goal:
1. Obtain the necessary materials
Before you begin painting, ensure you have all the necessary tools. You should try to prevent running out of Paint after you've already started applying it because painting is time-consuming. If you stop painting in the middle, your finished product might not be impressive. Painting can be done more successfully and without stress when you prepare your tools in advance.
2. Sand-based surfaces
For improved paint adhesion and coverage, rough up the model car's surface with some high-grit sandpaper before applying any coats of Paint. Since acrylic Paint adheres to smooth surfaces less effectively than enamel Paint, this is particularly crucial when using acrylic Paint.
3. Clean each part of the car model
Before painting your model automobile, clean it. This is crucial after sanding since plastic dust will stick to the components. Your paint job's finished quality may suffer as a result. Wash plastic parts in warm water after sanding. Once the surface is clean, you may paint with confidence.
4. Prime Your Model Before Acrylic Painting
For each painting session, several model car enthusiasts advise priming your model. Some people start painting right away without priming. You can choose to prime, but you should consider it when using acrylic Paint. If you apply a coat of primer beforehand, the acrylic will adhere to your model's surface more easily. For even better effects, rough up the primer with sandpaper once it has dry.
5. Consider thinning your Paint
You may always add water to your Paint to acquire the desired consistency if the Paint you choose is too thick for your needs. Gather the right amount of paint thinner, then put it into a small container with the Paint you want to use. Painting with acrylics needs water, while enamel painting calls for mineral spirits. Using a stirring stick, start with a small amount and add more until you reach the desired concentration.
6. Washes Brush Before Using
The paintbrushes you'll use to decorate your model automobile should be cleaned with paint thinner, which can be water or mineral spirits. Doing so will guarantee that the bristles are free of any debris that might prevent you from making a clean brushstroke. It also helps keep Paint from sticking to the bristles and forming clumps. The finished paint job on your model car will look nicer, and the cleanup process will be less laborious if you follow these steps.
7. Apply Paint on the model
To begin, select Paint and soak your brush in it. Cover the bristles halfway if you want to avoid splattering the entire area with Paint. To begin, make delicate, back-and-forth motions with the brush. If you want a professional finish, you should paint the model car's parts before assembling them.
8. Allow the Paint to dry thoroughly between applications.
Sometimes multiple coats are needed to produce the desired effect. You must let the Paint dry completely between coats. The paint manufacturer's instructions should tell you how long to dry each coat. Putting on a second coat of Paint before the first has fully dried might result in clumping and uneven coverage.
9. Clean your tools after use
As soon as you're done painting, wash out your supplies. If you do this, rest assured that the brushes will be usable for future projects. If you let the Paint dry on your tools, you may have to replace them. Regular cleaning allows your brushes and other instruments to last a long time.
10. Give the paint time to cure
The next stage, after painting, is to sit tight. In general, acrylic Paint takes a day or two to cure fully, but enamel Paint takes many days. Use your fingernail to see if the Paint has fully cured. Press your fingertip into the covering at a hidden spot. The Paint has only partially dry if an indentation is left. In the absence of a dent and the presence of a hard surface, you can safely assume that the Paint has hardened.

How to Cure Paint Faster
Compared to drying, which may take a few hours, curing can take days or weeks, so it's crucial to be patient and careful. The Paint could have problems like scratching, chipping, or peeling. Applying a second coat of Paint before the first has fully cured can also cause shrinking or clouding.
- Give the Paint as much time as it needs to cure after drying to achieve full hardness, but don't rush the process.
- Paint curing time is greatly affected by the availability of fresh air. Painting indoors or in a small, contained space can extend the drying and curing times of the Paint since less air is being moved around. The process can be sped up by allowing adequate airflow through the Paint.
- Light coats are best; however, another thin layer may be applied if necessary, depending on the application and the product. However, you must ensure the Paint is completely dry before adding another layer.
- Paint drying time can also be affected by environmental factors like humidity. Humidity causes condensation, which delays the procedure. Dehumidifiers, air conditioners, and open windows can help reduce humidity levels. For a quicker cure, you can turn up the heat, but it's important to find the sweet spot, so the Paint doesn't dry too quickly and crack or peel.
- It's important to keep an eye on the forecast and adjust your schedule if rainy or windy weather is predicted. Water-based Paint may be more desirable than oil-based Paint due to its faster curing time and less dense consistency. The drying and curing times will depend heavily on the weather if you're painting outside.
Conclusion
The main difference between curing and drying is that curing uses heat to evaporate the water from the solvents in ink, leaving the pigments on the substrate to provide color. Drying, on the other hand, involves the ink turning from a liquid to a solid. Drying occurs when the solvent evaporates from the paint layer, leaving the Paint dry to the touch but not necessarily 100% dry. In contrast, curing occurs when the paint coating has attained its maximum hardness and is completely dry.
Model car painting is a labor-intensive pastime, but the result is worth the time and effort. Feelings of accomplishment and nostalgia will wash over you as you examine your finished product. Showcase your dedication and skill with your model automobile. And you can peruse your preferred automobile models whenever you like.