Model Railroading: The Beginner's Guide to Building Your First Miniature Railroad
Model railroading is a rewarding and immersive hobby that has captured the imagination of hobbyists for decades. It combines creativity, engineering, and a love of trains, all within a compact and controlled space. Whether you're fascinated by trains, love crafting, or enjoy building intricate, detailed worlds, model railroading can be your perfect hobby.
In this guide, we'll cover everything you need to know to build your first miniature railroad so you can get started on the right track.
What Is Model Railroading?
Model railroading essentially creates miniature railroads, complete with trains, tracks, scenery, and buildings. It's a hobby, but it's more than that – it's a way to bring your imagination to life. For many, it's about replicating the real world in tiny detail, creating a miniature environment that operates like a real train system.
The beauty of model railroading is that it offers endless possibilities. You can build a small, simple layout to get started or expand to a sprawling, multi-layered railroad complete with bridges, tunnels, and multiple trains. The hobby appeals to both creative and technical minds, as it requires planning, building, and even electrical work. Don't worry, though—we'll guide you through it all!
Step 1: Choose Your Model Railroad Scale
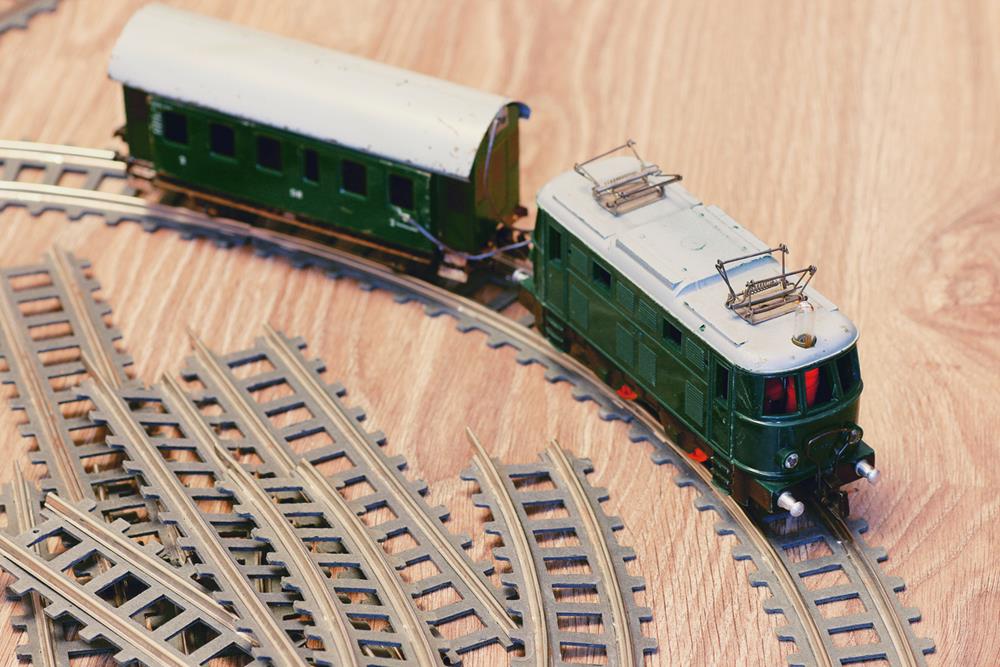
Before you begin building, the first decision you'll need to make is choosing the scale for your model railroad. "Scale" refers to the size ratio between the model and the real thing. For instance, a model train at 1:87 scale (HO scale) means the model is 1/87th the size of a real train.
Here are the most common scales for model trains:
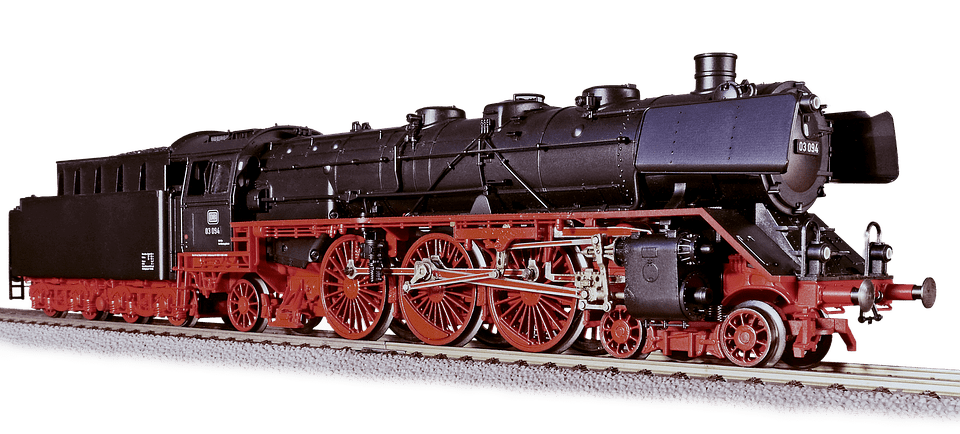
- HO Scale (1:87): This is the most popular scale, especially for beginners. It's large enough to allow for intricate details yet small enough to fit on a modest table or shelf.
- N Scale (1:160): N scale trains are smaller, which makes them perfect for those with limited space. While smaller, they still maintain good detail.
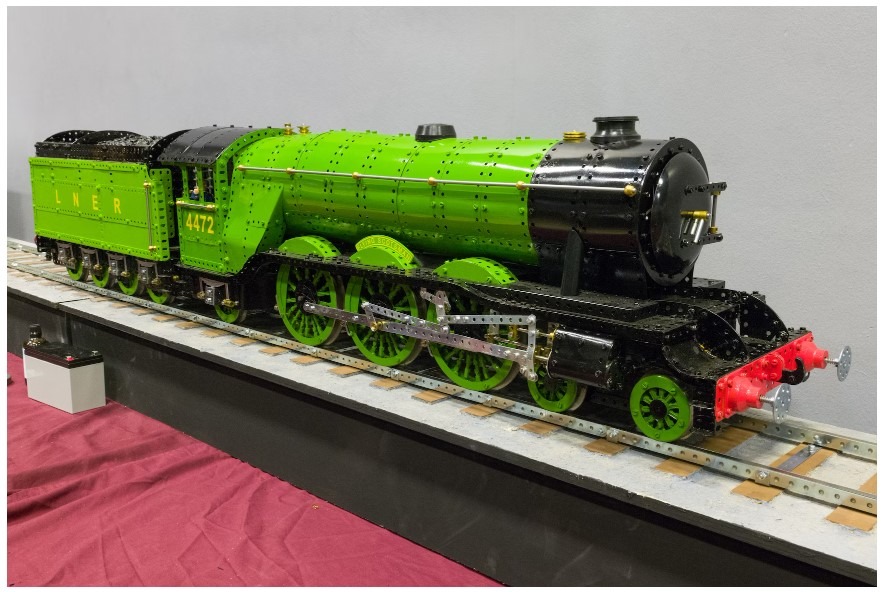
- O Scale (1:48): O scale trains are larger and typically offer more detail. They take up more space, but their size can create a very impressive layout.
- Z Scale (1:220): Z-scale trains are tiny, perfect for those who want to build a layout in a very small space. However, due to their size, working with these tiny trains can be tricky for beginners.
How to Choose the Right Scale for You
If you're just starting out, the HO scale is usually the safest bet. It offers a good balance of size, detail, and space requirements. If space is really tight, N scale might be a better option. Before deciding, consider your available space, budget, and how detailed you'd like your model to be.
Step 2: Plan Your Layout
Planning your layout is one of the most exciting parts of model railroading, but it's also a crucial step that can save you a lot of frustration down the line. This is where your creativity gets to shine. Do you want to build a bustling city with multiple train lines? Or maybe a quiet countryside with rolling hills and a single train chugging along? Your layout design is entirely up to you, but planning is key to making your dream a reality.
How to Design Your Layout
Start by sketching out your layout on paper or using digital layout software. There are free and paid programs specifically designed for model railroaders that let you create track plans before you start building. Some common themes for layouts include:
- Urban layout: This is perfect for modeling a city or industrial area with lots of buildings, roads, and perhaps a subway system.
- Rural layout: Focuses on countryside scenes, like farms, mountains, and rivers.
- Industrial layout: Often includes factories, rail yards, and shipping docks.
- Historical layout: Some modelers love to recreate specific time periods, complete with period-appropriate buildings and trains.
Things to Consider When Planning
- Space: Measure your available space to determine the maximum size of your layout. Many modelers start with a 4x8-foot table, but you can go bigger or smaller depending on your space.
- Access: Make sure your layout design allows easy access to the entire setup for maintenance and repairs.
- Expansion: Plan for possible expansion. Many modelers start small but leave room for future growth.
Step 3: Gather Your Materials
Now that you've planned your layout, it's time to gather the materials. You'll need some basic supplies to start, but don't worry—many of these can be found at your local hobby shop or online. Here are the essentials:
- Track: The track is the heart of your railroad. For beginners, start with a basic oval or figure-eight track layout. As you become more experienced, you can add switches, crossings, and complex track systems.
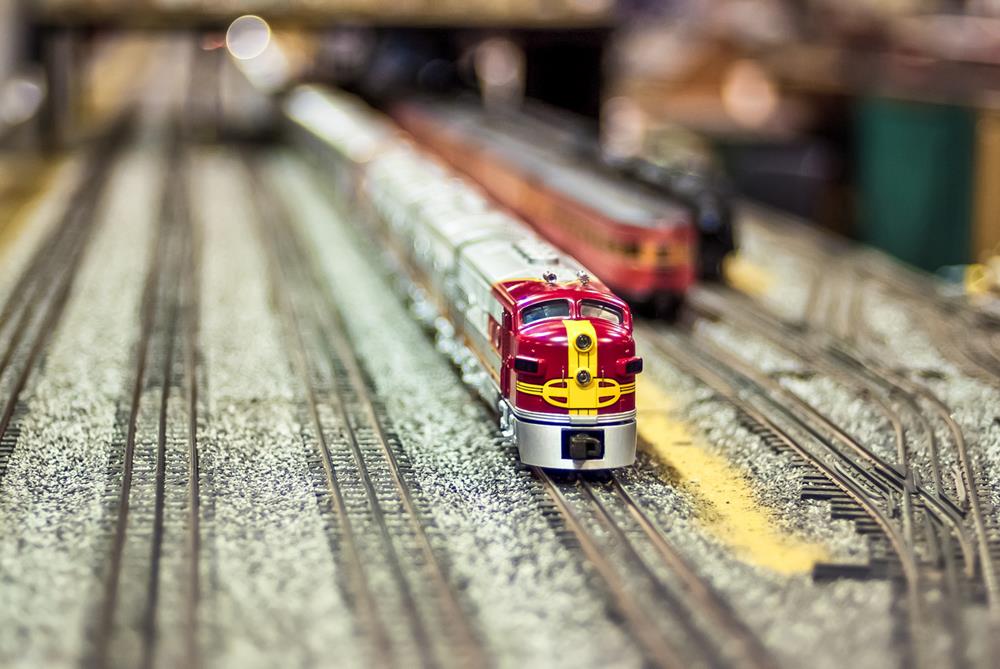
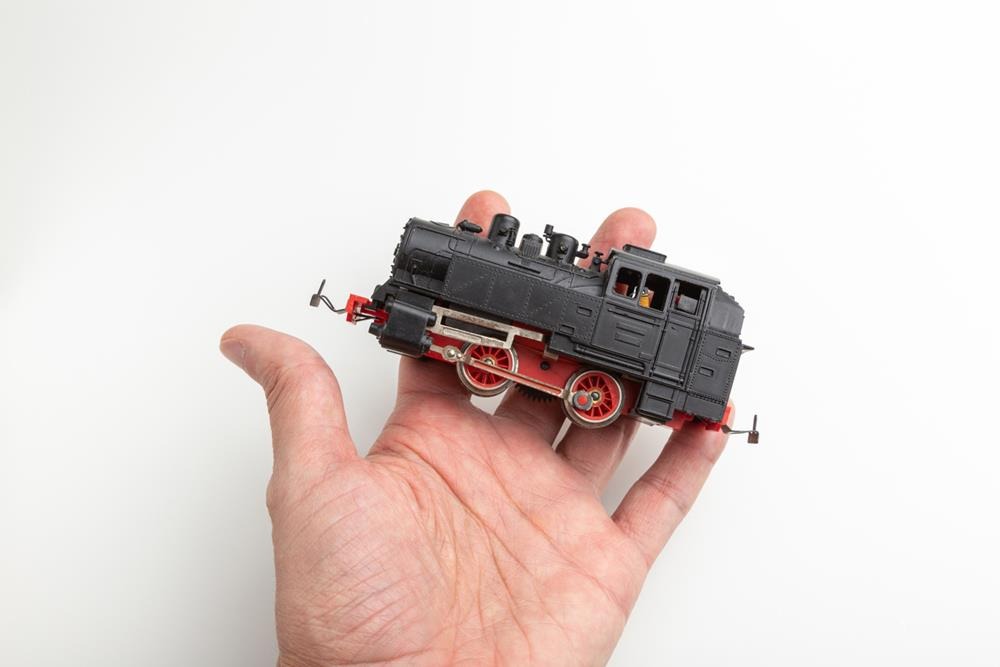
- Train set: Your first train doesn't have to be the most expensive. Most beginners start with a ready-to-run (RTR) train set, which includes the train, track, and power supply.
- Power supply: This controls the speed and direction of your train. Modern power supplies often include Digital Command Control (DCC) systems, allowing you to control multiple trains simultaneously.
- Scenery materials: To bring your layout to life, you'll need buildings, trees, roads, and other scenery elements. Pre-made scenery kits are available, but many modelers enjoy crafting their own.
- Tools: For assembly, a few basic tools, such as a utility knife, screwdriver, pliers, and glue gun, will be needed.
Step 4: Build the Base for Your Layout
Before you start laying down tracks, you'll need a solid foundation. Your base can be as simple as a sheet of plywood or as complex as a custom-built table with multiple layers for added depth and features like tunnels and bridges. Here are the common types of bases:
- Wooden table: The simplest option. Many beginners start with a 4x8-foot plywood sheet placed on a sturdy table or saw horses. This gives you a flat, solid surface for your layout.
- Foam board: A lightweight option that can be shaped to create hills and valleys. Foam board is easy to work with and can be layered to add depth to your layout.
- Modular system: A modular base system allows those who plan on expanding their layout over time to add sections as they go.
Whatever base you choose, make sure it's sturdy and level. A wobbly or uneven base can cause issues with your track and trains later on.
Step 5: Lay Down Track
Laying down the track is where your layout starts to take shape. Before you start gluing or nailing anything, lay the track pieces out on your base to ensure everything fits the way you want it. Here's how to install the track:
- Dry-fit the track: Lay out all your track pieces to make sure they fit together properly. This is your chance to make adjustments before committing to your final design.
- Secure the track: Once you're happy with the layout, secure the track to the base using nails or track screws. Some modelers prefer using glue, but screws and nails allow for easier adjustments later on.
- Test as you go: As you install sections of track, run your train over them to ensure there are no issues. Catching problems early can save you a lot of time later on.
Common Track Configurations for Beginners
- Oval: A simple continuous loop that's perfect for beginners.
- Figure eight: Adds a bit more complexity and visual interest while still being easy to build.
- End-to-end: Ideal for smaller spaces, this setup involves a train running from one point to another rather than in a loop.
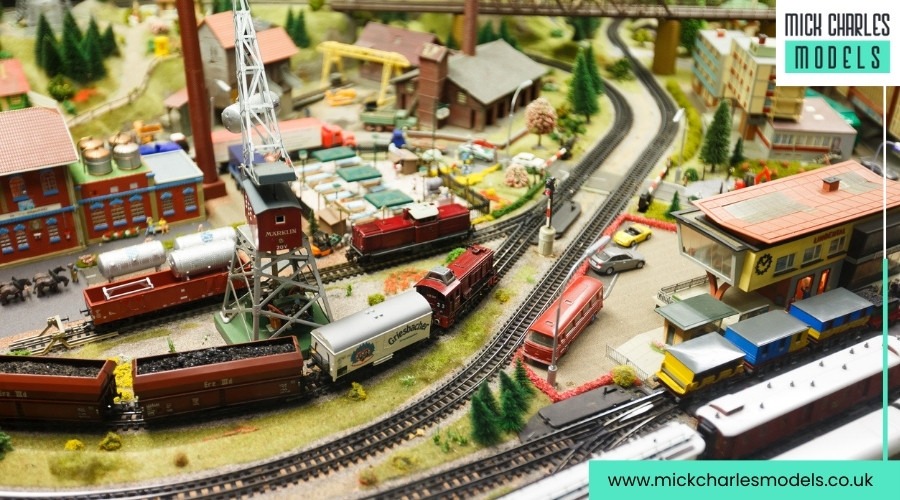
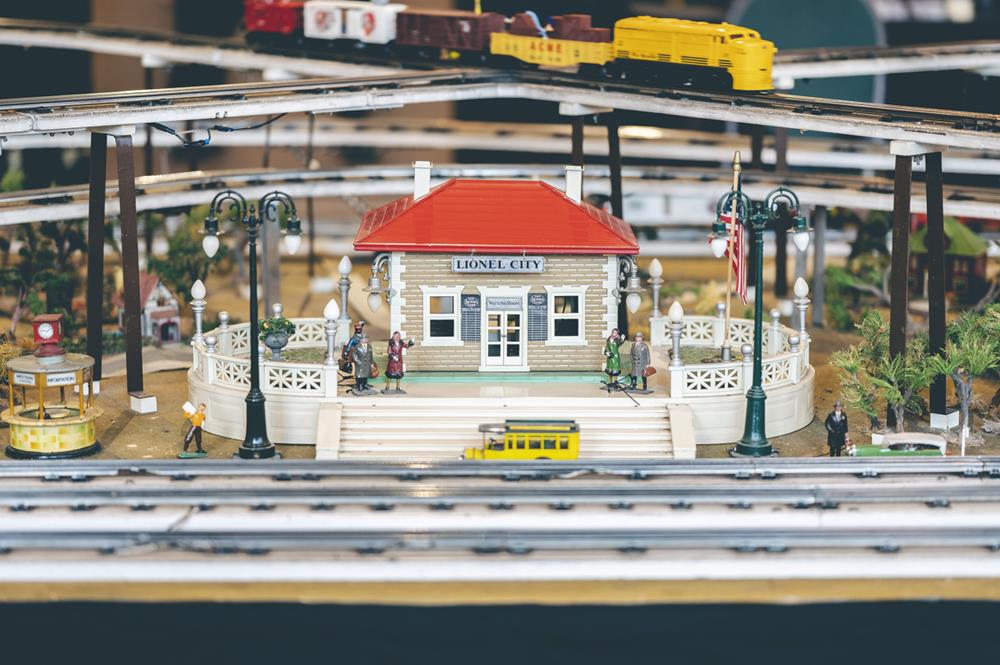
Step 6: Add Scenery and Buildings
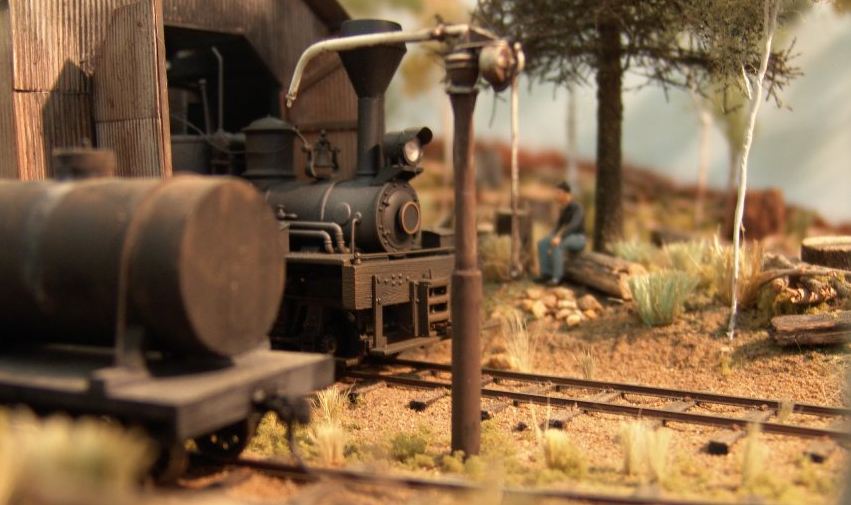
This is where your layout comes to life! Scenery and buildings add realism and personality to your miniature world. You can go as detailed as you like here, from simple grassy fields to intricate urban landscapes. To create a realistic scenery, you can add:
- Mountains and hills: You can create mountains and hills using foam board or plaster cloth. Paint them in earth tones and add trees or bushes to make them look natural.
- Rivers and lakes: To create realistic-looking water features, you can use special model railroad resin or even clear acrylic sheets.
- Grass and foliage: Use ground cover materials like foam or sawdust dyed green to represent grass. Trees can be bought pre-made, or you can make your own using wire and foam.
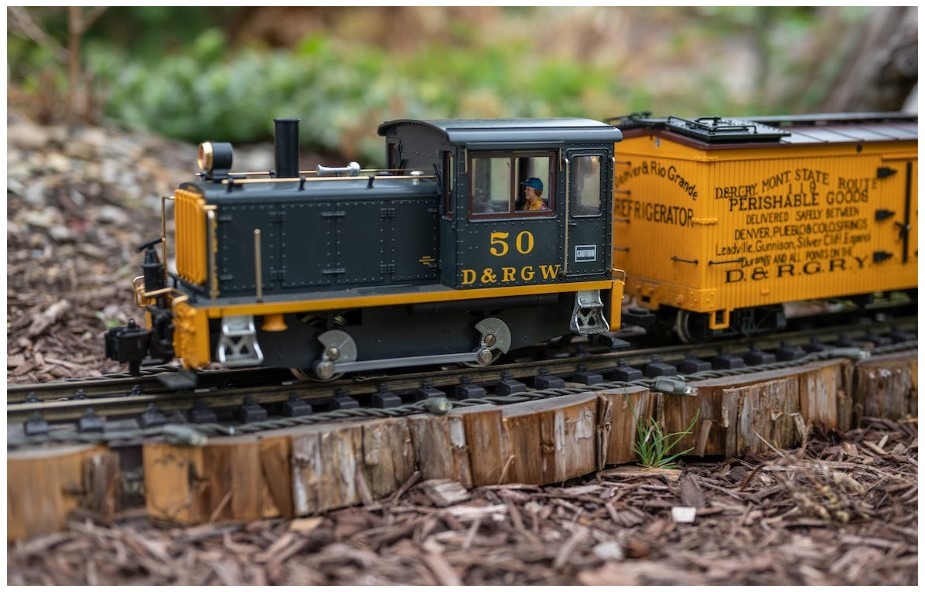
- Buildings: Choose buildings that match the theme of your layout. For example, a rural scene might include farmhouses and barns, while a city layout would have skyscrapers, train stations, and factories. Most model railroads use kits for buildings, but you can also scratch-build them if you're feeling ambitious.
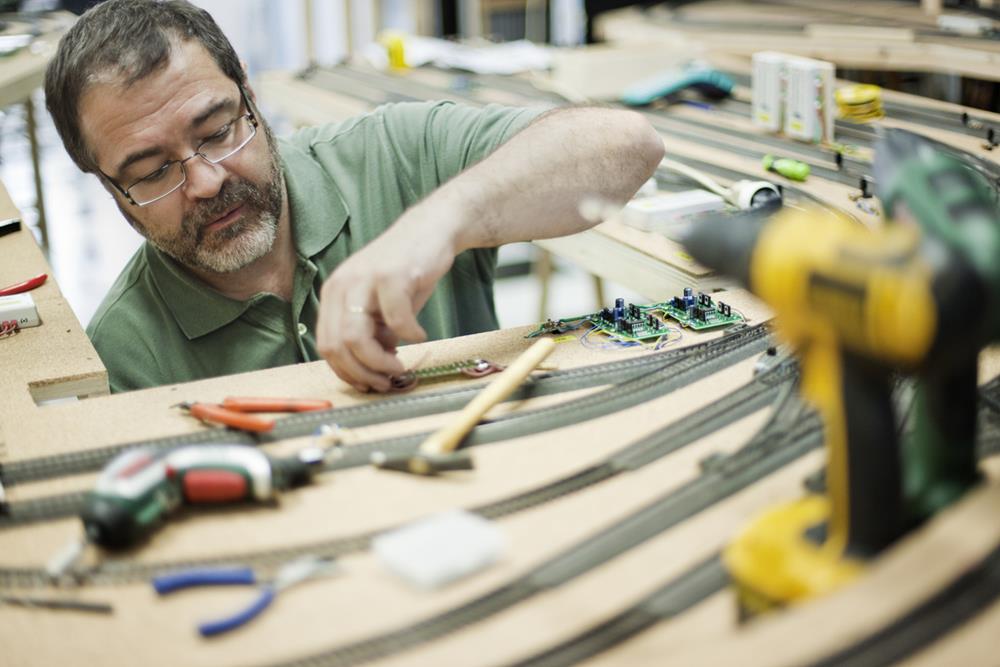
Step 7: Wiring and Powering Your Railroad
To get your trains moving, you must wire the track and connect it to a power supply. Modern model railroads often use Digital Command Control (DCC) systems, allowing you to control multiple trains simultaneously. However, a simple analog power supply works just fine for a single train.
The Basics of Wiring
- Traditional wiring: If you're using a basic power supply, you'll need to connect the power pack to the rails. This usually involves running wires from the power pack to the track and ensuring there's a good electrical connection. Be sure to place connection points around the track regularly to prevent power loss, especially on larger layouts.
- DCC wiring: DCC systems are more complex but offer much greater flexibility. With DCC, each locomotive has a decoder that responds to digital commands sent through the rails, allowing you to run multiple trains independently on the same track. While it's more involved in setup, many modelers eventually upgrade to DCC for its added control.
Safety Tips for Wiring
- Avoid overloading: Make sure your power supply is strong enough to handle the number of trains and accessories you're running.
- Use proper insulation: Ensure all wires are insulated to avoid short circuits.
- Label your wires: As your layout grows more complex, it's easy to lose track of which wires go where. Labeling can save you a lot of headaches during troubleshooting.
Step 8: Run Your Trains
Once your track is laid, scenery is set, and wiring is in place, it's time for the fun part—running your trains! Before you jump into full operation, it's important to test everything to make sure it's working smoothly. Here's how to test and troubleshoot:
- Run your train slowly: As you run your train around the track, check for areas where it might derail or lose power. Uneven tracks, loose connections, or dirty rails could cause these problem areas.
- Clean the track: Dust and dirt can accumulate on the rails over time, causing poor electrical contact. Clean your track regularly using a track cleaning eraser, soft cloth, and isopropyl alcohol.
- Check for continuity: If a section of the track isn't receiving power, use a multimeter to check for continuity. This will help you pinpoint any breaks in the wiring.
Realistic Train Operation
Model railroading isn't just about watching trains circle the track—it's also about creating realistic train operations. Many modelers enjoy setting up detailed operating schedules, where trains stop at stations, load and unload cargo, and follow timetables. This adds a whole new layer of complexity and realism to the hobby.
Step 9: Expand Your Layout Over Time
One of the best things about model railroading is that your layout is never truly finished. As your skills grow, you can continually add to and refine your layout. Many modelers start small and expand their railroad over years or even decades. Here are some ideas for expansion:
- Add more tracks: As you become more comfortable with the basics, you can add additional loops, sidings, or even an elevated track. This allows you to run multiple trains simultaneously.
- Upgrade your scenery: Over time, you might want to replace simple scenery with more realistic features, like custom-built structures, highly detailed trees, or complex water features.
- Expand your control system: If you're still using an analog power supply, consider upgrading to DCC for more flexibility in running multiple trains.
Join the Model Railroading Community
Model railroading is a social hobby; there are many clubs and online communities where you can connect with fellow enthusiasts. Joining a club can give you access to a wealth of knowledge and inspiration and opportunities to showcase your layout at local or national events.
Online forums and YouTube channels are also fantastic resources for beginners. You can find tutorials, product reviews, and tips from seasoned modelers to help you take your layout to the next level.
Conclusion
Building your first model railroad is an exciting and fulfilling project but also a process that takes time and patience. Don't rush-enjoy each step of the journey, from planning your layout to adding the final touches of scenery. Remember, this is a hobby that allows you to be as creative as you like while also developing new skills in engineering and craftsmanship.
As you build your layout, don't be afraid to experiment. Not everything will go perfectly on your first try, but that's part of the fun. With each new project, you'll improve your skills and create a miniature world that's uniquely yours. So, get started, and let your imagination run wild!