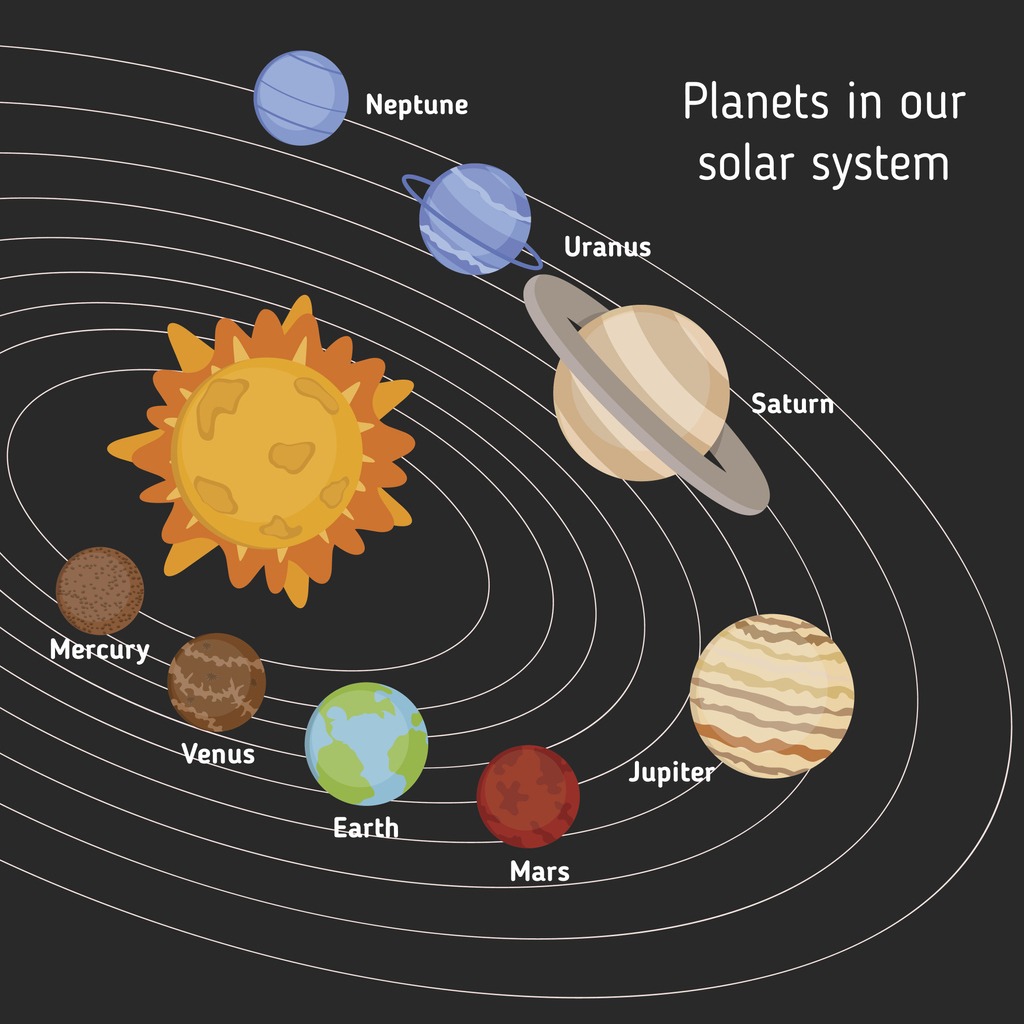
Ideas for Building Models Of Our Solar System
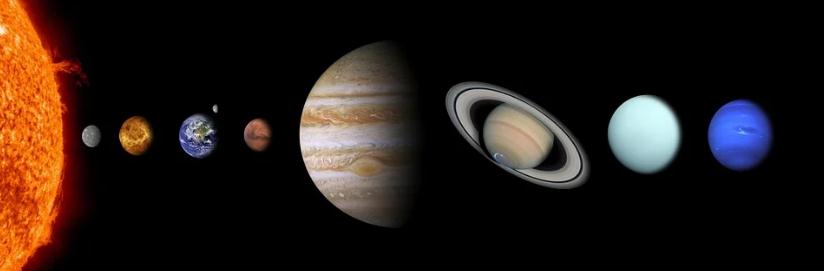
Building a solar system model at home is a fun way of visualizing the planets' positions and sizes. Creating an adequately scaled model, on the other hand, is impractical. Earth would've been the size of a peppercorn, and Pluto would've been the size of a pinhead if an 8-inch ball represented the Sun.
When it comes to building a scale model of the solar system, there are numerous alternatives. Here are ideas to get you started. You don't need to use just one of these options, and in fact, building numerous models is likely to be more beneficial. Also, don't forget to read our top recommended Alien slots here.
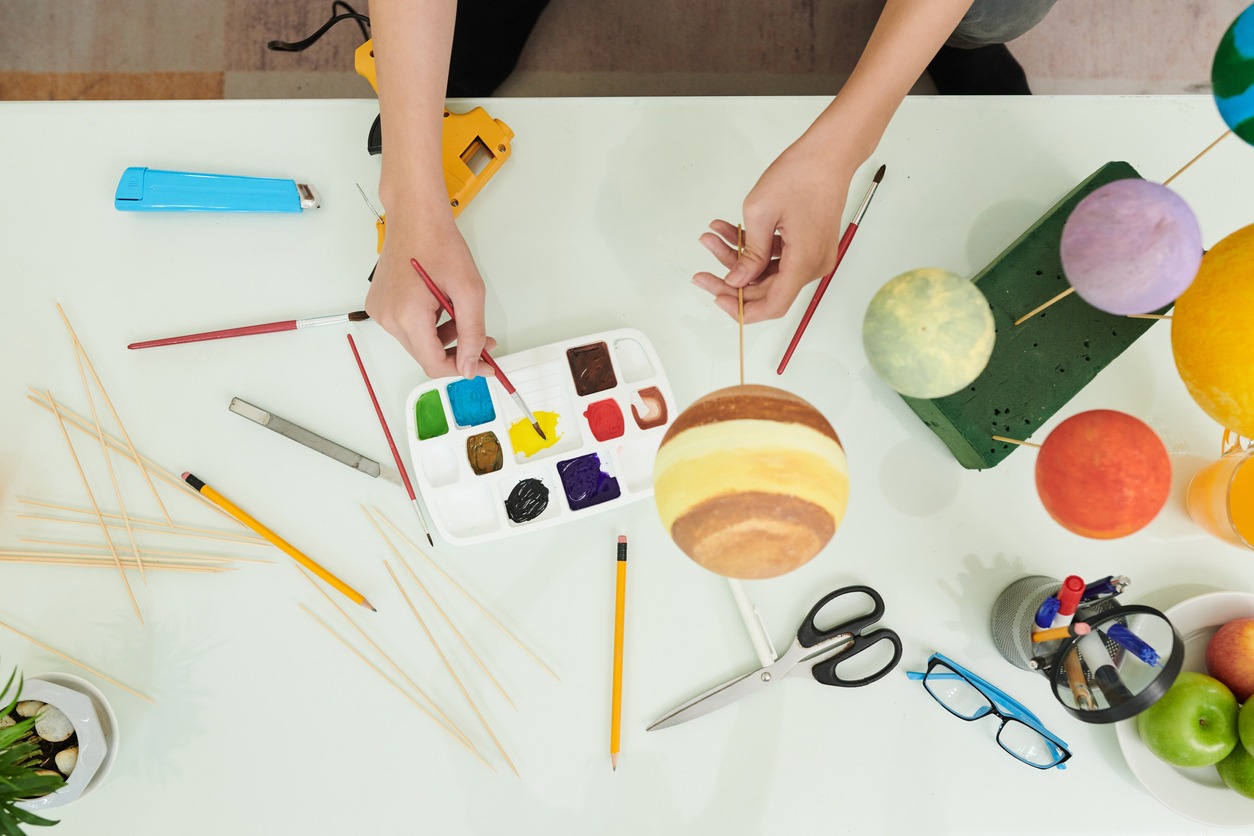
DIY 3D Solar System Model
Making a three-dimensional model of the solar system appears to be a difficult task. However, unless you have a 3D model, it isn't easy to imagine the Sun with all planets.
Materials
To construct a 3D solar system model, you'll need the following materials:
- different-sized styrofoam balls
- paper
- acrylic paint
- tape
- a baking tray or pan
- skewer sticks (optional)
Instructions
- Choose a styrofoam ball to represent each planet and the Sun.
- Line the baking sheet or tray with parchment paper. Tape the paper into the baking pan or tray, so it doesn't wander around as you move it.
- Choose a planet. Decide on the colors you are using for the planet or the Sun.
- Press the acrylic paints onto the paper with your hands.
- Roll the styrofoam ball around on the paper by tipping the baking tray or pan.
- Repeat until the ball is completely covered. To move the smaller styrofoam balls around, you may need to use a paintbrush.
- Repeat steps 3–6 for the remaining planets and the Sun.
Allow all of the styrofoam balls to thoroughly dry before using them.
- Cut the skewer sticks into various lengths to indicate the distance between the planets and the Sun, if desired. Push the sticks through the styrofoam balls with care. On one end of each stick, place a planet, and on the other, place the Sun.
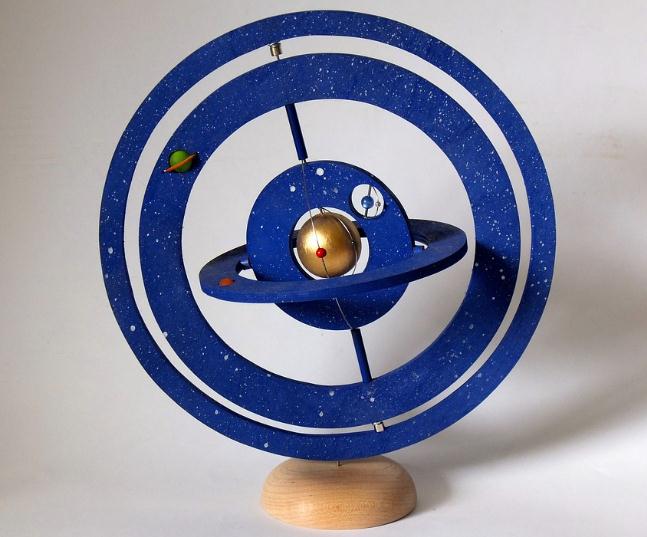
Solar System Model From Construction Paper
Make a three-dimensional recreation of the solar system using a cardboard and construction paper model. Use different colors and forms to make it look like the actual thing.
Materials
You'll require the following items:
- construction paper in various colors
- 14 pieces of 20-inch long string
- black permanent marker
- a large piece of cardboard
- tape
- ruler
- scissors
Instructions
- Using a ruler and a pencil, measure and make a one-foot line on the cardboard. To identify the center, measure halfway along the line and draw one more line perpendicular to the original line's center. A cross-shaped drawing should be your goal.
- Draw a circle around the cross to join all four points of the lines. Using scissors, cut out the circle.
- Sketch four circles inside the cardboard circle's outermost edge, leaving about 1–2 inches between each ring. These will represent the orbits of the five furthest planets.
- Inside the smallest circle you already created, draw another circle around 4–6 inches in diameter. The more significant gap represents the orbit of the asteroids.
- Inside the smallest circle, draw three more circles, leaving about 1–2 inches between each one. Four circles around the cardboard's edge, a broader gap, and four smaller rings drawn closer to the middle should now be visible.
- Cut a massive circle out of a sheet of yellow construction paper to symbolize the Sun. The Sun should dwarf all of your planets.
- Cut a little circle out of a red sheet of construction paper to represent Mercury. This is supposed to be the tiniest of your planets.
- Using a piece of white paper and a blue sheet of paper, cut out a circle thrice the size of Mercury. Venus will be represented by the white one, while the blue one will represent Earth. Both are around the same size.
- Using red construction paper, cut out a circle smaller than Earth and Venus but bigger than Mercury. This is going to be the planet Mars.
- To represent Jupiter, cut out a massive circle from a sheet of brown construction paper. This should be the giant planet in your system, although it's still tinier than the Sun.
- To represent Saturn, cut out a purple or pink circle that's significantly smaller than Jupiter. To depict Saturn's rings, cut out several strips of construction paper and stick them to the circle.
- Using dark green and blue construction paper, cut two circles somewhat larger than Earth's. Uranus will be represented by green, whereas Neptune will be represented by dark blue.
- To symbolize Pluto, cut out a purple circle that's nearly the same size as the Mercury circle.
- Using a permanent black marker, write the name of every planet on each circle.
- Attach a piece of string to every planet and the Sun. Start securing each planet on their matching orbits in various spots alongside their orbiting circles with a bit of tape on the tip of each thread. You should tape the Sun in the middle, and Mercury should be secured on the first orbit circle, followed by Venus, Earth, Mars, Jupiter, Saturn, Uranus, Neptune, and Pluto on the last orbit circle.
- Tape three lengths of string over the sides of the other end of the cardboard, evenly spaced. To hang your model, draw the ends together and thread them together with another piece of string.
Embroidery Solar System
You may make a hanging solar system to beautify your home if you're like embroidery and need ideas for other things to do with all that embroidery thread.
Materials
- balloons
- glue
- embroidery thread
Instructions
- Begin by combining equal parts glue and water in a mixing bowl.
- Inflate balloons and seek to make them the same size as each other. You can use a diagram of the solar system as a guide.
- Cut the embroidery thread into tiny pieces, dip them in the glue mixture, and wrap them all around the planets. Make the planets appear to be the same colors as the ones in your reference.
- Dry the finished balloons by placing them in drinking glasses. Dip every finished balloon into the glue for complete coating.
- Pop the balloons, then remove them from the center after drying (approximately 24 hours). You may also spray the planets with a high-gloss decoupage finish to keep them round and firm.
- Hang the planets from your ceiling with the Sun in the middle, using more embroidery thread.
If you're done having fun with your model solar system, take it to the next level by viewing the real thing with these top-rated telescopes.