How Do You Make Coil Pots?
To make a coil pot, you'll start by creating a flat clay base about 1/2 inch thick. Roll several snake-like coils of uniform thickness between your palms and work surface. Score crosshatch patterns on both the base's edge and coils, then apply slip (clay and water mixture) as "glue" before stacking each coil. You can leave the coils visible for texture or smooth them together for a seamless finish. There's much more to command in this versatile ceramic technique.
Understanding the Basics of Coil Pottery
While many pottery techniques exist, coil building stands out as one of the most versatile and accessible methods for creating ceramic vessels. You'll start by rolling clay into long, snake-like coils that become the building blocks of your pot. Unlike working with a single slab, coiled construction lets you build your piece gradually, one layer at a time.
When you're making a coil pot, you've got two main styling options: leave the coils visible for a textured, organic look, or smooth them together for a seamless finish. The key to successful coil pottery lies in properly joining each layer. You'll need to score and slip where coils meet, then blend them carefully to guarantee they don't separate during drying or firing. This methodical approach helps create strong, lasting ceramic pieces. Once your pot is complete, you can seal and protect your creation using an all-purpose craft sealant that dries clear and works well with ceramics.
Essential Tools and Materials
Before diving into coil pottery, you'll need to gather several essential tools and materials for successful crafting. Start with a slab of clay that you've properly prepared by wedging the clay to remove air bubbles and guarantee consistency. You'll also need basic hand tools including a needle tool for scoring and detail work, a rib tool for smoothing surfaces, and a wooden paddle for shaping and compressing.
Keep a damp sponge nearby for smoothing joints and controlling moisture levels. Slip, which is a mixture of clay and water, acts as your "glue" when joining coils together. Consider investing in quality equipment like Mud Tools, which offer professional-grade implements designed specifically for ceramics work. These tools will help you create clean, professional-looking coil pots while making the building process more efficient. Having quality sandpaper on hand will help you achieve a smooth, polished finish on your dried pieces before firing.
Preparing Your Clay for Coil Building
Once you've gathered your materials, proper clay preparation becomes essential for successful coil building. Start by rolling your clay into a flat slab about 1/4 inch thick, which will serve as your base. Cut this slab base to match your desired pot dimensions, ensuring it'll provide a stable foundation for your coiled walls.
Next, you'll need to prepare your coils. Create long, uniform strands of clay either by hand-rolling or using an extruder. Keep these coils covered with plastic to maintain proper moisture levels until you're ready to build your coiled pots. Before adding your first coil to the base, remember to slip and score both surfaces. This slip and scoring technique creates a strong bond between layers. As you work, blend each coil added smoothly into the previous one to prevent cracks in your finished piece. Similar to working with styrene materials, you'll need to plan carefully and measure accurately to achieve the best results.
Creating the Perfect Base
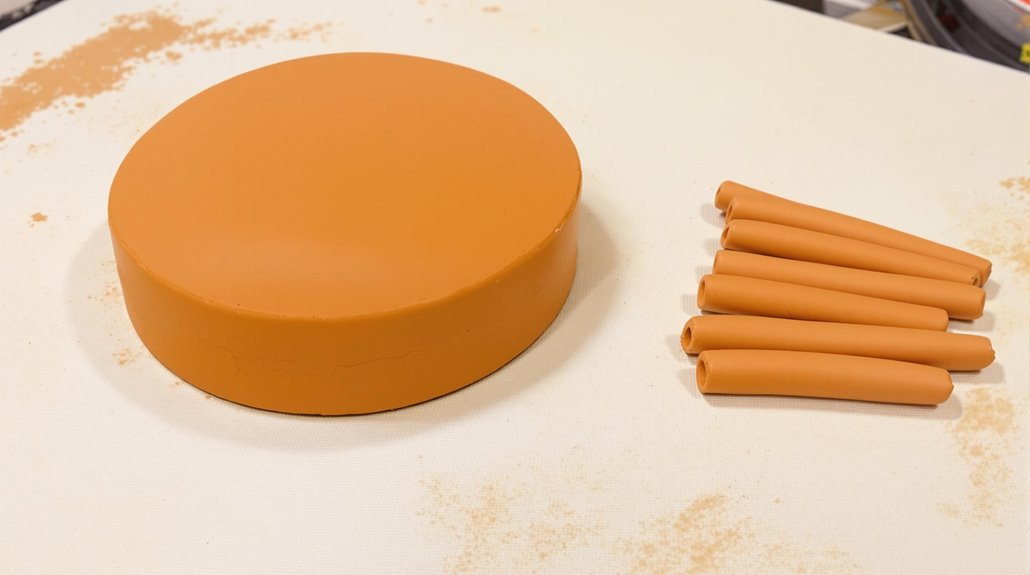
Successfully creating a coil pot starts with a well-crafted base. Take a piece of clay about the size of your palm and roll it into a ball between your hands together. Press the ball onto your work surface and flatten it into a disc about ½ inch thick. Shape it into a perfect circle by smoothing the outer edge with your fingertips.
Check that your base is even and level, as it'll support all the coils you'll add later. If it's not completely flat, gently press down on any raised areas. Once you're satisfied with the shape, use a scoring tool to create crosshatch patterns on the outer edge where you'll attach your first coil. Apply slip to these scored areas to guarantee the base and coils bond properly.
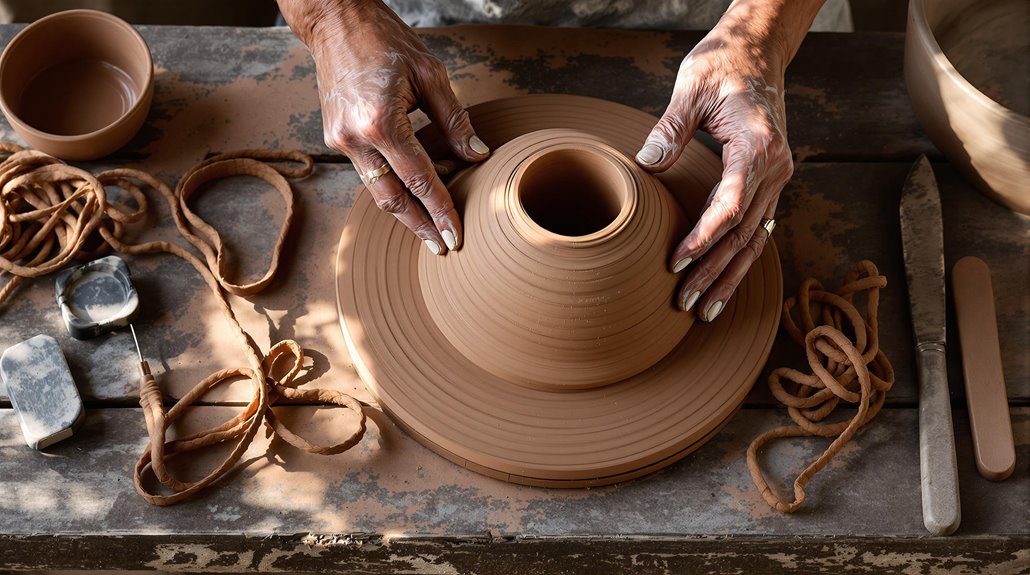
Rolling and Shaping Your Coils
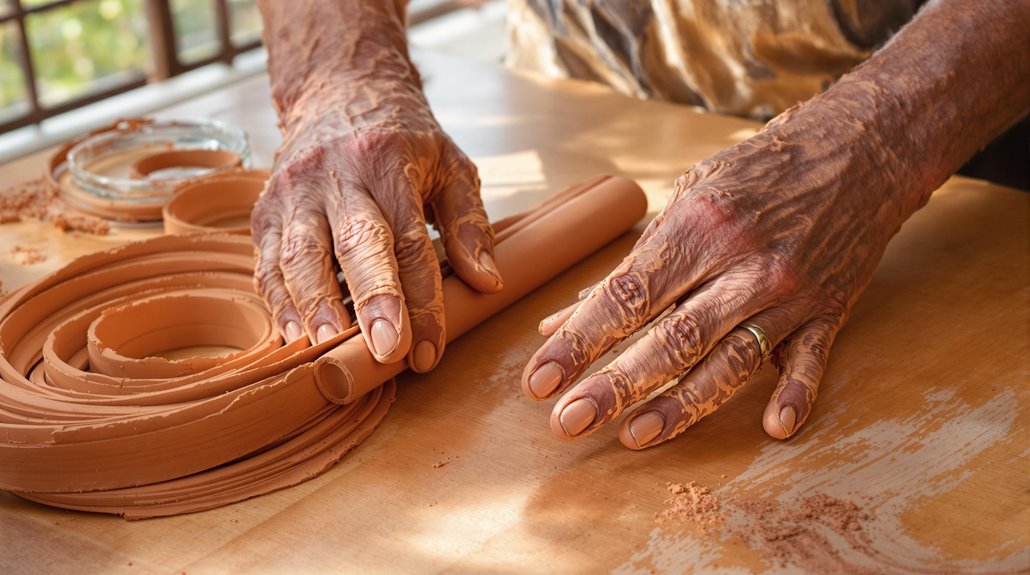
The next essential step in coil pot making involves creating uniform clay coils for your walls. To make a coil, break off a section of clay and roll it between your palms and the work surface using gentle, even pressure. Keep rolling until you've achieved a snake-like shape that's about the thickness of your finger.
You'll know it's time to stop rolling when the coil's diameter is consistent throughout its length. If you need a long enough piece, connect coil ends by scoring and slipping them together. While rolling and shaping, support the finished section of the coil with one hand to prevent stretching or breaking.
For coil pottery success, aim to create several coils of equal thickness - this uniformity will help guarantee your pot's walls rise evenly and maintain structural integrity.
Building Up Your Pot's Walls
Building your pot's walls requires a methodical approach as you stack and blend each coil. Start by placing one coil around the base and carefully blend it into the foundation. Keep adding clay coils gradually, positioning the next coil slightly offset from the previous layer to create a stronger structure.
As you're making pots taller, use longer coils to widen the shape where needed. Smooth the outside using your fingers or a rib tool to maintain even thickness throughout. Don't let the walls become too thick or thin - scrape and pinch as necessary to keep them consistent. Let each section dry slowly before adding more coils, and always cover your work with plastic during breaks to prevent premature drying.
This careful layering technique will help you create sturdy, well-crafted vessels.
Blending and Smoothing Techniques
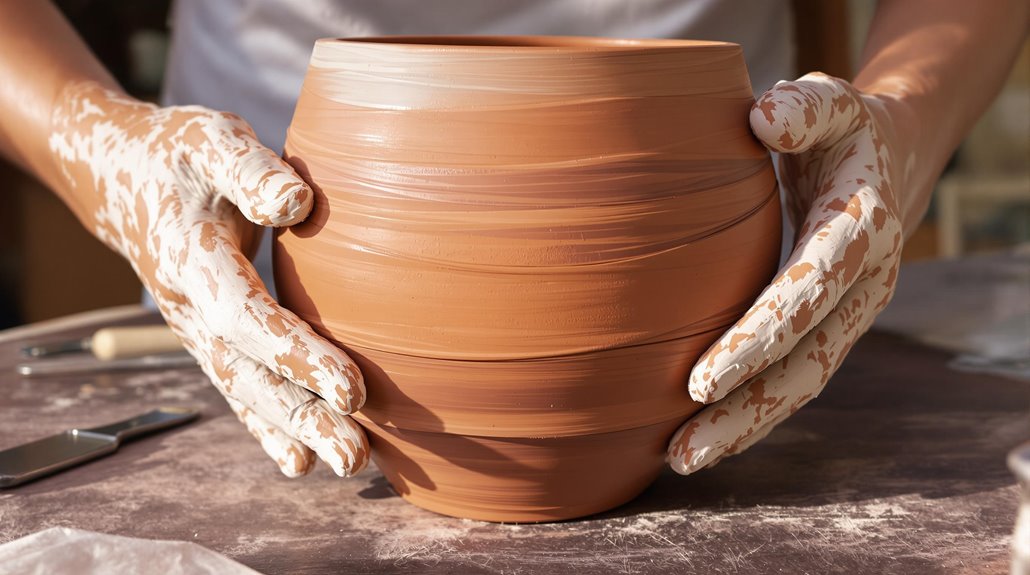
Proper blending and smoothing make the difference between a rough, amateur-looking pot and a polished, professional piece. To blend your coils effectively, brush slip onto the joints where your coils meet. Use your fingers to press the coils together, working from both the inside and outside of the pot.
Run your finger to smooth the sides of the clay, applying gentle pressure to eliminate seam lines. Keep a bowl of water nearby to moisten your fingers as needed. Work your way around the outer surface, using your finger to create an even texture.
For finishing touches, use your fingers to gently blend any remaining rough spots. Pay special attention to both the interior and exterior surfaces, ensuring a consistent smoothness throughout the piece.
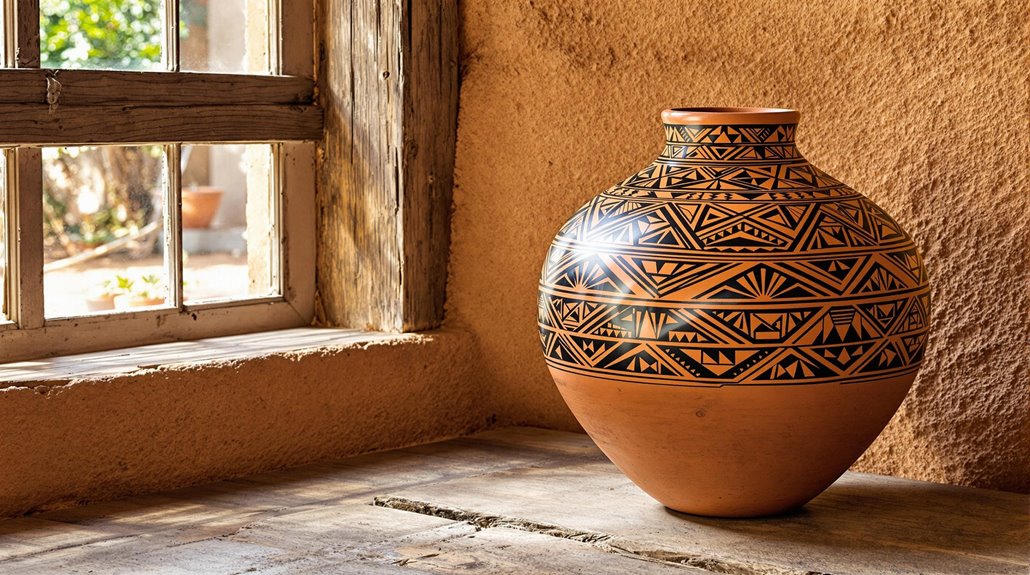
Adding Texture and Design Elements
Once your coil pot takes shape, you can dress it up with an array of textures and designs. Make sure you're working with leather-hard clay for the best results when adding patterns. You're able to use various tools like stamps, shells, or textured rollers to create distinctive marks.
Before taking a break, add a little character by carving geometric patterns or pressing natural materials into the surface. To shape the pot's appearance further, try using a fork to create linear textures or a smooth stone to polish certain areas. Apply a bit of water if the clay becomes too dry while working. The end result of pots made with textural elements often carries more visual interest and personality than smooth surfaces alone.
Drying and Firing Your Coil Pot

The drying and firing stages require patience and careful attention to prevent your coil pot from cracking or breaking. You'll need to cover your piece loosely with plastic or a damp cloth while it dries to guarantee even moisture loss. Once your pot reaches the leather-hard stage, you can smooth the surface and refine its shape using ribs or your fingers.
The next vital step is bisque firing, which removes any remaining moisture at a low temperature. After this initial firing, you'll apply your chosen glazes to the pot. The final step involves firing at a higher temperature to permanently bond the glaze to your creation. Throughout these stages, handle your pot with extra care - the coiled construction makes it particularly delicate until it's fully fired and complete.
Troubleshooting Common Coil Building Issues
Even experienced potters face common challenges when building coil pots. When making a coil pot, you might notice the walls becoming uneven or wobbly. To fix this, score and slip each coil before it's laid on top of the previous one, ensuring they bond properly. If your first coil isn't firmly attached to the base, your pot may crack during the drying and firing process.
Watch out for coils that are inconsistent in thickness - this can lead to structural weakness. If you're struggling with longer coils breaking, try working with them in smaller sections. Unlike pinch pots, coil pots require careful attention to moisture levels. If one area dries faster than others, mist it with a little bit of water. Among hand-building techniques, coil building demands patience and practice to become proficient in these common issues.