How to Create Glue Molds for Resin Casting
To create glue molds for resin casting, you'll need a hot glue gun, glue sticks, oil-based clay, and a non-stick surface. Start by building a clay well around your object, then coat it with wax. Pour hot glue over the waxed object in a circular motion, maintaining a 1/4-inch thickness. Once cooled, remove the object and you're left with a flexible mold. When casting, use UV-cure or cold-cure resin for best results. Hot glue molds capture intricate details and allow for easy demolding. They're ideal for both beginners and experienced artists looking to create stunning, transparent resin pieces. Uncover how this simple technique can enhance your resin casting projects.
Materials and Tools Needed
For glue mold resin casting, you'll need a few key materials and tools. The essential items include a hot glue gun and glue sticks, which are the primary components for creating your mold. You'll also need oil-based clay to build a quick well for the mold and UV-cure resin or any cold-cure material for casting your final piece.
To guarantee easy release of your cast object, you'll need a candle and an old paintbrush. The candle's wax acts as a mold release agent, similar to petroleum jelly. You'll also need a non-stick surface like wax paper to work on.
The quality of your glue sticks is pivotal, as it directly affects the smoothness and shine of your final resin piece. Higher quality glue sticks will produce smoother, shinier molds, resulting in better-looking cast objects.
When selecting your materials, keep in mind that the cured hot glue doesn't stick to the cast piece, making it ideal for use with any cold-cure casting material. This versatility allows you to experiment with different resins and create a variety of cast objects using your homemade glue molds.
Preparing the Workspace
Setting up your workspace correctly is crucial for successful glue mold casting. You'll need to use a clean, flat surface free from any debris that could get embedded in your mold. Make sure to cover your work area with wax paper or a non-stick material to prevent the hot glue from adhering to the surface.
Before you begin, gather all the necessary supplies. I've put together a list of essentials: your hot glue gun, glue sticks, clay, and the object you'll be casting. Having everything within reach will streamline the process and prevent interruptions.
Choose a well-ventilated area for your workspace, as the hot glue can produce fumes during the mold-making process. This will help guarantee your safety and comfort while working. Additionally, keep a damp cloth nearby to quickly cool the hot glue if needed. This can be especially useful if you need to make adjustments to the mold or if you accidentally touch the hot glue.
Building the Mold Well
Let's plunge into building the mold well. Start by plugging in your glue gun and allowing it to heat up. While you're waiting, prepare a piece of wax paper as your work surface. This will be the foundation for your mold well.
Next, grab some oil-based clay. You'll use this to create the walls of your well. Don't worry about making it look perfect; almost everything you need for this step is purely functional. Begin shaping the clay on the wax paper, forming walls slightly larger than the object you plan to cast. Guarantee you press the clay firmly onto the paper to prevent any leaks during the molding process.
As you build up the walls, keep in mind that they need to be high enough to contain the hot glue that will form your mold. Focus on creating a sturdy structure rather than intricate details. Remember, you're only building up one side of the mold at this stage. The clay well serves as a temporary container for the hot glue, which will eventually become your flexible mold for resin casting.
Waxing the Object
With your mold well prepared, it's time to focus on the object you'll be casting. The first step is to create a thin, clear wax coating on your object to prevent the hot glue from sticking. Start by precleaning the object surface to guarantee the wax adheres properly.
Melt a candle and use an old paintbrush to carefully apply the melted wax to your object. Work quickly, as the wax will begin to solidify. If your object has a large hole, fill it with clay before applying the wax to prevent leaks. The thinness of the wax layer is pivotal for proper molding and casting, so pay close attention to this aspect.
To make sure you're spreading wax evenly, hold the waxed object briefly over the candle flame. This will help distribute the wax more thinly if needed. Remember, a thick coating may interfere with the molding process, so aim for a very thin, even layer. If you notice any areas where the wax is too thick, use the candle flame to melt and redistribute it. Your goal is to achieve a uniform, barely visible wax coating that will protect your object without compromising the mold's details.
Pouring the Hot Glue
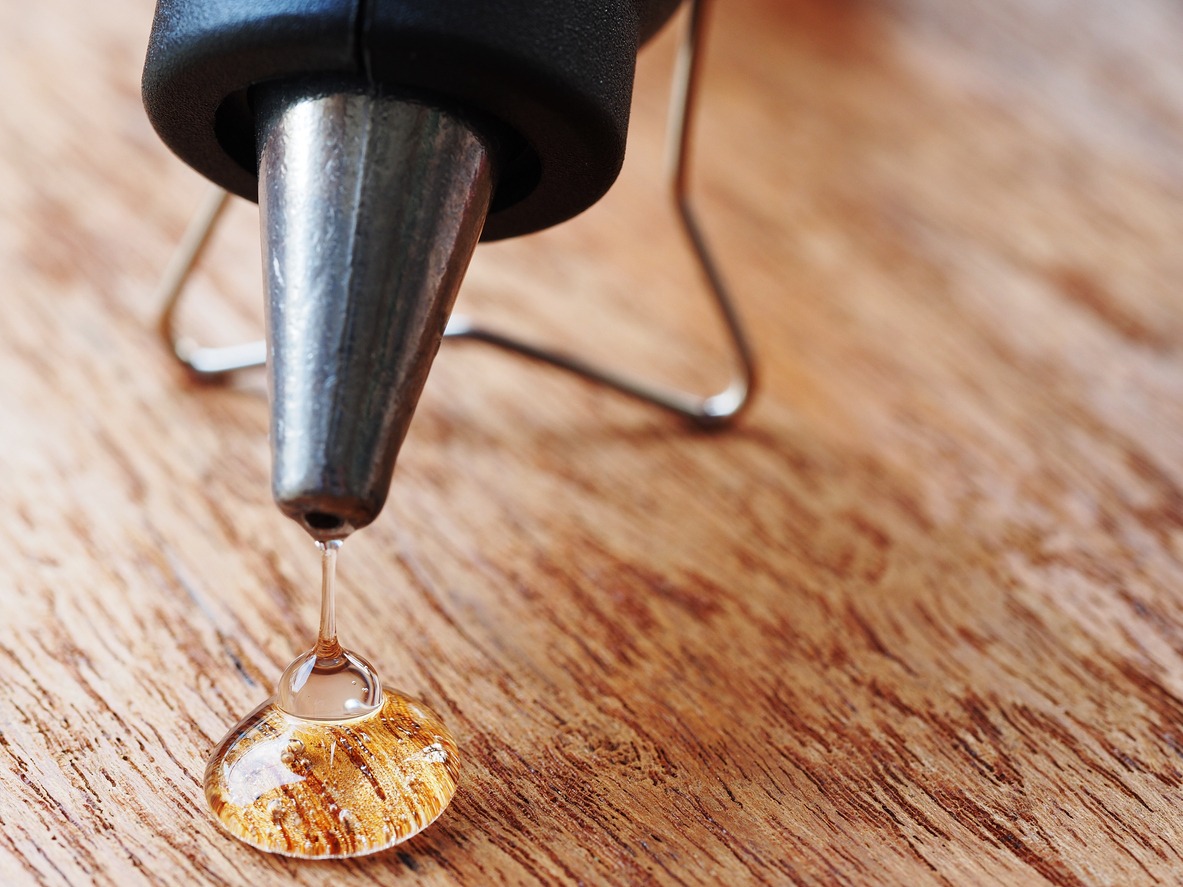
The glue gun stands ready as you prepare for the crucial step of pouring hot glue. Before you begin, make sure your work surface is level and stable. Hold the glue gun at a 45-degree angle, about an inch above the waxed object. Start pouring the hot glue slowly and steadily, moving in a circular motion from the outer edges towards the center.
As you pour, focus on achieving even coverage across the entire surface. Maintain a uniform thickness of about 1/4 inch to guarantee your mold is sturdy enough to withstand the resin casting process. If you notice any thin spots or gaps, quickly add more glue to those areas. Be careful not to create air pockets or bubbles, as these can compromise the mold's integrity.
Once you've covered the entire object, allow the glue to cool completely. Cooling time will vary depending on the size of your mold, but generally takes about 30 minutes to an hour. Resist the urge to touch or move the mold during this time, as it may affect its shape and texture. When fully cooled, your glue mold will be ready for the next step in the resin casting process.
Inserting the Object
Speed is essential when inserting your waxed object into the hot glue mold. You'll need to act quickly, as the glue begins to solidify within seconds. Carefully push the waxed object into the hot glue, ensuring secure insertion while avoiding deformation. Be cautious not to burn yourself during this process.
If your object has a large hole, fill it with clay before coating it in wax. This step helps maintain the wax integrity and prevents the hot glue from seeping into unwanted areas. As you insert the object, make sure it's positioned correctly to create an accurate mold.
Once the object is in place, allow the glue to cool. You can let it cool naturally or speed up the process by running it under cold water. The glue typically cures in about 5 seconds. After cooling, immediately demold the object to prevent it from sticking to the glue. By working swiftly and methodically, you'll create a precise mold that captures all the details of your waxed object. Remember, timing is pivotal in this step to achieve the best results for your resin casting project.
Cooling and Demolding
Once you've inserted the object, cooling and demolding are your next steps. After pouring the resin, you'll need to cool the mold quickly to cure the resin. This can be done naturally or by running cold water over the mold. The curing process typically takes about 5 seconds.
It's essential to demold the cast piece immediately after the glue has cooled. This prompt action prevents the resin from adhering too strongly to the hot glue surface, preserving the mold's integrity for future use. To release the cast piece, simply pinch the mold and push your thumb against the bottom. The cold hot glue mold won't stick to the cured resin, making the demolding process easy without the need for mold release.
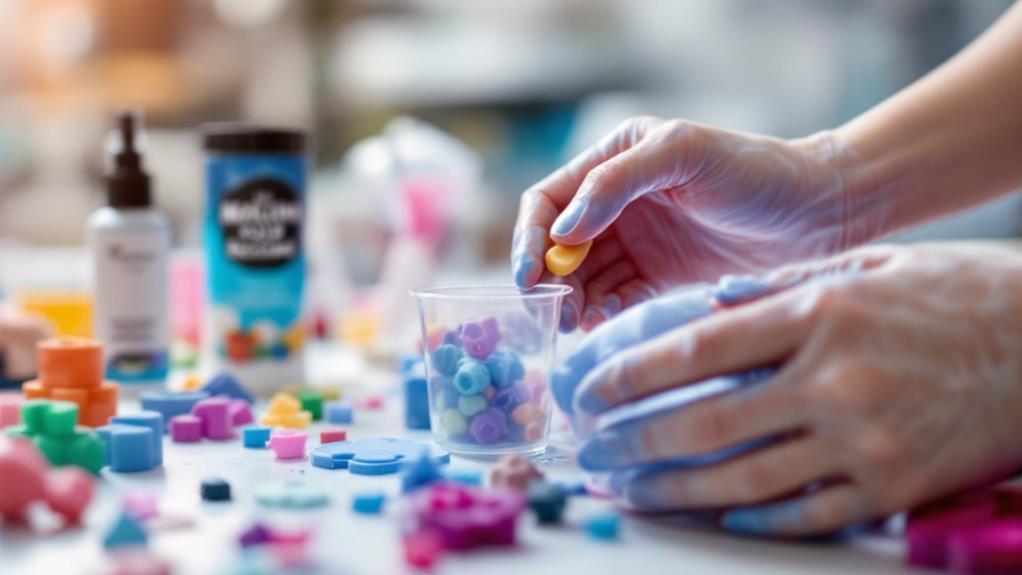
Casting With Resin
Casting with resin opens up a world of creative possibilities using your hot glue molds. You'll find that the non-stick nature of cured hot glue makes it easy to remove your finished pieces without additional release agents. This allows you to concentrate on achieving crystal clear results and incorporating metallic elements into your designs.
When working with UV cure resins, you'll appreciate the quick and easy curing process. These resins are particularly well-suited for hot glue molds, as they don't generate excessive heat that could damage your mold. Alternatively, cold-cure resins are another excellent option for use with hot glue molds.
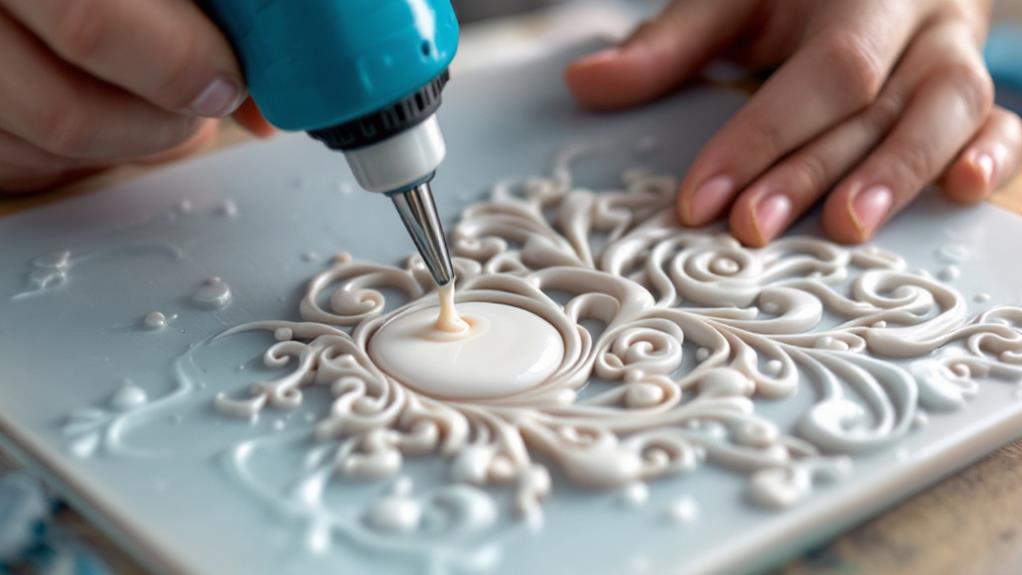
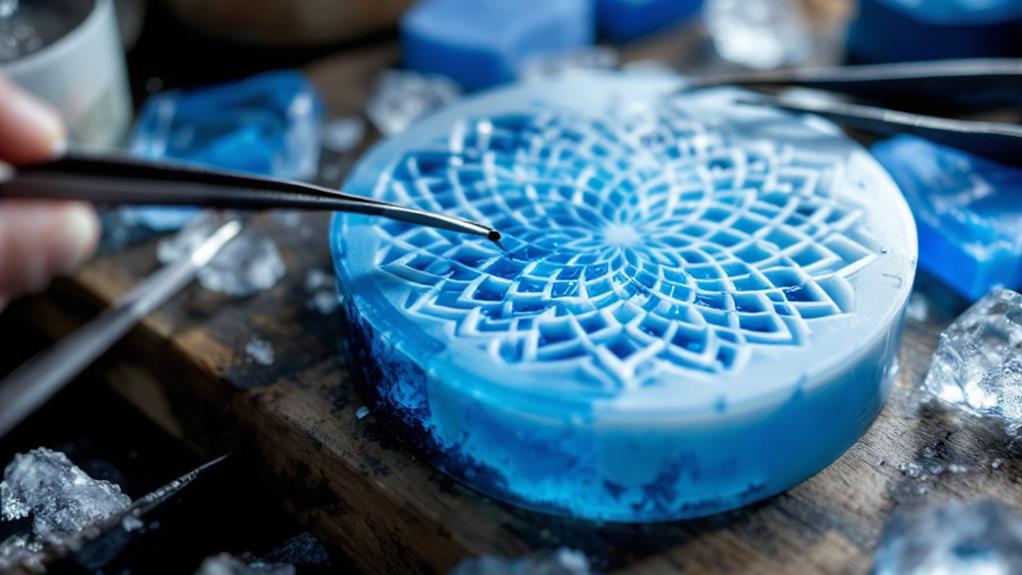
As you pour the liquid resin into your mold, you'll notice how it captures even the most intricate details and textures from the original object. This level of precision is one of the key advantages of resin casting with hot glue molds. Remember to follow the manufacturer's instructions for mixing and curing times to maximize the best results. With practice, you'll be able to create stunning, transparent pieces that showcase your creativity and attention to detail.
Removing the Cast Piece
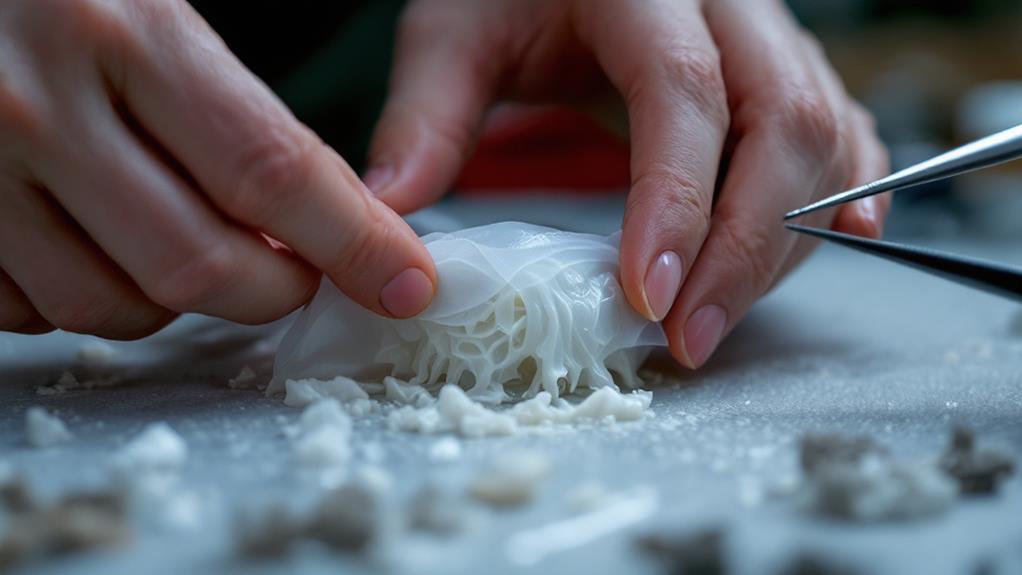
After your resin has fully cured, you'll find that removing the cast piece from your hot glue mold is remarkably straightforward. The cold hot glue doesn't stick to the resin, guaranteeing a smooth demold and clean removal of your cast item. To take advantage of this ease of removal, simply pinch the mold and push your thumb against the bottom to release the piece.
It's important to demold your cast immediately after curing to minimize the potential for damage to both the mold and the finished product. The fast cure time of hot glue molds allows you to quickly inspect your final cast, making any necessary adjustments to your process for future castings.
To further safeguard a smooth demold, proper preparation is key. Before casting, apply a thin wax coating to your object. This extra step will help your cast piece release effortlessly from the hot glue mold. By following these techniques, you'll be able to consistently produce high-quality resin casts with minimal risk of damage or imperfections. The simplicity of removing your cast from a hot glue mold makes this method an excellent choice for both beginners and experienced resin artists alike.
Troubleshooting Common Issues
Despite the simplicity of hot glue molds, resin artists may encounter some common obstacles. One of the primary issues you might face is heat damage to the mold. To minimize this, use low viscosity resin and guarantee your glue sticks are of high quality. The thickness of the mold also plays a vital role in its durability, so don't skimp on the amount of glue you use.
You may find that your resin piece is difficult to remove from the mold. This is often due to inadequate use of release agents. While petroleum jelly and baby oil can be effective, avoid using petroleum jelly with UV resin as it can negatively impact the mold. If you're working with wood surfaces, seal them with varnish before applying the release agent and creating the mold.
Mold flexibility can be another concern. The quality of your glue sticks directly affects this aspect. Higher quality sticks will result in a more flexible and durable mold. Remember that this method isn't suitable for 3D figures or large items, as it would require an excessive number of glue sticks and make piece removal challenging.